- 23 Oct 2025
- Gideon Thornton
- 0
How Long Do Extractor Fans Last? Practical Guide to Lifespan & Maintenance
Find out the typical lifespan of extractor fans, learn signs of wear, maintenance tips, and how to choose a long‑lasting model for your home.
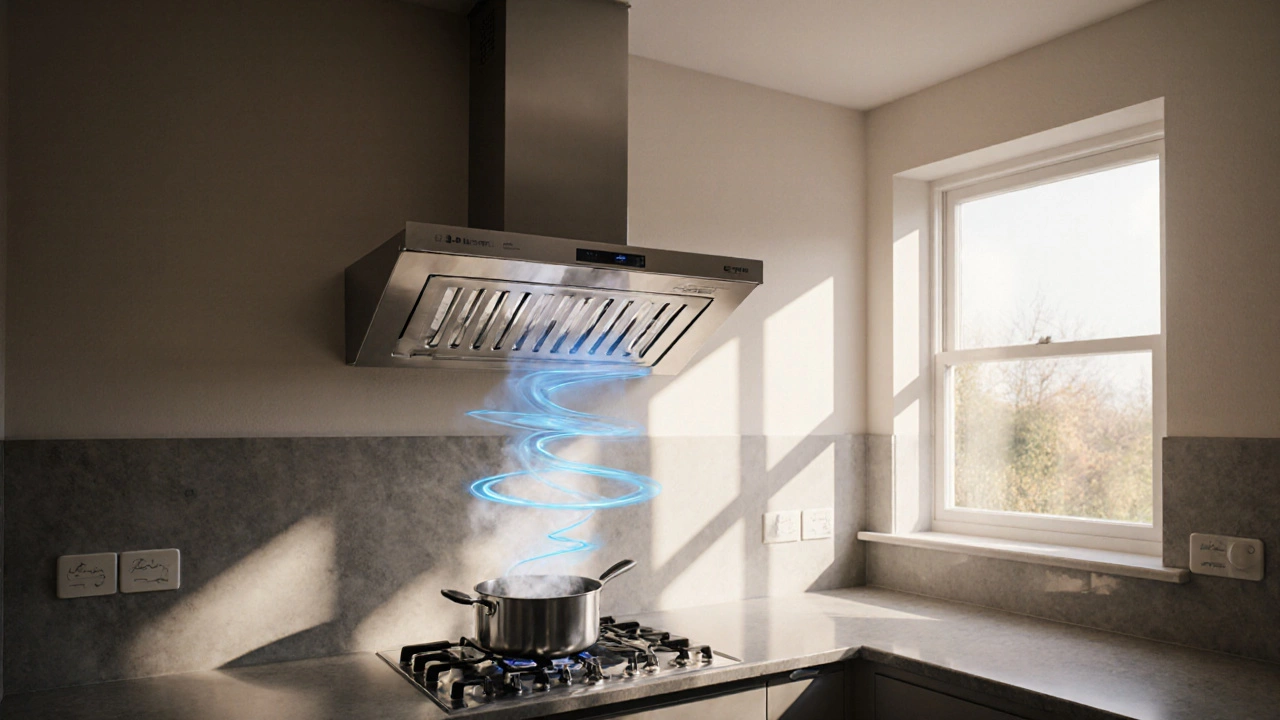
When dealing with extractor fan replacement, the process of taking out a broken fan and fitting a new one so your home stays fresh. Also known as fan swap, it can stop mold, odors and wasted electricity. A ventilation system, the network of ducts and fans that moves air inside a building depends on a working fan to keep indoor air quality high. replace extractor fan is the phrase you’ll hear most when searching for help, and it’s the key step to a healthier home.
First off, a faulty fan means moisture builds up, especially in bathrooms and kitchens. That moisture invites mold, which can affect health and damage walls. Second, a noisy or sluggish fan wastes energy – you’re paying for power without getting the airflow you need. Third, modern fans are more efficient and quieter, so upgrading can lower your bill and improve comfort. In short, extractor fan replacement improves indoor air quality, reduces moisture risks, and can cut energy costs.
When you decide to act, two things matter most: safety and the right skills. Extractor fan replacement requires a qualified electrician because the unit connects to house wiring and must meet electrical codes. An electrician, a licensed professional who works with home electrical systems will ensure the new fan is wired correctly and won’t cause a fire risk. If the fan is part of a larger ductwork setup, an HVAC technician, a certified specialist in heating, ventilation and air‑conditioning equipment can assess the whole ventilation system and advise on duct sizing or additional fans.
Cost is another big question. A basic extractor fan can run under £50, while high‑performance models with speed controls and humidity sensors may cost £150 or more. Installation fees vary: electricians charge by the hour, typically £40‑£70, plus any extra work like enlarging the vent opening. If you’re handy, you can DIY the swap for the price of the fan alone, but you’ll need basic tools – a screwdriver, wire cutter, and a voltage tester – and you must turn off the circuit at the breaker before you start.
Here’s a quick step‑by‑step rundown for a DIY swap: 1) Turn off power at the consumer unit. 2) Remove the old fan cover and disconnect the wiring. 3) Detach the fan housing from its mounting bracket. 4) Fit the new fan, reconnect the wires following the colour code, and secure it. 5) Re‑attach the cover, restore power, and test the fan on low and high settings. If the fan doesn’t run, double‑check the wiring or call an electrician – it’s better to be safe than sorry.
Some situations call for a pro, no matter how confident you feel. If the vent runs through a ceiling or roof, you’ll need to seal the opening properly to avoid leaks. If you notice rusted ducts, a full system clean‑out might be required, which is a job for an HVAC technician. And if your home is a listed building or has special wiring, a specialist will know the regulations.
Now that you understand why a fan swap matters, what tools you need, and when to bring in an expert, you’re ready to take the next step. Below you’ll find a range of articles that dive deeper into costs, safety checks, DIY tips, and how to choose the right professional for your specific situation.
Find out the typical lifespan of extractor fans, learn signs of wear, maintenance tips, and how to choose a long‑lasting model for your home.