- 12 Jun 2025
- Gideon Thornton
- 0
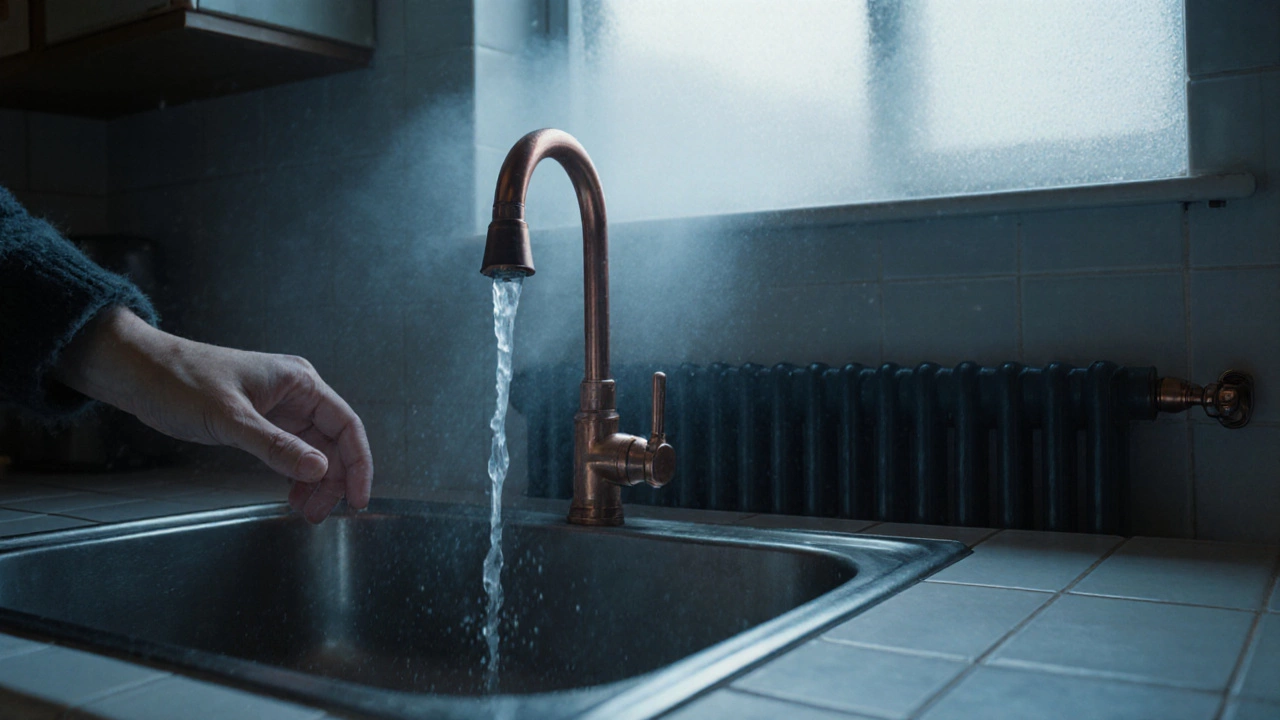
If your boiler is clanging, leaking, or just refuses to turn on, you’ve probably wondered if swapping it out is a huge hassle. People always imagine floors torn up, endless dust, or teams of strangers taking over the house. But honestly? Boiler replacement isn’t usually as extreme as you might think—at least if you’re prepared.
The size of the job mostly depends on how old your current setup is and how much has changed in heating tech since it was installed. Swapping a modern boiler for another one in the same place can sometimes be done in a day. If your pipes are ancient or you’re switching from, say, a regular boiler to a combi model, it takes longer and there might be more mess. So the “big job” feeling comes down to what’s hiding in your walls and under your floors.
Here’s something most people don’t realize: most of the real work happens before the installers even arrive. Engineers will ask a lot of questions about where your boiler is, what kind of fuel you use, and even how many radiators you have. If you know this info, things start way smoother and you avoid last-minute surprises or cost jumps.
- What Goes Into Replacing a Boiler?
- How Long Will It Take?
- Common Surprises and How to Prepare
- What Happens After Installation?
What Goes Into Replacing a Boiler?
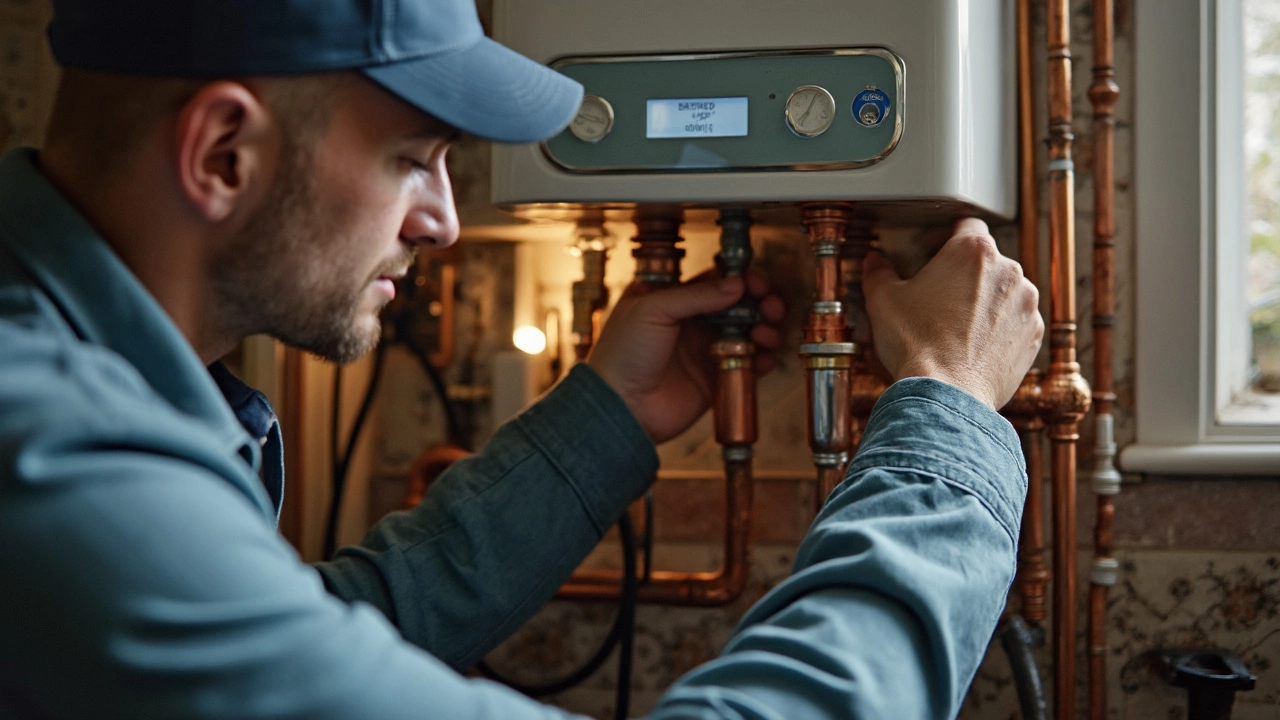
Swapping out a boiler is way more involved than pulling out the old one and plugging in a new unit. There's actual science, rules, and quite a bit of dust behind the process. Here's the basic breakdown so you know what to expect when you’re planning a boiler replacement at home.
First, the installer checks your heating system layout — the pipes, radiators, and even where your hot water comes from. If your old boiler was tucked into a tight corner or up in a loft, access can slow things down. Plus, you might need upgrades if your pipework is ancient or can’t handle the pressure from a modern boiler. Old copper pipes, for example, sometimes leak after years of high temps and sudden pressure bursts from newer systems.
Next up, safety and legal bits. Gas boilers in the UK, for example, have to be installed by a Gas Safe registered engineer. In the US, there are state and city codes plus requirements for venting and carbon monoxide protection. There's no skipping the paperwork, and a legit installer will register the new boiler with local authorities so your insurance doesn’t get voided.
The swap itself usually follows these steps:
- Turning off the water, electric, and gas supplies.
- Draining the central heating system so water doesn’t splash everywhere.
- Disconnecting and safely removing the old boiler.
- Fitting and connecting the new boiler in the same spot—or nearby if you’re moving it.
- Updating any pipes, wiring, or controls that need a refresh (this part often catches people by surprise).
- Power flushing the system to clear out rust and sludge, so your new boiler runs smooth.
- Testing everything and showing you how to work the new controls.
Folks tend to underestimate how much time can go into prepping and cleaning up. Your installer might spend as long checking pipework, setting up new thermostats, and double-checking system safety as the boiler fitting itself.
Here’s how some average timelines look for different replacement jobs:
| Type of Replacement | Average Duration | Notes |
|---|---|---|
| Like-for-like swap (same type, same place) | 1-2 days | Minimal pipework needed |
| Switching to combi from system/regular | 2-3 days | Extra pipe adjustments, hot water tank removal |
| Relocating boiler | 3-4 days | New pipe routes, extra wall holes |
See what can drag things out? If your installer walks around scribbling notes and poking at odd corners, don’t panic—they’re just making sure there aren’t hidden surprises that will throw off the whole job.
How Long Will It Take?
The timeline for replacing a boiler isn’t the same for every home, but there are some pretty reliable ballpark estimates. If a qualified engineer is just swapping your old boiler for a new one of the same type, you’re usually looking at around one day—sometimes even less for combi boilers, if all the pipes and electrics are in place already.
The job gets longer if you’re moving the boiler to a new spot, switching fuel types (like going from oil to gas), or upgrading from an ancient system to a modern one. In those cases, installers may need to reroute pipes, upgrade gas lines, or sort wiring, which could stretch things from two to even four days—rarely more unless they run into nasty surprises like rotten floorboards or walls full of mystery pipes.
Here’s what’s most likely to impact your timeline:
- Boiler replacement type: a similar swap is quick, but big upgrades take longer.
- Moving the boiler location: adds time for extra pipework and making good the old area.
- Upgrading controls: like adding smart thermostats or wireless valves.
- Power flushing system: to remove sludge, which can add half a day.
- Unexpected repairs: Nobody likes the surprise of old pipes falling apart.
Installers usually show up early—think 8 a.m.—and will often be gone by late afternoon, but if you’re having a full system overhaul, expect them for two or maybe even three days.
| Type of Boiler Job | Typical Duration |
|---|---|
| Like-for-like boiler swap | 4–8 hours |
| Upgrade to combi boiler | 1–2 days |
| Relocating boiler | 2–3 days |
| Full system change (pipes, radiators) | 2–4 days |
Tip: Engineers work faster when everything’s easy to access. Clear out cupboards, move furniture, and if possible, show them where your main stopcock and fuse box are. Saves everyone a headache, and might just keep your timeline nice and short.
Common Surprises and How to Prepare
Boiler replacement is full of little surprises that can turn a simple job into a head-scratcher. Most of these hiccups come from hidden issues—stuff that’s been lurking in the pipes or tucked behind the old boiler for years. With a bit of prep, though, you can dodge the worst hassle and keep the whole thing running smoother.
The biggest surprise? The state of your old pipework. Homes built before the 1990s might still have steel or even lead pipes, and that can slow things down. Sometimes the installer finds a nest of corroded pipes or odd wiring and has to stop, figure it out, and do extra work. It’s not fun, but it’s way safer to catch it during a boiler replacement than after your new system’s in.
Here’s a quick look at the most common surprises and how often installers run into them:
| Issue Found | How Often Happens | What It Means for You |
|---|---|---|
| Old or unsafe wiring | 1 in 4 jobs | Extra cost and maybe a sparkie needs to be called in |
| Rusty or blocked pipework | 1 in 3 jobs | Some pipes need replacing, especially if not compatible with new tech |
| Undetected leaks | 1 in 10 jobs | May need immediate fix to stop water damage |
| Unsafe flue positioning | 1 in 5 jobs | Installer may need to move or extend flue outside |
If you want things to run smoothly, here are some hands-on tips:
- Clear out the space around your boiler. Make sure there’s easy access to the area so the team isn’t tripping over laundry baskets or boxes.
- Jot down all the problems you’ve had with your old boiler: banging noises, random shutdowns, low pressure. This info helps the installers spot potential hidden issues.
- Find out how old your heating pipes and radiators are. If you have the original setup in an older house, mention this. Fair warning means accurate quotes and fewer shocks.
- If you’ve got pets, set up a pet-safe space for the day—engineers are in and out constantly, and doors stay open.
Most people forget the little things, like leaving the installer a clear route from the front door to the boiler. Grab any valuables or sentimental stuff nearby, just in case. If you have Wi-Fi enabled heating, check your home’s Wi-Fi password—installers usually need it to test smart controls.
What Happens After Installation?
Okay, so the crew’s packed up their tools, and you’re staring at your new boiler. What now? The first thing a good installer does is run checks—think of it like a system test to make sure your new boiler isn’t going to throw any surprises. They’ll fire it up, check water pressure, and make sure all your radiators are getting hot. If you’ve picked a smart controller or thermostat, this is when they’ll show you how it works, so you don’t waste hours puzzling over buttons later.
Next, most installers do a full system flush before leaving, which clears out the sludge and muck from your radiators and pipes. This step isn’t just a nice extra—it keeps your system running smoother and can even save you money on future repairs. You’ll get all the paperwork too, like the warranty and Building Regulations certificate. That little pile matters, especially for home insurance and if you ever sell your place.
It’s super common to smell a bit of heat for the first day or two, and you might hear some odd creaks or pops as pipes adjust to the new system. Don’t panic. Set aside some time to check on things over the next week—look for leaks, keep an ear out for strange noises, maybe even jot down any error codes if your new system flashes them up.
If you’ve chosen a higher-efficiency boiler, you should start seeing the impact on your energy bill within a month or two. To keep things humming, get your boiler serviced once a year—this can catch little problems before they turn into wallet-draining headaches.
After a boiler replacement, expect your heating to feel more even, and you shouldn’t need to keep cranking the thermostat. Just remember: keep those papers safe, learn how your new controls work, and if something feels off, don’t be shy about calling your installer back for help. Most reputable companies offer solid aftercare and are happy to answer questions long after the dust settles.