- 12 Sep 2025
- Gideon Thornton
- 0
When an electric oven suddenly dies, it rarely means the whole thing is toast. Most failures trace back to three things: lost power at the breaker or outlet, a safety fuse that blew after heat stress (often right after self-clean), or a failed heating element or sensor. You can pinpoint which one it is with a few quick checks before you spend money or book a visit. I’ve been there-my own range went silent mid-pizza last winter. Whiskers, my cat, sat on the counter judging me while I found the breaker half-tripped. Five minutes later, dinner was back on track.
- TL;DR: Check the double-pole breaker first, then confirm the outlet (or hardwire) has 240V. If the display works but there’s no heat, suspect the bake element or temperature sensor. If it died after self-clean, the thermal fuse likely blew.
- Fast fix order: Breaker → Outlet power → Control lock/Sabbath/demo mode → Thermal fuse/high-limit → Elements → Temp sensor → Control board.
- DIY-friendly: Breaker reset, power cycle, element swap, temp sensor test. Advanced: thermal fuse replacement, control board.
- Costs (2025): Elements $40-$120; Sensor $20-$60; Thermal fuse $20-$50; Control board $180-$450; Service call $89-$150.
- Safety: Kill power before removing panels. 240V can injure you. If you smell burning or see scorch marks, stop and call a pro.
Fast checks first: power, breaker, and the obvious stuff
Before you grab tools, rule out the simple things. Sudden shutoffs are often power-related. Electric ovens use a 240V circuit on a two-pole breaker. One pole can trip while the other looks “on,” which leaves you with a dead display-or a display that’s on but no heat because you only have 120V. That half-trip is sneaky.
- Reset the range/oven breaker properly
Find the double-pole breaker labeled “Range/Oven.” Push it firmly to OFF, then back to ON. Many breakers don’t reset unless you force the handle fully to OFF first. If it trips again right away, you likely have a short (bad element or wiring). Stop there and call a pro. - Confirm power at the outlet or junction box
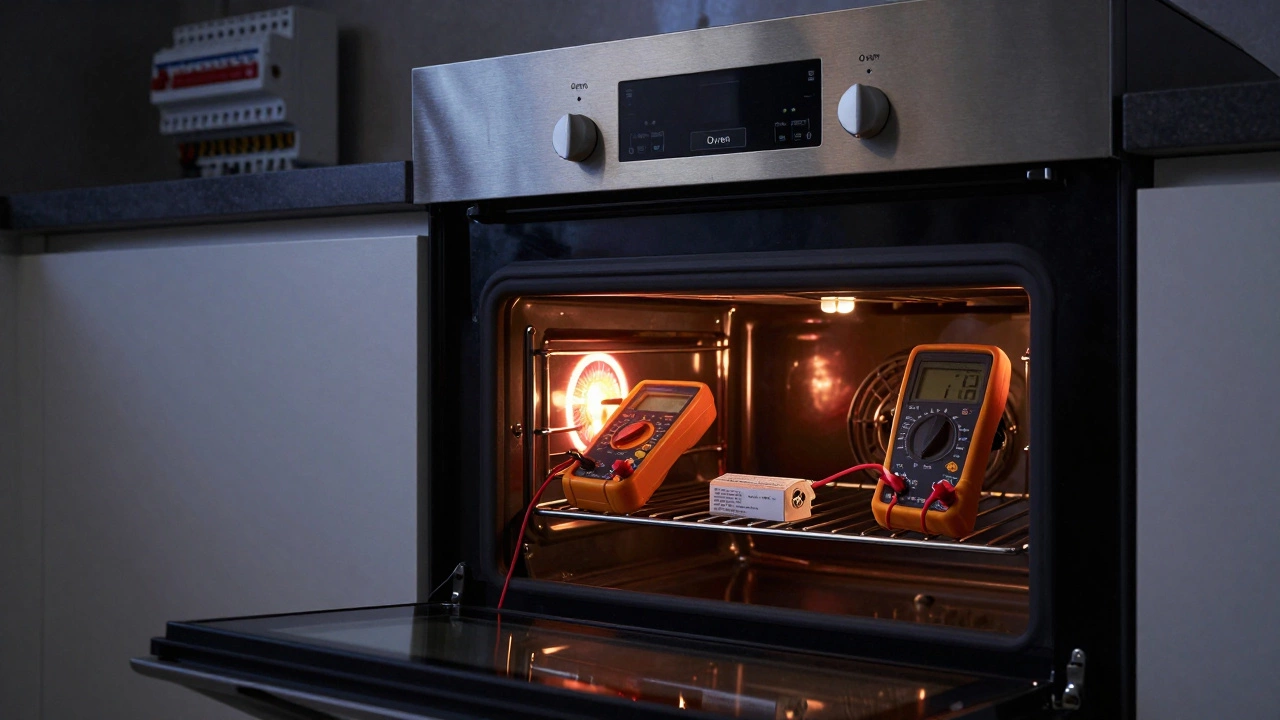
Freestanding ranges plug into a 3- or 4-prong 240V outlet. Wall ovens are often hardwired. If you’re comfortable and have a multimeter, you should read ~240V between the two hot legs (H1 to H2) and ~120V from each hot leg to neutral (if present). A non-contact tester only tells you a wire is hot; it won’t confirm both legs. If you don’t have a meter, check for other signs: do the oven light and clock come on? If they do, you may have only 120V-no heat will follow. - Look for control lock, Sabbath mode, or demo mode
Manufacturers hide these behind button holds. If you see a “LOC,” “SAb,” or “DEMO” indicator, hold the designated key (often Start, 3, or Settings) for 3-5 seconds. Check your model’s user manual. I’ve answered more than one “dead oven” call where the control lock was the entire problem. - Power cycle the oven
Shut off the breaker for one full minute, then restore power to reset oven control logic. This clears some stuck relays and error states. If the oven wakes up and behaves for a bit then dies again, we’ll look at heat-related cutoffs next. - Did this happen right after self-clean?
Self-clean runs at 800-900°F. That heat can blow a thermal cutoff fuse or warp a door latch switch. If your oven was fine before self-clean and is now dead, the thermal fuse is a prime suspect.
If you pass these checks and things are still off, the next step is to narrow the symptom. Different failures point to different parts.
Diagnose by symptom: dead, no heat, or partial failure
Group your oven’s behavior into one of these buckets. It trims the guesswork fast.
- Completely dead (no lights, no beeps)
Likely: Tripped breaker or only one hot leg present; blown thermal fuse/high-limit; failed control board; loose or burned wire nut. Start with the breaker and power measurements. If power is good at the oven’s terminal block, check the thermal fuse next. - Display works, light works, but no heat
Likely: Open bake element (most common); bad oven temperature sensor (RTD); failed relay on control board; only 120V present (half-tripped breaker). Watch the element when you start Bake-does it glow or stay cold? Check continuity of the bake element and the sensor. - Heats but stops mid-cycle or after 10-20 minutes
Likely: Overheating tripping a high-limit thermostat or cooling fan failure; weak connection heating up under load; marginal control board relay. Heat-related failures that recover after a cool-down point to safety cutoffs or ventilation issues. - Trips the breaker immediately
Likely: Shorted element (split sheath touching chassis); pinched wire; failed terminal block; moisture intrusion after cleaning. Unplug or kill power and inspect elements and wiring for obvious damage. - Error codes on the display
Common ones: Sensor/RTD failure (often shown as F3/F4, or “SE” on some brands), stuck keypad or relay (F1 variants), door lock errors after self-clean (F9/door). Check the tech sheet tucked behind the control panel or bottom drawer-most ovens include one. A sensor at room temp should measure near 1080 Ω; if your meter reads open or far off, replace it. - Clock works, but oven and broiler both cold
Likely: Lost one leg of the 240V supply or a blown thermal fuse. If both elements won’t heat, suspect power delivery before chasing both elements at once.
| Symptom | Most likely cause | DIY difficulty | Typical part cost (USD) | Pro repair range (USD) |
|---|---|---|---|---|
| Dead, no display | Breaker/outlet issue, thermal fuse, control board | Medium | Fuse $20-$50; Board $180-$450 | $180-$600 |
| Display on, no heat | Bake element, temp sensor, half-tripped breaker | Easy-Medium | Element $40-$120; Sensor $20-$60 | $150-$350 |
| Trips breaker | Shorted element, pinched wire, terminal block | Medium | Element $40-$120; Block $15-$40 | $150-$400 |
| Dies after self-clean | Blown thermal cutoff, door lock switch | Medium | Cutoff $20-$50; Latch $40-$120 | $180-$400 |
| Wild temps or burnt bakes | Bad temp sensor, control calibration | Easy | Sensor $20-$60 | $120-$250 |
Rule-of-thumb: If your cooktop (on a range) works but the oven doesn’t, the issue is probably inside the oven cavity (element, sensor, or control), not the house power. If everything is dead, start at the breaker and the oven’s terminal connections.
Doable fixes with basic tools (and how to do them safely)
Grab a flashlight, nut driver/Phillips screwdriver, and a multimeter if you have one. Always cut power at the breaker and confirm it’s dead before touching wiring. 240V is not forgiving. Take photos of wiring before you disconnect anything.
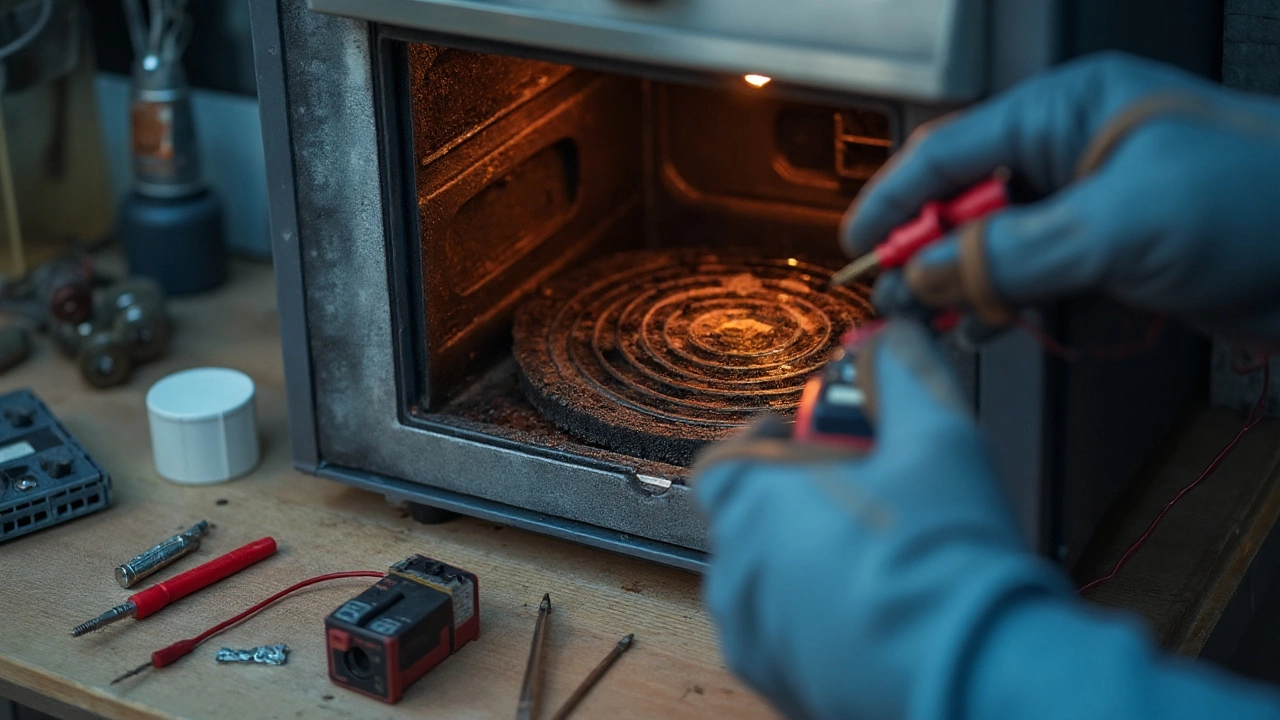
- Replace a failed bake element (common)
- Signs: Visible crack, blister, or burn mark; no glow; breaker tripped when you started Bake.
- How: With power off, remove the two screws holding the element to the back wall. Gently pull it forward; two spade terminals will come through. Take a photo. Pull off terminals with needle-nose pliers (don’t yank the wire). Install the new element, reconnect, and remount.
- Tip: If the wire falls back into the insulation, hook it with a bent coat hanger. It happens.
- Test/replace the oven temperature sensor (RTD)
- What to expect: At room temp, most sensors read ~1080 Ω. As the oven heats, resistance rises. Manufacturers like Whirlpool and GE publish this spec in their service manuals.
- How: Unplug power. Remove the sensor screw inside the oven’s back wall, gently pull the probe forward, and disconnect the plug. Measure resistance across the two pins. If it’s open or way off (e.g., 500 Ω or 2500 Ω at room temp), replace it. Reinstall in reverse.
- Symptom tie-in: If your oven overshoots or undershoots temps-or throws F3/F4/SE codes-the sensor is a prime suspect.
- Check/replace the thermal fuse or high-limit cutoff
- Clue: Oven died during or right after self-clean; no display even though you have 240V at the terminal block.
- Where: Often behind the rear panel (freestanding range) or behind the control panel/top cover (wall ovens). It’s a small inline device, usually with two wires and a one-shot rating.
- How: With power off, remove the panel. Disconnect one lead and test continuity across the fuse. If it’s open, replace it. Use the correct temperature rating for your model-this is a safety part. If it blew, also check for blocked cooling vents and make sure the control cooling fan runs.
- Pro tip: After replacing, avoid self-clean for a while. High-heat cycles age these cutoffs fast.
- Fix a stuck door lock after self-clean
- Signs: Display shows door/lock error; door won’t open; oven won’t start a bake.
- How: Kill power for a minute to reset. Restore power and try Cancel/Off then Bake. If still locked, access the lock motor and switch from the top panel (varies by model). Some models have a manual release tab.
- Rule out a control lock or odd setting
- Control Lock/Sabbath/Demo can block heating even when the display looks normal. Try holding Start, 3, or a key labeled “Lock” for 3-5 seconds. Check the tech sheet stored inside the unit for your exact combo.
- Inspect the terminal block and harness
- Why: Loose lugs heat up and burn. This can leave you with 120V and no heat, or intermittent shutoffs.
- How: With power off, remove the rear cover. Check that the two hot legs are tight and the block isn’t charred. Replace a burned block and any damaged wires. Tighten lugs to manufacturer torque. If you’re unsure, this is a good pro job.
- When it’s the control board
- Clues: Proper 240V in, sensor and elements test good, but no power is sent to the elements; relay clicks sound odd; keypad errors (F1 variants).
- Fix: Replace or send the board to a reputable rebuild service. Label every connector before you pull it. Boards are $180-$450 in 2025; rebuilds are $90-$180.
One more safety nudge from a guy who likes his eyebrows: unplug/kill the breaker, test for dead, then touch. I write that on blue tape and stick it to the panel when I’m in repair mode.
When to call a pro, what it might cost, and how to prevent repeats
If you’ve reset the breaker, confirmed 240V, ruled out control lock, and checked elements/sensor/fuse, you’ve covered 80-90% of failures a homeowner can do safely. The rest often requires pulling the oven, chasing live 240V, or diagnosing subtle control issues.
- Call a pro if:
- The breaker keeps tripping immediately.
- You smell burning, see scorched connectors, or find melted insulation.
- The oven is hardwired high in a cabinet and you can’t safely pull it.
- You confirmed proper power, elements, and sensor, but there’s no heat (likely control/relay).
- 2025 ballpark pricing (US):
- Service call/diagnostic: $89-$150 (often applied to repair).
- Element replacement: $150-$300 total with parts/labor.
- Temp sensor: $120-$250.
- Thermal cutoff: $180-$300.
- Control board: $280-$600 depending on brand and availability.
- Prevention tips
- Skip self-clean or use the low-heat steam clean if your model has it. High-heat self-clean is the #1 fuse killer I see.
- Vacuum crumbs and grease around vents. Blocked cooling air shortens control life.
- Once a year, check terminal lugs for tightness (with power off). Heat cycles loosen screws.
- If your oven lives in a tight cabinet, make sure trim and insulation aren’t choking the cooling airflow.
- Keep a cheap surge protector for the control’s 120V feed if your range uses a separate plug for electronics. Power spikes fry boards.
Checklist before you order parts
- Breaker fully OFF then ON? No immediate re-trip?
- Both hot legs present (240V)?
- Control lock/Sabbath/demo OFF?
- Door lock not stuck from self-clean?
- Bake element continuity good? Visible damage?
- Sensor reads ~1080 Ω at room temp?
- Thermal cutoff continuity good?
Mini-FAQ
- My oven light works but there’s no heat. What now?
Check the breaker for a half-trip, then test the bake element. Many ovens use both legs of power to heat but only one leg for lights and control. - It died right after self-clean. Why?
Excess heat likely popped the thermal cutoff or warped the door lock switch. Replace the cutoff and consider skipping high-heat self-clean going forward. - What should the oven sensor read?
About 1080 Ω at ~70°F. At 350°F, you’ll see roughly 1650-1700 Ω. If your reading is open or far off, swap the sensor. - How do I know if the control board is bad?
If you have proper power, good sensor, and good elements, but the board doesn’t send power to the elements (no voltage on the bake relay output), the board’s the culprit. - Is it worth fixing a 10+ year-old oven?
Usually yes if it’s an element, sensor, or fuse. Control boards can push the cost high. Compare repair cost to a replacement that fits your cutout-cabinet modifications add up fast. - What about recalls?
If you smelled burning or saw smoke, stop using it and check for model-specific recalls with the manufacturer or the U.S. Consumer Product Safety Commission. Provide brand, model, and serial number.
Decision tree you can follow in five minutes
- Nothing at all? → Reset breaker → If still dead → Confirm 240V at outlet/terminal → If 240V good → Check thermal fuse → If fuse good → Control board.
- Display on, no heat? → Confirm 240V (not half-tripped) → Test bake element → If good → Test sensor → If good → Board/relay.
- Trips breaker? → Inspect elements for splits touching metal → Inspect wiring at rear and terminal block → Replace damaged part → If not obvious, call a pro.
Quick lived-in note from my kitchen: my oven “died” once from a control lock I didn’t know I’d enabled while wiping the panel. Another time it was that sneaky half-tripped breaker. Whiskers thought both were my fault. He’s not wrong.
Next steps by scenario
- Renter: Don’t open panels. Document the issue, confirm the breaker, and send your landlord a note with photos/error codes. Ask about approved service vendors.
- Homeowner (basic tools): Do the breaker reset, control lock check, and visual element check. If comfortable, meter the sensor and replace the bake element.
- Homeowner (handy): Add thermal fuse continuity testing and terminal block inspection. Keep wire ferrules and a decent crimper on hand.
- Holiday emergency: Skip self-clean, use countertop appliances (air fryer/slow cooker) to get through the day, and book a service window for the next morning.
- New build/renovation: Verify the circuit is correctly sized (most are 40-50A for electric ranges), conduct a torque check on lugs after 30 days of heat cycles, and keep the tech sheet in a zip bag taped inside the lower drawer.
A word on standards and specs
Most electric ranges are on a dedicated 240V circuit with a two-pole breaker sized for the nameplate rating. Wall ovens can share a cabinet with microwaves but still need their own circuit. Temperature sensors on mainstream brands hover near 1080 Ω at room temp; that spec appears in major manufacturers’ service manuals. These numbers help you sort a good part from a bad one without guesswork.
That’s the playbook I use in my own house and when helping friends. Start with power, then the safety cutoff, then the heat-makers and their brains. Nine times out of ten, the fix is one of those. If yours is the tenth-control board quirks or hidden wiring faults-don’t feel bad about calling a pro. Better that than a crispy screwdriver and a very smug cat watching you from the counter.
If you need a single phrase to remember while you’re standing at the panel with the kitchen cold and quiet: a suddenly electric oven not working is usually power or a safety cutoff. Check those first, save yourself an afternoon, and get dinner back on the calendar.