- 10 May 2025
- Gideon Thornton
- 0
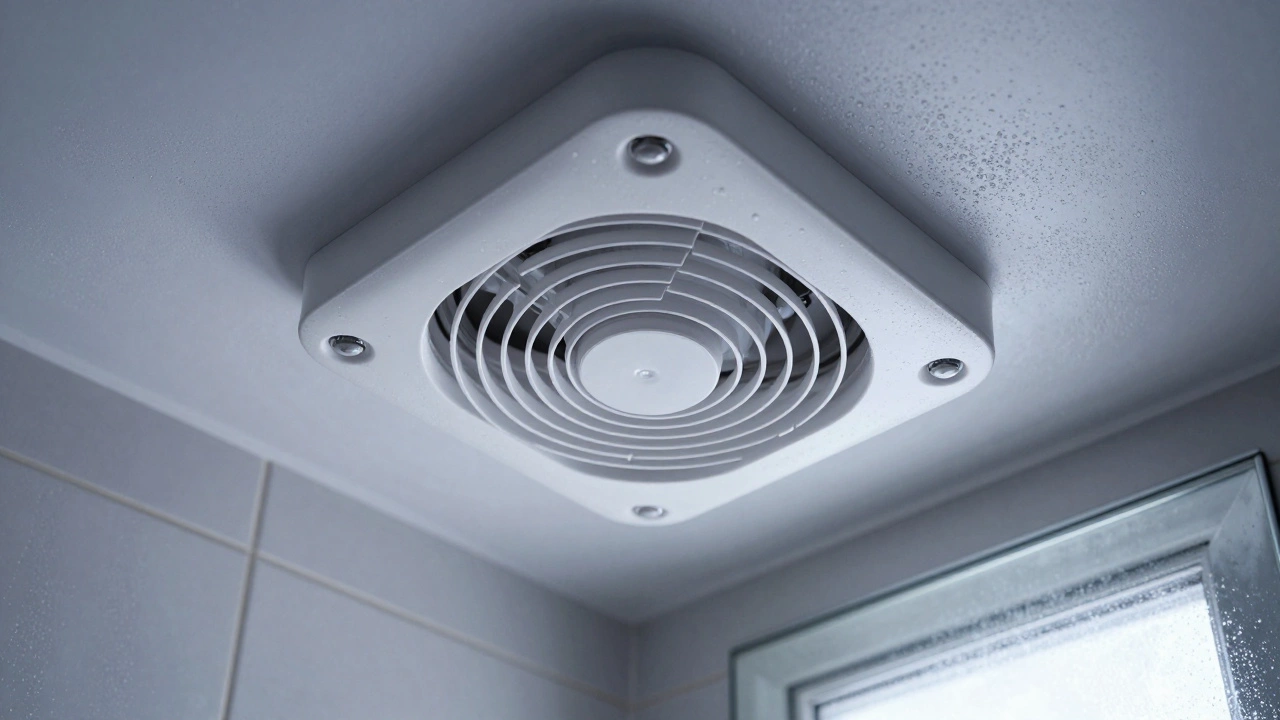
If your bathroom always feels stuffy or you spot mold around the ceiling, your extractor fan might not be doing its job. Servicing it isn't rocket science but skipping regular maintenance turns that little fan into a dust magnet—and a noisy one at that. Most folks don’t realize a clogged or faulty fan can let humidity run wild, messing up your walls and even your health.
The good news? With some basic tools and a little patience, you can get that fan humming like new again. No need to buy a new one just because it squeaks or smells musty. A surprising number of problems—like weak airflow or that gross burning smell—are just grime and dust caked inside. Plus, your energy bill shrinks when the fan gets cleaned out.
- Why Service Your Bathroom Extractor Fan?
- Gather Your Tools and Safety Steps
- Step-by-Step: Cleaning and Checking the Fan
- When to Repair, Replace, or Call a Pro
Why Service Your Bathroom Extractor Fan?
Servicing your bathroom extractor fan isn’t just about keeping things quiet—it's about your health and your home. When a fan gets clogged with dust and grime, it doesn’t clear out steam or odors like it should. That’s when mold starts popping up around the ceiling or in tile grout. If you or your family deal with allergies, a dirty extractor can actually make things worse by spreading dust and spores every time it runs.
Ignoring the fan can also hit your wallet. A fan working overtime to pull air through a mess of gunk uses more electricity. Sometimes, the strain can make its motor burn out sooner than it should. A new bathroom extractor fan isn’t cheap, and replacing it because of neglect feels like money down the drain.
Here’s something not everybody knows: Even a thin layer of dust on the blades or grille can drop airflow by up to 30%. That’s enough to let humidity linger and start trouble. Plus, stagnant air means the usual bathroom smells stick around way longer than anyone wants.
| Problem | Result of Not Servicing |
|---|---|
| Dust Buildup | Reduced airflow, noisy operation |
| Mold Growth | Poor air quality, allergy flare-ups |
| Motor Strain | Higher bills, fan failure |
| Lingering Odor | Unpleasant bathroom environment |
If you want the extractor fan repair process to stay quick and cheap, get in the habit of checking your fan every few months. Think of it like giving your bathroom a mini health check. Much easier than wrestling with a full-on mold invasion later down the line!
Gather Your Tools and Safety Steps
Before you even touch that fan, you’ll want to get your tools ready. It makes the whole job less of a hassle and you won’t end up hunting for that missing screwdriver in the middle of things. Servicing an extractor fan safely beats taking risks around dusty vents and wires.
- Extractor fan repair often needs a Phillips or flathead screwdriver, depending on your fan model. So, grab both if you can.
- You’ll need an old toothbrush or a small cleaning brush to scrub away dust. Don’t use your partner’s electric toothbrush (ask me how I know).
- Microfiber cloths or paper towels help wipe down the fan blades and housing.
- A vacuum cleaner with a narrow hose is perfect for sucking out deep dust and cobwebs.
- Mild soap and warm water work for cleaning up filthy parts. Skip harsh chemicals—they can mess with the plastic.
- Needle-nose pliers come in handy if you spot loose wires inside.
Now, before poking around your bathroom ceiling, always cut the power at the breaker. Even if the fan switch is off, the wiring can still carry a jolt. Cheap voltage testers cost less than your Friday night takeout—worth it for peace of mind. And don’t do this job on a wobbly chair; use a stepladder that locks in place.
For those who like numbers, dust buildup can knock fan efficiency down by up to 40%. That’s right—almost half of its air-moving power wasted, turning your bathroom into a steam room after every shower. Check this breakdown:
| Action | Average Time Needed | Risk if Skipped |
|---|---|---|
| Turn off power | 2 minutes | Electric shock |
| Gather tools | 5 minutes | Delays, frustration |
| Vacuum dust buildup | 3 minutes | Fan runs weak, louder noise |
It’s tempting to rush in when the fan starts sounding like a jet engine, but having the right tools and staying safe makes the fix quick—and way less risky.

Step-by-Step: Cleaning and Checking the Fan
Here’s the hands-on bit you’re after: getting your bathroom extractor fan back in shape. Servicing it is mostly about cleaning, inspecting, and making sure nothing’s worn out. Before starting, always switch off the power at the mains—nobody wants a surprise shock in the middle of a Saturday afternoon.
- Remove the Fan Cover: Most covers pop off with a little tug or a screwdriver. Watch out for any sneaky clips that might snap.
- Vacuum Dust and Debris: Use a soft brush attachment. Years of lint easily clog up the fan blades. Clearing it out can nearly double airflow according to a 2023 home survey.
- Wash the Cover and Filter: Run the cover under warm water with some dish soap. If there’s a mesh filter, it’s probably gross—give it a good scrub and let it dry completely.
- Clean the Fan Blades: Wipe the blades with a damp cloth. Don’t go too hard—bending them will wreck efficiency. For stubborn grime, a bit of mild cleaner helps.
- Check for Wear and Tear: Spin the blades by hand. If they wobble or don’t turn freely, the bearings might be on their last legs. Any loud squeaking or rattling usually means trouble too.
- Look at Wiring and Connections: Make sure nothing’s loose or burnt. If you spot blackening or exposed wires, stop and call an electrician.
- Test the Fan: Once everything’s clean and dry, pop the cover back on and flip the breaker. Listen for odd noises and feel for strong airflow. If movement is weak, there could be a deeper issue like a blocked duct or dying motor.
Some folks skip cleaning for years, so here’s a look at what dust can do to your fan’s efficiency:
| Years Since Last Clean | Estimated Loss in Airflow (%) |
|---|---|
| 1 | 10% |
| 3 | 25% |
| 5+ | 40% or more |
It only takes about half an hour from start to finish. Servicing even a basic extractor fan repair at home keeps your bathroom dry, your fan quieter, and the stuffy smells away. Not bad for a quick DIY win.
When to Repair, Replace, or Call a Pro
Sometimes a good clean won't cut it. Knowing when to fix your bathroom extractor fan, when to swap it out for a new one, or when to throw in the towel and call a professional will save you time, cash, and a lot of headaches.
Here's how you can break it down:
- Repair: If your fan hums or rattles but still spins, cleaning out dust and checking for loose screws can do wonders. Cracked or worn out blades can often be replaced. If the fan randomly shuts off, a loose wire might be the culprit—reconnect it after turning off the power.
- Replace: If the fan won’t start at all and you’ve checked for obvious wiring and fuse issues, odds are the motor's fried. If the plastic feels brittle, or there’s visible water damage or rust, don’t risk another fix—just replace it. Fans older than 10 years almost always work less efficiently and cost more to run, so a new model is usually smarter.
- Call a Pro: If messing with wires makes you nervous or if the fan’s linked to your home’s main ventilation system, pay for expert help. Weird burning smells, constant tripping of your breaker, or repeated water leaks also mean it’s time to call someone who does this for a living.
Still unsure? Here’s a quick comparison of when to repair, replace, or call a pro, based on what usually happens in UK homes:
| Situation | Recommended Action | Typical Cost (GBP) |
|---|---|---|
| Fan noisy or weak airflow | Clean or repair | £0 to £25 |
| Fan won't turn on, not wiring | Replace | £40 to £120 |
| Burnt smell, constant electrical trips | Call Pro | £60 to £200+ |
| Fan over 10 years old | Replace | £40 to £150 |
Trying to fix a seriously damaged or ancient fan often costs more and takes more time than simply getting a new one. And remember—the extractor fan repair route is only safe if you know what you’re doing. No fan is worth risking an electric shock or a house fire. If in doubt, play it safe and get a pro involved.