- 28 Sep 2024
- Gideon Thornton
- 0
Many of us take our trusty kitchen appliances for granted until something goes awry. When it comes to your electric oven, even a simple issue can disrupt meal plans. But before you call in a professional, there are some troubleshooting steps you can take yourself.
Understanding the basics of how your oven works is key to identifying problems. It could be something as uncomplicated as a poor power connection, or it might be a more intricate issue with the heating elements. With a few handy insights, many oven troubles are easier to diagnose than you might think. Let's dive into some common issues and how you can address them.
- Recognizing Power Supply Issues
- Identifying Faulty Heating Elements
- Detecting Thermostat Problems
- Checking the Door Seal and Alignment
- Simple DIY Fixes to Try First
Recognizing Power Supply Issues
Electric ovens rely on a steady, reliable power source to function correctly. Without it, even the most advanced models cannot produce the anticipated culinary results. One of the first signs of a potential power supply issue is when your oven fails to switch on at all. While this might seem like the obvious scenario, subtler signs can include erratic temperature settings or the oven turning off unexpectedly. Ensuring that your appliance is connected to a working outlet seems like a no-brainer, but it can sometimes be the simple solution. Interruptions in cooking can annoy anyone, and determining the root cause is a priority to get everything back on track.
Start by checking the circuit breaker. A tripped breaker is one of the most common reasons for an oven's failure to power up. Locate your home's electrical panel and verify that the switch corresponding to your oven hasn't flipped. The reason it may have tripped could be due to a temporary power surge or another appliance sharing the circuit drawing too much power simultaneously. Electricity can be a tricky game, and understanding these dynamics keeps your kitchen running smoothly.
It's imperative to inspect the power cord for frays or visible damage if the circuit breaker isn't the problem. Over time, cords can suffer wear and tear, and a damaged one not only affects functionality but can also pose a safety risk. Give special attention to parts where the cord bends or where the plug meets the outlet, as these areas are most susceptible to damage. Always unplug the oven before inspecting or replacing cords to ensure your safety. If you're uncertain, reaching out to a professional for replacement might save you headaches and hazards down the line.
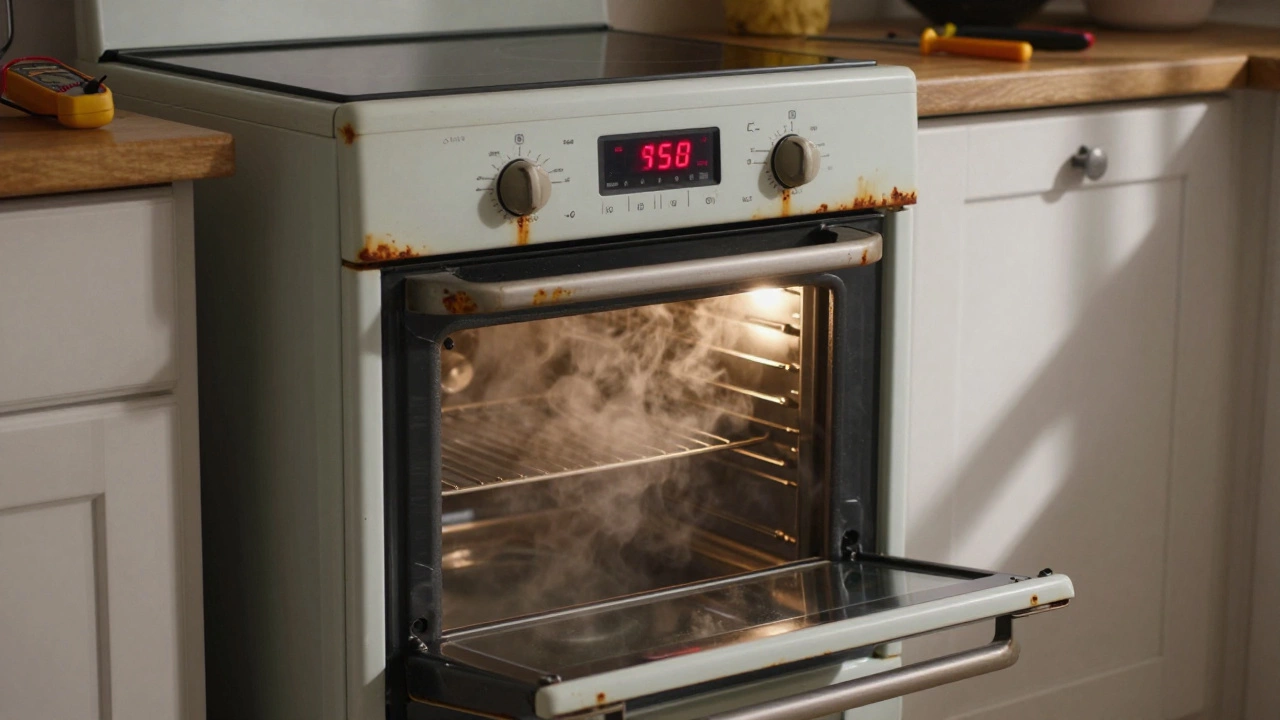
Another aspect to consider is voltage levels. Ovens typically require a 240-volt outlet, and if it's supplied with less, it might not operate effectively. You can use a multimeter—a handy tool for any DIY enthusiast—to measure the voltage at the outlet. Making sure your oven has the right juice is like making sure your car has enough gas before a road trip. If you're getting a reading below requirements, contacting an electrician might be necessary to avoid future inconveniences.
A misconnection between oven controls and power supply can also be the culprit. Sometimes, the control board loses its connection due to wear or minor malfunctions, disrupting normal operation. If your model's display flickers or behaves erratically, it could suggest communication troubles between the control interface and the oven's power components. Patience and careful assessment can often reveal issues that aren't glaring at first glance, and a seasoned technician can diagnose and mend these issues swiftly when needed.
"It is always advisable to consider the simplest explanations first when dealing with appliance malfunctions," remarks a respected technician from 'Home Appliance Experts'. "A little knowledge goes a long way when deciphering the mysteries of a non-starting oven. It is often just one board or wire out of place."
Lastly, consider the timing mechanisms or clocks. Believe it or not, some ovens are stubborn and won't turn on if their clocks are not set or malfunctioning. Double-check these settings too. Sometimes, just resetting one of these components can restore your oven to its full potential. These small but crucial checks can save you time and potentially money, preventing unnecessary service calls, and keeping the kitchen ready for your next culinary adventure.
Identifying Faulty Heating Elements
Diving into the world of appliance repair might seem daunting, but understanding how to identify faulty heating elements in your electric oven doesn't have to be complex. The first sign most people notice when a heating element is failing is uneven cooking, where one part of the oven gets hot while another stays cold. This inconsistency is a clear indicator that one of the heating elements might be struggling to do its job.
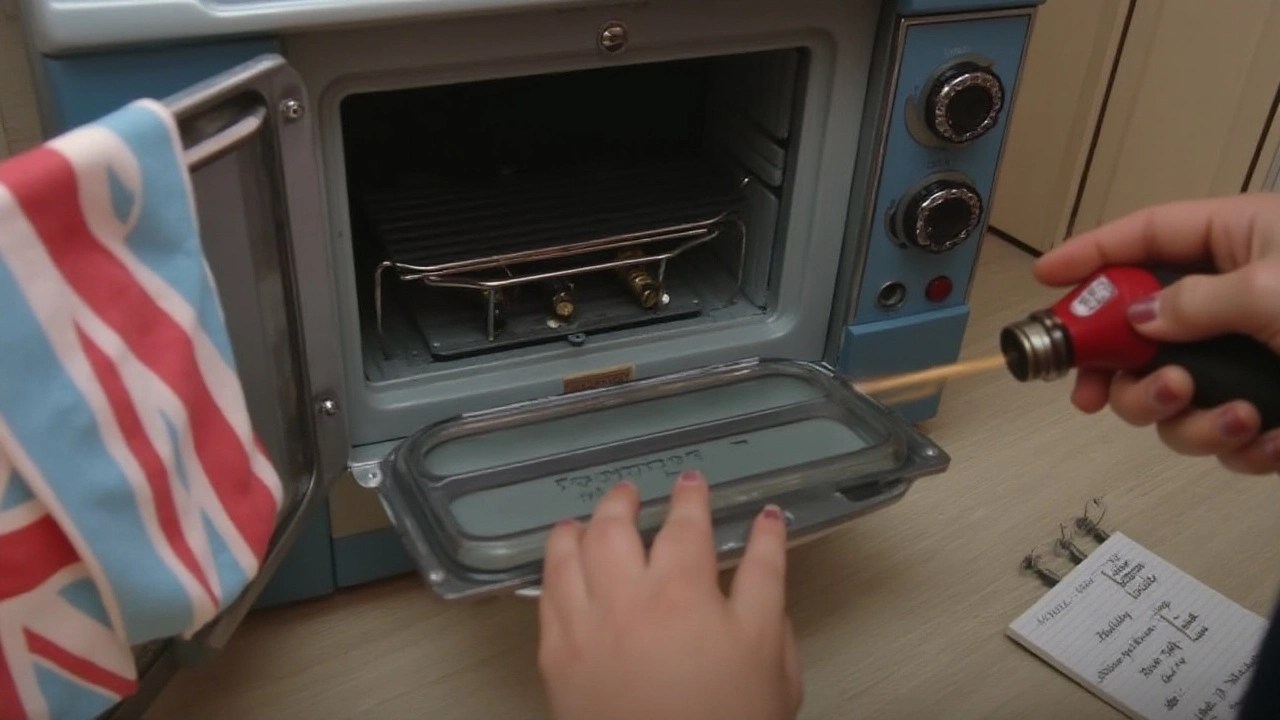
When an electric oven's heating element is in good condition, it should glow a bright orange or red when the oven is turned on. If you notice the heating element isn't lighting up, it could mean it's damaged or burned out. To check, make sure the oven is off and cool. Then, visually inspect for any visible damage like blisters or breaks. Remember that the different elements, such as the bake and broil, have distinct roles within the oven's anatomy, each responsible for distinct cooking methods.
"A faulty heating element can often be replaced without calling a professional, making it one of the more straightforward repairs," explains Barbara Rodriguez of Home Appliance Fix Corp. "Identifying whether it’s the bake or broil element takes just a few simple tests."
Testing these elements is essential. One effective way is using a multimeter, a handy tool for measuring electrical current, which can be found at most hardware stores. Set the multimeter to the 'ohms' setting and carefully check for continuity. An element in good working order should show a reading that indicates a closed circuit. If you get no reading or zero, it's time to think about a replacement. Safety first! Always ensure the oven is unplugged or the breaker is switched off before performing any tests to avoid electric shock.
But before replacing, it’s always worth considering the potential for loose connections. Sometimes, the problem isn't the element but rather a loose wire that prevents the current from flowing correctly. A quick inspection of these connections, ensuring all screws are tight and wires are secure, can sometimes solve the problem. Regular maintenance checks like these can prolong the life of your oven and ensure it’s working correctly.
It's also important to understand the typical lifespan of an oven element, which is generally around 5-10 years, depending on usage. Running your oven at consistently high temperatures might shorten this lifespan. Keeping an eye on how frequently you use your oven at max capacity can give insight into when it might be time for a check-up or replacement. Utilizing these tips can help ensure your oven’s performance stays optimal.
| Type of Element | Average Lifespan |
|---|---|
| Bake Element | 8-10 years |
| Broil Element | 5-8 years |
To maintain a smooth-running kitchen appliance, a bit of vigilance and a simple toolkit can go a long way. As many oven issues stem from something straightforward like a heating element, knowing the signs of trouble can save time and possibly a sizable service fee. It’s empowering to diagnose and address these minor issues yourself before they snowball into something more significant. So, next time you find yourself puzzled by uneven bakes or dishes taking longer than usual, don’t hesitate to explore the heating elements—they might just hold the answers you need.

Detecting Thermostat Problems
An oven that doesn't bake consistently can be incredibly frustrating, and quite often, the issue lies within the thermostat. The thermostat functions as the brain of your electric oven, telling it when to heat and when to cool down. If your cakes are coming out half-baked or charred on one side, you might have a thermostat dilemma at hand. To detect if it’s the source of your oven woes, there are a few steps you can take. First, pay attention to any peculiarities in how your oven is operating. If the temperature doesn’t align with the settings you've chosen, there's a good chance the thermostat is not in sync.
"A faulty thermostat can make a typically simple baking task seem like a gamble each time you use the oven." - Appliance Experts Weekly
Checking whether the thermostat is indeed the culprit can start with a visual inspection. Set your oven to a moderate temperature, like 350°F, and let it preheat for a reasonable amount of time. Then, using an oven thermometer placed inside, check if the temperature matches up to the set level. In cases where the reading is off by a substantial margin, it’s a sign that the thermostat is not functioning well. Make repeated checks to ensure it wasn’t just a one-time glitch.
If you've determined that the thermostat isn't acting right, consider manual calibration next. Different ovens offer distinct methods for tweaking thermostat settings, usually involving adjustments behind the control knobs or digital calibrations through the control panel. Consult your oven’s manual for guidance; this step varies considerably among models. Some high-tech ovens, for instance, might need a more nuanced approach than traditional dials and buttons.
For those who love taking on DIY projects, replacing an oven thermostat isn't out of reach, but it does require caution and precision. This usually involves disconnecting the power, removing the back panel of the oven, and carefully disconnecting the wires attached to the thermostat. Replacement parts can often be found online or at appliance repair stores. This venture, although time-consuming, could extend your oven’s life significantly and eliminate the erratic baking results. Note that if the task seems daunting, it's probably wise to reach out to a professional.
Many people find it surprising that thermostat issues are one of the most common electric oven problems and, luckily, one of the easiest to detect and fix when you know the signs. Understanding and acting on these symptoms can save you time and the hassle of spoiled meals, keeping your kitchen in full swing and your dinners delectable.
Checking the Door Seal and Alignment
When it comes to diagnosing issues with your electric oven, the door seal and alignment might not be the first suspects on your list. Yet, these components play a critical role in maintaining the appliance's efficiency. A door that isn’t sealing properly can allow heat to escape, which not only leads to uneven cooking but also increases energy consumption. To check the seal, wait until the oven is cool, then open the door and inspect the rubber gasket around it. This gasket should be continuous and free of cracks or tears. If it's looking worn or broken, replacing it could be a straightforward solution to your problems.
Alignment is equally important; an improperly aligned door can cause the same issues as a faulty seal. It’s essential that the door closes snugly against the gasket. To check the alignment, close the oven door on a piece of paper. If you can easily pull the paper out without resistance, the door might not be aligned properly. You can often adjust alignment by tightening or loosening screws located on the door or its hinges. This isn't just about aesthetics or energy savings—keeping your oven's door properly sealed and aligned ensures that your meals cook evenly, which is particularly crucial for baking endeavors.
It’s interesting to note that according to research by Energy Star, ovens with poor seals can lose up to 20% of their heat while cooking. These inefficiencies not only drive up utility bills but can also slow down cooking times, making meal prep a more drawn-out affair than necessary. In more extreme cases, heat escaping the oven could pose a fire hazard, emphasizing the importance of a secure seal. Catching such problems early with regular checks can prevent more complex repairs down the road. If ever in doubt about the severity of the issue, professional help is always a good option.
A misaligned door can sometimes be symptomatic of a more significant problem, such as a warped oven frame or faulty hinges, which might need more detailed assessment. If you’re handy with tools and enjoy DIY projects, consider getting a user manual for your specific oven model. It can offer precise instructions and illustrations to follow. However, always prioritize safety; disconnect the power supply before you start tinkering with any appliance.
If you're still uncertain about tackling the problem yourself, think of it this way: an oven's door is much like any other door in your home. When it's not working right, it’s almost always something tangible, whether it's the hinges, the latching mechanism, or the door frame itself. Adjustments can often be done with basic tools found in most households, like screwdrivers or socket wrenches. But being thorough is key—if adjustments don’t resolve the issue, you might need to explore whether replacement parts are required.
For those of us who cherish having a functional kitchen, maintaining the integrity of your oven’s door is integral to keeping your culinary exploits running smoothly. By periodically examining the door seal and alignment, you ensure that your beloved electric oven continues to bake, roast, and broil to its fullest potential, bringing joy and flavor to every meal.

Simple DIY Fixes to Try First
Before calling an expert for help, a few easy do-it-yourself solutions might just do the trick for getting your electric oven back in working order. Take the time to go over these initial steps at home; you might find the solution is much easier than anticipated. Start with checking the basics such as the power supply: ensure your appliance is properly plugged in and that the circuit breaker hasn't been tripped. This might sound trivial, but sometimes the plug can be accidentally knocked loose, or a power surge might trip the circuit breaker. It's not uncommon for a simple flick of a switch to solve what seems like a more serious issue.
Inspecting and Cleaning Heating Elements
Next, turn your attention to the heating elements, which are often culprits when your oven doesn't heat up efficiently. Start by examining them closely for any visible signs of damage like cracks or blisters. Simply replacing a burned-out element can restore the oven to full functionality. Cleaning these elements can also improve performance, as a buildup of residues can impede heat distribution. A mixture of baking soda and water can be used to scrub any stubborn spots without scratching the surface.
Testing the Thermostat
Testing the thermostat can also be a wise move, particularly if your oven's temperature seems off. Understanding how to calibrate the thermostat allows you to ensure that your cooking temperatures are accurate, which can drastically improve your results. One simple method involves using an oven thermometer to double-check and adjust based on what you find. This little gadget can shed light on whether the thermostat is indeed the root of the issue.
Ensuring Proper Door Seal
Another critical yet frequently overlooked aspect is the oven door seal. A loose or damaged seal means your oven loses heat, affecting cooking times and efficiency. Conduct a close inspection for signs of wear and tear; you might feel an unusual draft when the door is closed. Replacing the worn gasket with a new one isn't as daunting as it might seem. A quick trip to the hardware store provides all you need, and the installation process is pretty straightforward.
"It's the small things that often matter most when it comes to oven care and maintenance. A little attention goes a long way." — Expert Appliance Technician
Simple Parts Replacement and Safety Tips
Sometimes the simplest of fixes involves replacing worn-out parts like knobs or internal lights. These elements are inexpensive and can easily be swapped out at home. Safety is paramount, so always make sure your oven is entirely disconnected from the power supply before attempting any repairs. Patience and a methodical approach are key. Never rush a repair job, as hastiness can lead to overlooked details and potential hazards.
Adopting these initial DIY steps can be surprisingly effective in diagnosing and fixing appliance troubleshooting issues. Trying a few of these simple measures might just get your oven back in optimal condition, saving you both time and resources.


