Learn to spot, test, and replace a blown oven element with step‑by‑step instructions, safety tips, and troubleshooting FAQs.
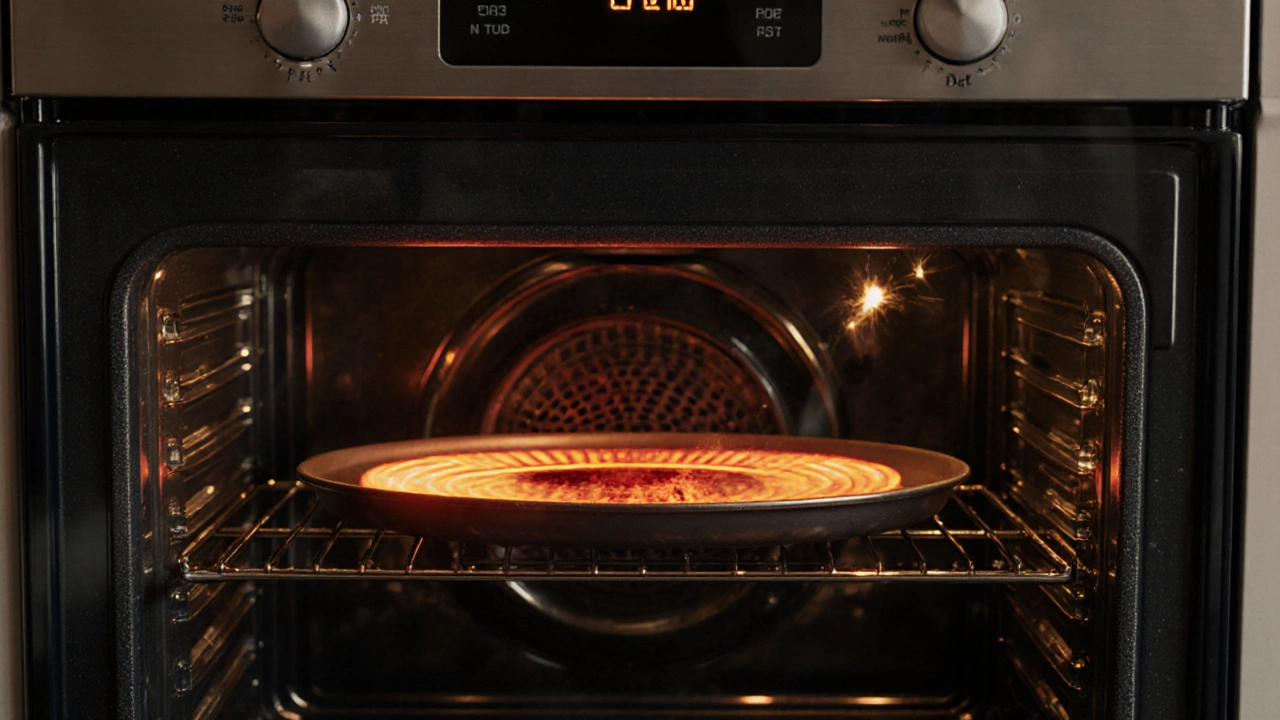
When working with oven element, the metal coil that converts electricity into heat inside an electric oven. Also known as heating element, it is a core component of any electric oven, a kitchen appliance that uses electric power to bake, roast or broil food. The oven element requires a reliable power supply and a correctly calibrated thermostat to reach the set temperature – that’s the first semantic triple: oven element requires electricity. It encompasses several attributes: material (usually nickel‑chrome alloy), wattage (typically 2000‑3000 W), and form factor (coil or flat‑plate). These values determine how quickly the oven heats and how evenly the heat spreads. When the element is intact, the oven cavity reaches the desired temperature within minutes, enabling recipes to turn out as expected. However, a burnt coil, broken connection, or corrosion can drop the temperature, cause uneven cooking, or stop heating altogether. Understanding the element’s role helps you spot the problem before calling in help.
Most faults stem from three main causes: overheating, age‑related wear, and power irregularities. Overheating often burns the coil’s protective coating, which shows up as a faint grey line or a complete break – that’s the second semantic triple: a damaged oven element leads to loss of heat. Age‑related wear shows up as reduced wattage; you might notice longer preheat times or cooler bake results. Power irregularities, such as voltage spikes, can fuse the element’s internal wires, making it unsafe to operate. This is where appliance repair, the service of diagnosing and fixing household machines steps in. A qualified technician will test the element with a multimeter, verify the thermostat’s continuity, and check the wiring harness for loose connections. If you’re comfortable with basic tools, you can replace a faulty element yourself: disconnect the oven’s power, remove the rear panel, unscrew the old coil, and install the new one, making sure the connectors lock securely. Always oven element safety first – never work on a live appliance. Proper installation restores the oven’s heating efficiency, saves energy, and extends the appliance’s overall lifespan. The third semantic triple: temperature sensor, a component that monitors oven heat works hand‑in‑hand with the oven element, feeding data to the control board so the oven doesn’t overheat.
Below this intro you’ll discover a curated set of articles that dive deeper into each aspect of the oven element ecosystem. From troubleshooting power issues and identifying signs of a failing heating coil, to step‑by‑step DIY replacement guides and cost breakdowns for professional appliance repair services, the collection covers everything a homeowner might need. Whether you’re trying to diagnose why your oven won’t heat, decide if a repair is cheaper than a new unit, or simply want to understand how the thermostat and element interact, the posts give clear, practical advice. Use the insights here to make informed decisions and keep your kitchen running smoothly.
Learn to spot, test, and replace a blown oven element with step‑by‑step instructions, safety tips, and troubleshooting FAQs.