- 8 Oct 2025
- Gideon Thornton
- 0
Oven Element Diagnostic Tool
Diagnosis Steps
Answer the following questions to determine if your oven element is likely burned out.
Common Symptoms vs Likely Causes
| Symptom | Most Likely Cause |
|---|---|
| No heat at all | Blown oven heating element or tripped circuit breaker |
| Only broil works | Bake element failed, thermostat OK |
| Intermittent heat | Loose wiring harness or faulty control board |
| Rapid temperature spikes | Thermostat malfunction or missing safety fuse |
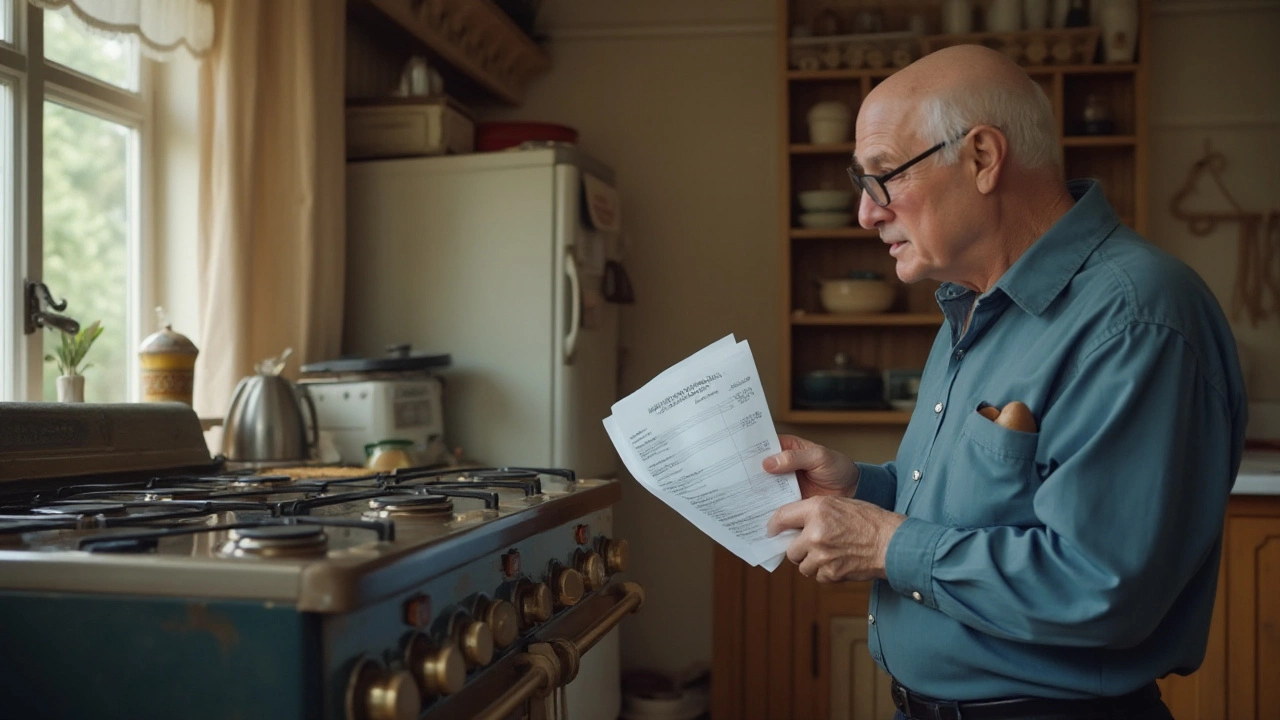
When your oven refuses to heat, the culprit is often the oven element. Knowing whether it’s truly blown saves you time, money, and the hassle of unnecessary part orders. This guide walks you through spotting the signs, testing the component safely, and deciding if a replacement is the right move.
Typical Symptoms of a Blown Oven Element
Before you crack open the oven, match what you’re experiencing against these common clues:
- Nothing happens when you set a bake or broil temperature.
- The oven takes a long time to reach the set temperature, or it never gets hot enough.
- Only one of the two heating elements (bake or broil) works while the other stays cold.
- You hear a faint pop or see a tiny flash inside the oven cavity when you first turn it on.
- The oven display shows an error code related to heating (e.g., "E1" on many models).
If you notice any of these, the next step is a visual inspection.
Visual Inspection: Spotting Physical Damage
Safety first: unplug the oven or switch off the dedicated circuit breaker at the consumer unit. Once power is off, pull the oven racks out and locate the heating elements.
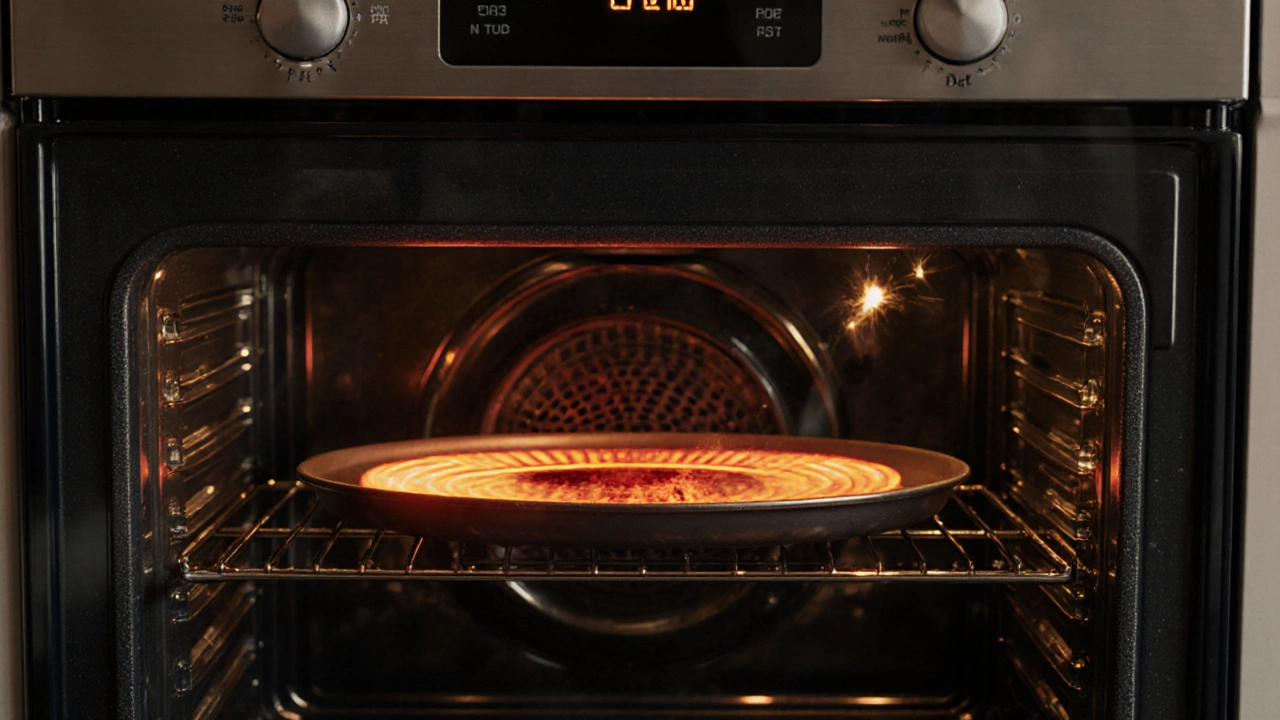
Oven heating element is a metal coil or ribbon that glows red when electricity flows through it, converting electrical energy into heat. Look for these red flags:
- Blackened spots, cracks, or bulges in the coil.
- Burn marks or melting on the ceramic coating surrounding the element.
- Loose or broken mounting brackets.
If the element looks scorched or broken, it’s likely blown. However, visual damage isn’t the only cause-sometimes the element fails internally without obvious signs.
Testing the Element with a Multimeter
To confirm, you’ll need a basic multimeter a handheld device that measures electrical resistance, voltage, and continuity. Set it to the lowest resistance (ohms) range.
- Remove the element’s wiring connectors. Most ovens have a metal clip or screw terminal.
- Touch one probe to each of the element’s terminals.
- Read the resistance. A healthy element typically shows between 10 and 40 ohms, depending on the model.
- If the meter reads "OL" (open loop) or infinite resistance, the coil is broken and the element is blown.
While you’re at it, inspect the oven thermostata temperature-sensing device that tells the oven when to turn heating on or off. A faulty thermostat can mimic a blown element by cutting power prematurely.

Confirming Power Supply and Safety Devices
Sometimes the problem isn’t the element at all. Verify that the oven is receiving adequate voltage:
- Check the circuit breaker. A tripped breaker or a blown fuse will cut power to the oven.
- Use the multimeter to measure voltage at the oven’s power inlet. You should see 240V (or 230V in the UK) for a standard electric oven.
- If voltage is low or absent, the issue may be with the wiring harness or the home’s electrical system.
Modern ovens also have a built‑in safety fuse or thermal cut‑out that disables the element when it overheats. Look for a small glass or ceramic cartridge near the element. If it appears cloudy or broken, replace it along with the element.
When to Replace the Element
Replace the element if any of the following are true:
- The visual inspection shows burns, cracks, or breaks.
- The multimeter test reads infinite resistance.
- The oven’s control board registers a fault code specifically for the heating element.
For most ovens, a replacement element costs between £25‑£80 (UK pricing, 2025). Buying a OEM (original equipment manufacturer) part ensures proper fit and performance.
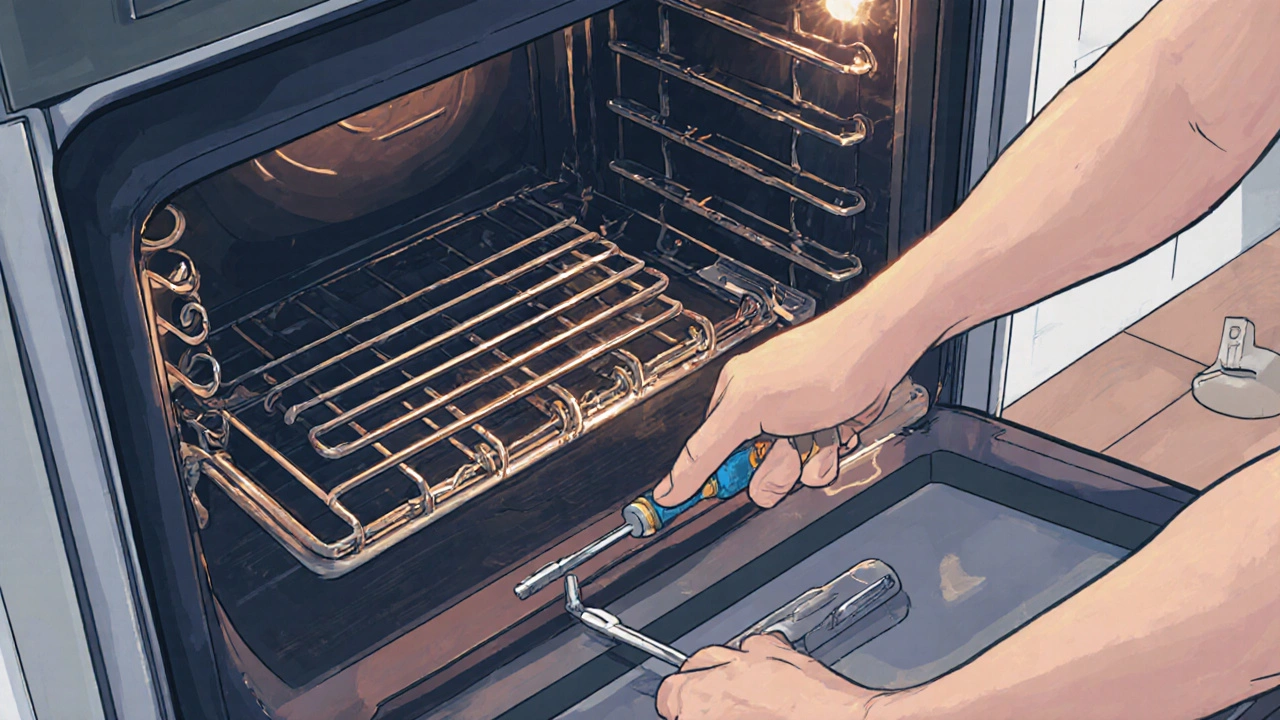
Step‑By‑Step Replacement Guide
- Turn off power at the circuit breaker and unplug the oven.
- Remove the oven door (if needed) to access the rear panel.
- Unscrew the mounting brackets holding the old element.
- Disconnect the wiring harness plug from the element terminals.
- Fit the new element into the mounting slots and secure the brackets.
- Reconnect the wiring harness, making sure the clip snaps into place.
- Reattach any panels or the oven door, then restore power.
- Set the oven to a low bake temperature (e.g., 150°C) and watch the element glow. If it heats evenly, the job is done.
During reassembly, double‑check the wiring harnessthe bundle of electrical cables that supplies power to the oven’s components for any stripped wires or loose connections.
Preventing Future Element Failures
Even a brand‑new element can burn out if the oven is misused:
- Avoid running the oven empty for long periods-this can cause the element to overheat.
- Keep the interior clean. Food splatter can conduct heat to the element’s surface, creating hot spots.
- Don’t use the broil element for baking unless the recipe specifically calls for it.
- Periodically run a short bake cycle to ensure the element cycles on and off correctly.
Regular maintenance, like cleaning the interior and checking the thermostat, extends the life of both the element and the oven’s overall performance.
| Symptom | Most Likely Cause |
|---|---|
| No heat at all | Blown oven heating element or tripped circuit breaker |
| Only broil works | Bake element failed, thermostat OK |
| Intermittent heat | Loose wiring harness or faulty control board |
| Rapid temperature spikes | Thermostat malfunction or missing safety fuse |
Common Pitfalls and How to Avoid Them
Pitfall 1: Skipping the power‑off step. Always verify the circuit breaker is off before touching any wires. A shocked hand is not worth a quick fix.
Pitfall 2: Using a cheap, non‑OEM element. They may fit, but they often have lower wattage, leading to uneven baking and premature failure.
Pitfall 3: Forgetting to reconnect the safety fuse. If the oven’s built‑in thermal cut‑out is missing, the element could overheat and cause a fire.
By staying aware of these traps, you’ll keep the repair process smooth and safe.
Frequently Asked Questions
How can I tell if the bake element is bad but the broil element works?
Run a short bake cycle at a low temperature. If the oven stays cool while the broil function heats up normally, the bake element is likely faulty. Confirm with a multimeter resistance test.
Do I need a licensed electrician to replace an oven element?
In the UK, you can replace the element yourself if you are comfortable working with mains voltage and follow safety precautions. However, if the oven is hard‑wired or you encounter wiring issues, calling a qualified electrician is advisable.
What resistance range indicates a good oven element?
A healthy element usually reads between 10Ω and 40Ω on a multimeter, though exact values vary by model. Check the manufacturer’s spec sheet for precise numbers.
Can a faulty thermostat make it seem like the element is blown?
Yes. If the thermostat stops sending a signal, the element never receives power, mimicking a blown coil. Testing the element’s continuity while the thermostat is disconnected helps isolate the problem.
Is it normal for the element to glow a faint orange instead of bright red?
A faint orange glow can indicate low voltage or a partially failed element. Verify the supply voltage at the inlet; if it’s correct, the element may need replacement.