- 28 May 2026
- Gideon Thornton
- 0
Water Heater Replacement Time Estimator (2026)
There is nothing quite as frustrating as turning on the shower after a long day and getting hit with ice-cold water. Your hot water heater has given up the ghost, and now you are standing in your utility room wondering how long this nightmare will last. You need hot water for dinner, for cleaning, and just for basic comfort. The immediate question isn't just about cost-it's about time. How long until you have warmth again?
The short answer is that replacing a standard storage tank water heater typically takes between three to six hours. However, if you are upgrading to a more complex system or dealing with unexpected complications, that window can stretch to a full day or even two. Understanding exactly what eats up that time helps you plan your day, order takeout if necessary, and know when to expect the plumber to leave.
Standard Tank Replacement: The Baseline Timeline
Most homes in the UK rely on traditional storage cylinder systems or combi boilers that handle instant heating, but if you have a standalone immersion heater or a dedicated tank system, the process follows a predictable rhythm. A straightforward swap-out-where the new unit is the same type, size, and fuel source as the old one-is the fastest scenario.
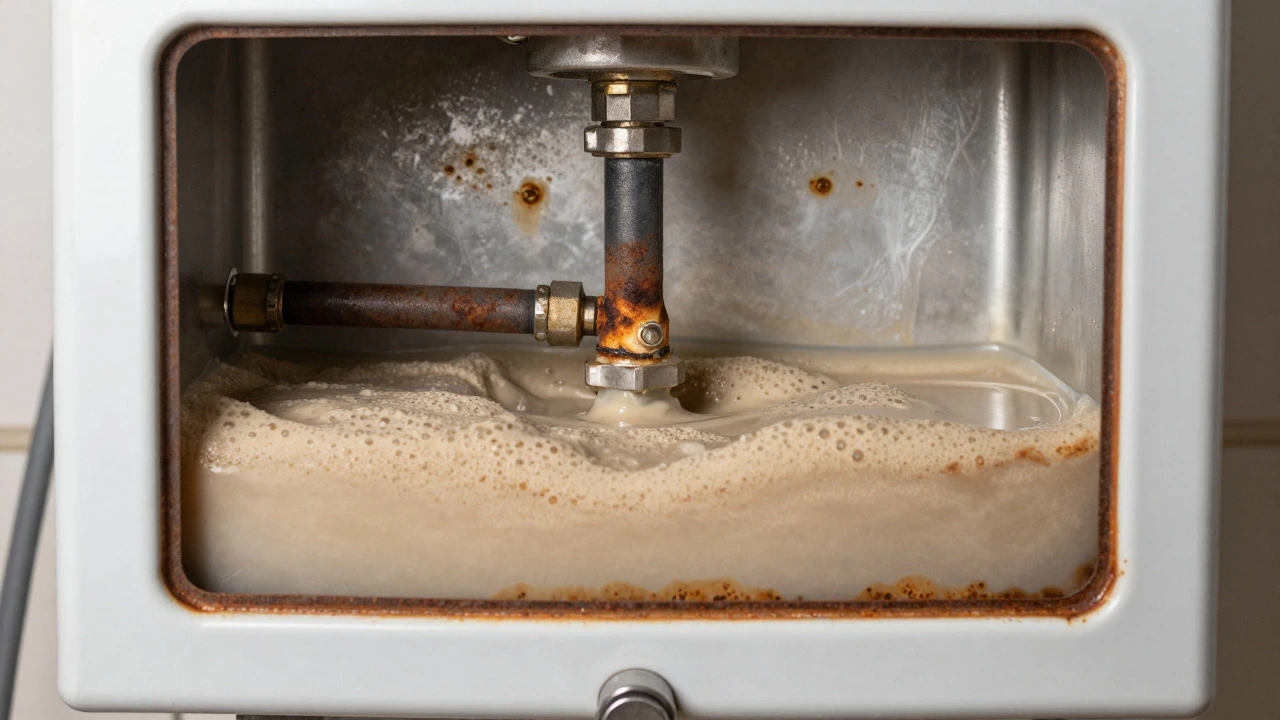
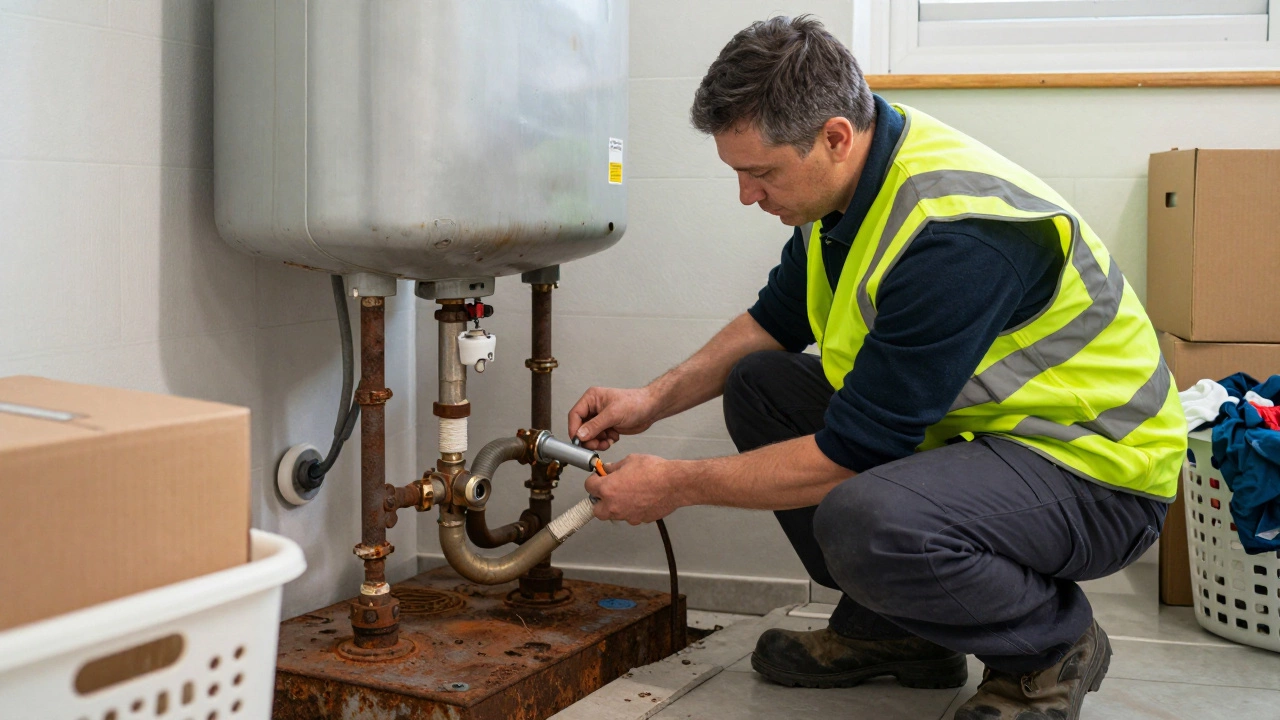
In an ideal world, a professional plumber arrives with the correct unit, shuts off the power or gas supply, drains the old tank, disconnects the pipes, removes the heavy unit, installs the new one, reconnects everything, and tests for leaks. This sequence usually clocks in at around four hours. Why not less? Because gravity and physics play a role. Draining a 150-litre tank takes time, especially if the sediment has settled at the bottom. Flushing the lines to remove debris before connecting the new unit is non-negotiable for longevity, adding another 30 minutes.
If the plumber finds that the existing pipework is corroded or the mounting brackets are rusted through, the job shifts from a simple swap to a minor renovation. Replacing flexible connectors, updating the pressure relief valve, or reinforcing the floor support can easily add another hour or two. Always budget for the upper end of the estimate unless you have seen the inside of your own cupboard recently.
Gas vs. Electric: Does Fuel Type Change the Clock?
The energy source powering your heater significantly impacts the installation timeline. In the UK, many households use electric immersion heaters within cylinders, while others might have older gas-fired tanks (though these are becoming rarer due to safety regulations). If you are switching from electric to gas, or vice versa, the clock resets.
| Fuel Type | Average Duration | Key Complexity Factors |
|---|---|---|
| Electric (Immersion) | 2-4 Hours | Electrical certification required; simpler plumbing connections. |
| Natural Gas | 4-8 Hours | Flue installation, gas safety checks, ventilation requirements. |
| Oil-Fired | 5-9 Hours | Fuel line handling, combustion air intake, environmental controls. |
Gas installations require a certified Gas Safe engineer. They must not only connect the gas line but also install or verify the flue system to ensure carbon monoxide doesn't enter your home. This involves cutting into walls or roofs, sealing gaps, and running comprehensive pressure and leak tests. These safety protocols are mandatory and cannot be rushed. An electric swap is generally quicker because there is no combustion risk, but it still requires a qualified electrician to certify the work under Part P of the Building Regulations in England and Wales.
The Tankless Upgrade: A Different Beast Entirely
If you are looking to replace your old tank with a tankless water heater (also known as an instantaneous or on-demand heater), prepare for a longer project. While tankless units save space and provide endless hot water, they are not plug-and-play replacements for old tanks.
First, the electrical demand is higher. Many tankless electric models require a dedicated 40-amp circuit, which means running new heavy-gauge wiring from your consumer unit. This alone can take half a day. Second, gas-powered tankless units often require larger diameter gas pipes than standard tanks because they burn gas continuously rather than intermittently. If your current gas line is undersized, the plumber must upgrade it, potentially involving trenching or significant wall chasing.
Expect a tankless installation to take anywhere from eight to twelve hours, often split over two days. Day one might involve demolition, pipe upgrades, and electrical rough-ins. Day two is for mounting the unit, final connections, and commissioning. It is a bigger investment in time, but the payoff is a smaller footprint and consistent temperature control.
Hidden Delays: What Can Stall the Job?
Even the best-planned jobs hit snags. Here are the most common reasons why a "four-hour job" turns into an eight-hour ordeal:
- Access Issues: Is your water heater tucked behind a sofa, buried in a narrow loft, or located in a basement with low clearance? Moving furniture and navigating tight spaces adds significant labor time.
- Corroded Connections: Old galvanized steel pipes can fuse together. Removing them without breaking the main line requires patience and specialized tools, sometimes leading to additional pipe repairs.
- Building Regulations: In some areas, local authorities may require notifications for certain types of water heater replacements, particularly if the flue path changes or if the system pressure is altered. Delays in paperwork can pause physical work.
- Supply Chain Gaps: If the specific model you ordered is out of stock, the plumber may need to make a trip to the supplier mid-job, losing valuable hours.
- Water Pressure Problems: Sometimes, once the old tank is removed, low water pressure becomes apparent. Fixing this might require installing a booster pump, which is an entirely separate task.
To mitigate these risks, ask your plumber for a site survey before booking the installation. A good technician will look at the access points, check the condition of the existing pipes, and confirm the specifications of the new unit against your home’s infrastructure.
DIY vs. Professional Installation: Is It Worth the Risk?
You might be tempted to tackle this yourself to save money and time. While changing an immersion element is a manageable DIY task for someone with basic electrical knowledge, replacing the entire water heater is different. In the UK, working on gas appliances is illegal unless you are Gas Safe registered. For electric systems, while you can do some work, the final certification often needs a qualified person.
Attempting a DIY gas installation is dangerous and voids your home insurance. Even for electric units, improper grounding or incorrect thermostat settings can lead to electrocution risks or fire hazards. Moreover, manufacturers often void warranties if the installation is not performed by a certified professional. The time you "save" by doing it yourself could be lost fixing mistakes or waiting for an inspector to sign off on shoddy work. Hiring a pro ensures the job is done right the first time, adhering to all safety standards.
Preparing Your Home for the Swap
You can help speed up the process by preparing your home beforehand. Clear the area around the water heater completely. Move laundry baskets, boxes, and furniture away from the utility room or garage. Ensure the plumber has clear access to the electrical panel and the main water shut-off valve. If you have pets, keep them in a safe, quiet room away from the noise and activity. Having a trash bag ready for the old packaging and any debris also helps keep the workspace tidy, allowing the technician to focus on the installation rather than cleanup.
Post-Installation: Testing and Verification
Once the new unit is in place, the job isn't done until it's tested. The plumber should fill the tank slowly to purge air from the lines, which prevents water hammer and damage to the pump. They will then ignite the burner (for gas) or turn on the power (for electric) and monitor the initial heat-up cycle. Check for leaks at all connection points. Ask the technician to show you how to reset the unit if it trips and explain where the emergency shut-offs are located. This final step usually takes 30-45 minutes but is crucial for peace of mind.
Can I use my water heater immediately after installation?
Not immediately. After installation, the tank needs to fill completely and heat up. For a standard tank, this can take 30-60 minutes for the first batch of hot water. Tankless units provide hot water almost instantly once powered on, but you may need to run the taps briefly to flush out any air bubbles left in the pipes during installation.
Do I need a permit to replace my water heater in the UK?
For gas installations, the engineer must be Gas Safe registered, and they will self-certify the work under the Gas Safety (Installation and Use) Regulations. For electric installations, if the work is not like-for-like, it may require notification to your local building control body under Part P. Your installer should handle these regulatory requirements, but it is worth confirming with them beforehand.
What happens if the new water heater is a different size?
If the new unit is slightly larger or smaller, the plumber may need to adjust the mounting bracket or modify the surrounding cabinetry. Significant size differences might require moving the unit to a different location, which drastically increases installation time and cost due to additional piping and electrical work.
How much does it cost to replace a water heater in 2026?
Costs vary widely based on the type of unit and labor rates. In 2026, a standard electric immersion cylinder replacement might range from £300 to £600 including parts and labor. Gas-fired units or tankless systems can cost between £800 and £1,500+ depending on complexity. Always get multiple quotes from certified professionals.
Should I flush the water heater before removing the old one?
The plumber will drain the old tank as part of the removal process. However, if you suspect heavy sediment buildup, you might want to discuss flushing the lines thoroughly before connecting the new unit to prevent debris from damaging the new heater's internal components.