- 16 Apr 2026
- Gideon Thornton
- 0
Boiler Installation Prep Checklist
Check off the tasks below to ensure your home is ready. Preparing your space can reduce cleanup time by up to 50%.
You've finally decided to upgrade your old, rattling heater, but there's one nagging question: is your living room about to become a construction zone? The short answer is that while a boiler replacement involves moving heavy machinery and fluids, it doesn't have to leave your home looking like a disaster area. Most of the 'mess' comes from two things: the old water trapped in your pipes and the dust created when drilling through brickwork for the new flue.
Quick Takeaways for Homeowners
- Most mess is confined to the boiler location and the path to the exit.
- Water drainage is the biggest risk for spills.
- Dust from flue drilling is the most common "invisible" mess.
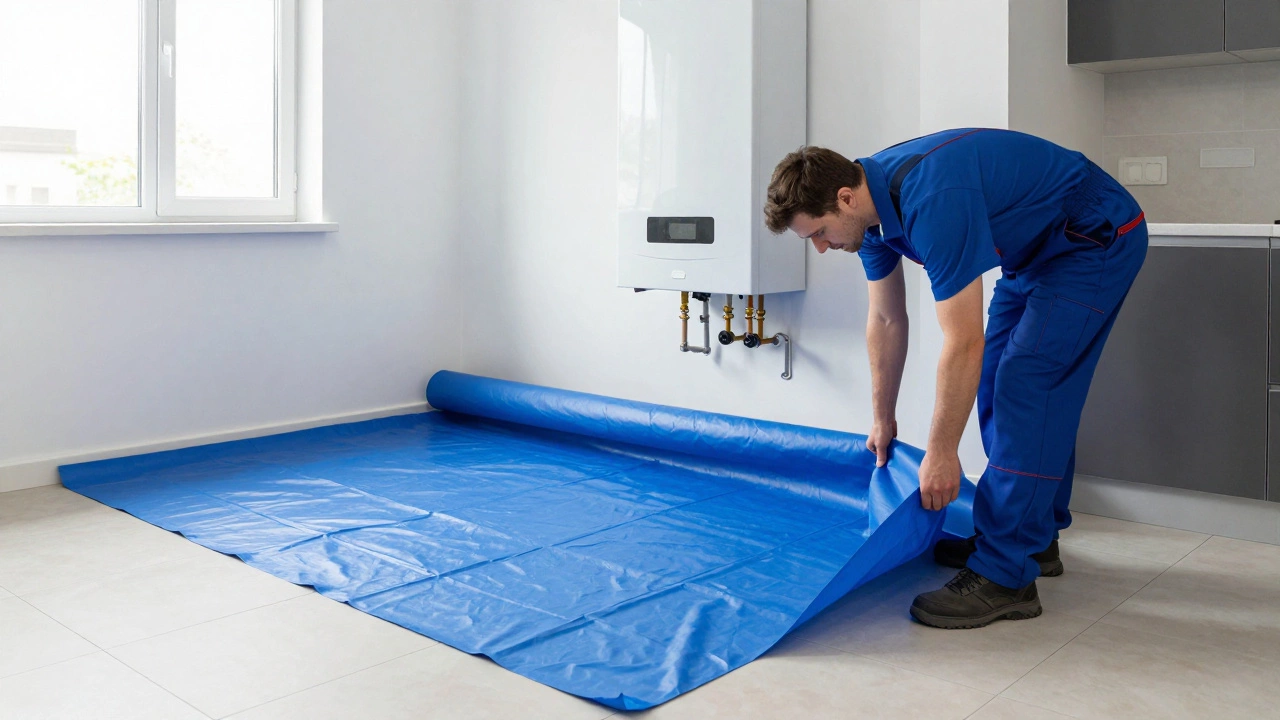
- Professional engineers use drop cloths and vacuums to minimize impact.
- Preparation can reduce cleanup time by half.
What actually makes a boiler swap messy?
To understand the mess, you have to look at what a Boiler is a heating appliance used to heat water for central heating and domestic hot water. When an engineer removes your old unit, they aren't just unscrewing a box; they are disconnecting a pressurized system full of water and chemical inhibitors.
The primary culprit is the system drain-down. Your Central Heating System contains gallons of water. If the engineer doesn't drain the system properly via the lowest point in the house, you'll end up with puddles where you least want them. Then there is the debris. If your boiler is in a kitchen or utility room, removing the old casing often releases years of accumulated dust, spiderwebs, and grit that was hidden behind the unit.
The dirty details of the installation process
A typical installation follows a specific path, and each stage has its own brand of mess. First is the removal of the old unit. This is generally clean, provided the engineer has already drained the pipes. However, if there's a leak in a valve, you might see some sludge-a thick, black residue common in older Radiators-trickle onto the floor.
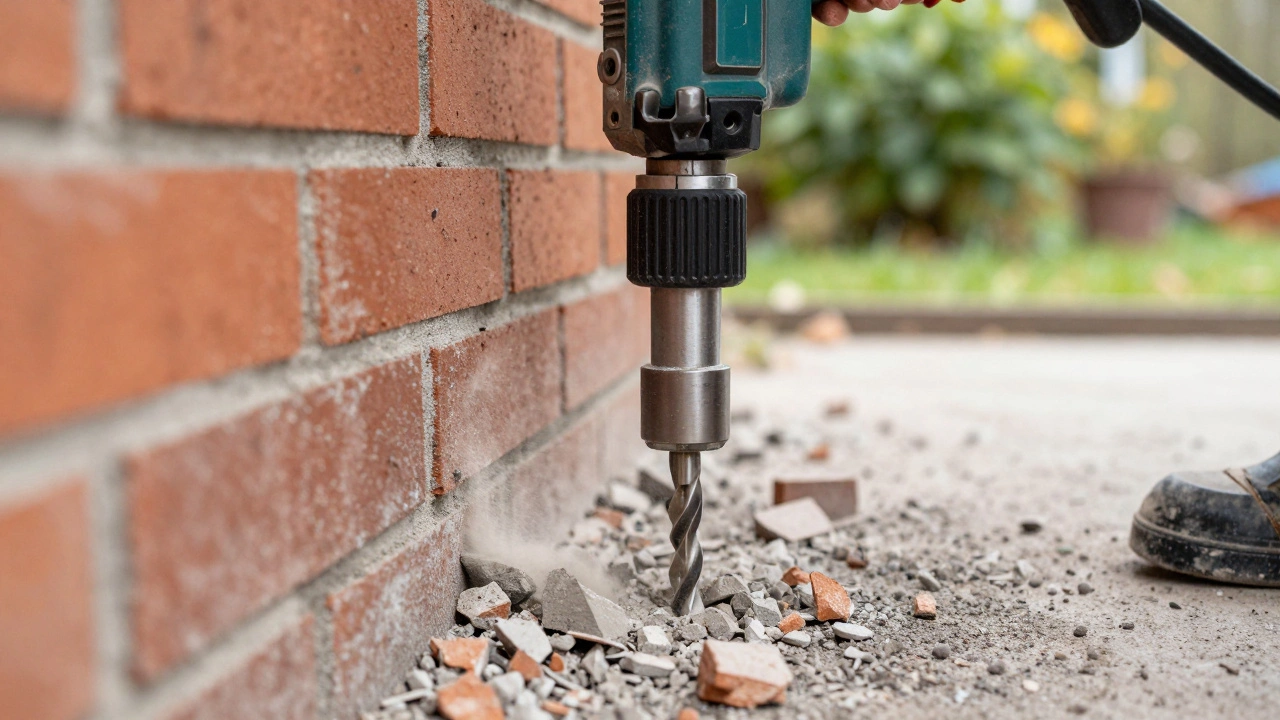
The second stage is the flue installation. The Flue is the pipe that vents combustion gases outside. If your new boiler requires a different exit point, the engineer will use a core drill to punch a hole through your external wall. This creates a surprising amount of brick dust and masonry chips. If they aren't using a vacuum attachment or a wet-drill, that grey powder will settle on your garden patio or your interior skirting boards.
Finally, there is the commissioning phase. This involves filling the system and bleeding the air out of the pipes. While not 'dirty' in the traditional sense, it involves moving from room to room to open valves, which can occasionally lead to a few drips on the carpet if a radiator bleed valve is stubborn.
| Stage | Type of Mess | Risk Level | Typical Solution |
|---|---|---|---|
| Removal | Water/Sludge spills | Medium | Heavy-duty drop cloths & buckets |
| Flue Drilling | Brick dust & debris | High | Vacuum extraction/Plastic sheeting |
| Pipework | Copper shavings/Solder flux | Low | Magnetic sweeps & hand vacuums |
| Filling | Minor water drips | Low | Absorbent towels |
How to tell a pro from a cowboy
The level of mess usually depends on the engineer. A qualified professional, specifically someone on the Gas Safe Register (the official list of gas engineers in the UK), knows that the job isn't finished until the area is clean. They treat your home like a living space, not a workshop.
Watch for these signs of a high-quality installation. Do they lay down protective sheeting before they even open their tool kit? Do they use a vacuum while drilling the wall? If an engineer walks into your home and immediately starts unscrewing pipes without protecting your flooring, you're likely looking at a messy afternoon and a potential cleaning bill. Experience shows that engineers who take pride in their cleanliness also take more pride in the precision of their pipework.
Steps you can take to minimize the chaos
You don't have to just sit back and hope for the best. You can actually help the process go smoother by doing a bit of groundwork. Here is a practical checklist to keep your home tidy:
- Clear the area: Move everything away from the boiler. Remove those spice racks, laundry detergents, or storage boxes. The more room the engineer has, the less likely they are to knock something over.
- Clear the path: Think about how they get the old boiler out and the new one in. Clear the hallway or the garden path. If they aren't struggling with a heavy chassis, they're less likely to scuff your walls.
- Prep the exterior: If the flue is being drilled, move your outdoor furniture or plants away from that wall. It's much easier to move a chair than to scrub brick dust out of fabric cushions.
- Vacuum beforehand: It sounds strange, but cleaning the area first makes it easier to see if the engineer has left any metal shavings or debris behind once they finish.

Common pitfalls and how to handle them
Sometimes, despite everyone's best efforts, things go wrong. You might find a leak in an old pipe that was hidden behind the boiler for a decade. In this case, the 'mess' isn't caused by the replacement, but by the discovery of a pre-existing problem. If you see a large amount of water escaping, don't panic; just ensure the engineer has the main stopcock located so they can kill the flow immediately.
Another common issue is the 'hidden' dust. Even if the floor looks clean, fine dust can travel through the air. If you have a sensitive allergy or a very clean kitchen, you might want to cover nearby countertops with old sheets. Once the engineer leaves, a quick wipe-down with a damp cloth is usually enough to remove any lingering particles.
How long does the actual installation take?
Most standard boiler replacements take between 5 and 8 hours. A simple "swap-like-for-like" where the pipes stay in the same place is faster. If the engineer has to reroute gas lines or move the boiler to a different wall, it can take two full days.
Will I have to paint my walls after the boiler is replaced?
Not necessarily, but it's a possibility. If the new boiler is smaller than the old one, you'll have a gap of unpainted wall or old wallpaper. If the engineer has to cut into the drywall to move pipes, you'll need to patch and paint those sections.
Do I need to move my furniture?
Yes. Any furniture in the immediate vicinity of the boiler or along the main path to the front door should be moved. This prevents accidental damage to your belongings and allows the engineer to work efficiently.
Is it normal for the radiators to be noisy after the swap?
Gurgling or whistling is common immediately after a replacement because air gets trapped in the system. This isn't a 'mess' issue, but a functional one. Your engineer should bleed the radiators as part of the commissioning process to stop this.
What happens to the old boiler?
Most professional companies will haul away the old unit as part of their service. They are required to dispose of it according to environmental regulations, especially if the unit contains older components that require hazardous waste handling.
Final checks for a clean finish
Before you sign off on the job and let the engineer leave, do a quick walkthrough. Check the area around the flue for masonry debris. Peek under the boiler for any lingering drips or spills. If you see copper filings on the floor, ask them to run a magnetic sweep-it's a five-minute task that prevents your family or pets from stepping on sharp metal shards.
If you've chosen a reputable company and followed the prep steps, the only evidence of the work should be a shiny new heater and a slightly higher energy efficiency rating on your monthly bills. The "mess" of a boiler replacement is a temporary hurdle for a long-term gain in home comfort.