- 9 Mar 2025
- Gideon Thornton
- 0
Ever open the oven door only to find your dinner's hardly cooked at all? We’ve all been there, and it’s usually the first sign that something’s up. More often than not, the culprit is a broken oven element. But how do you know for sure?
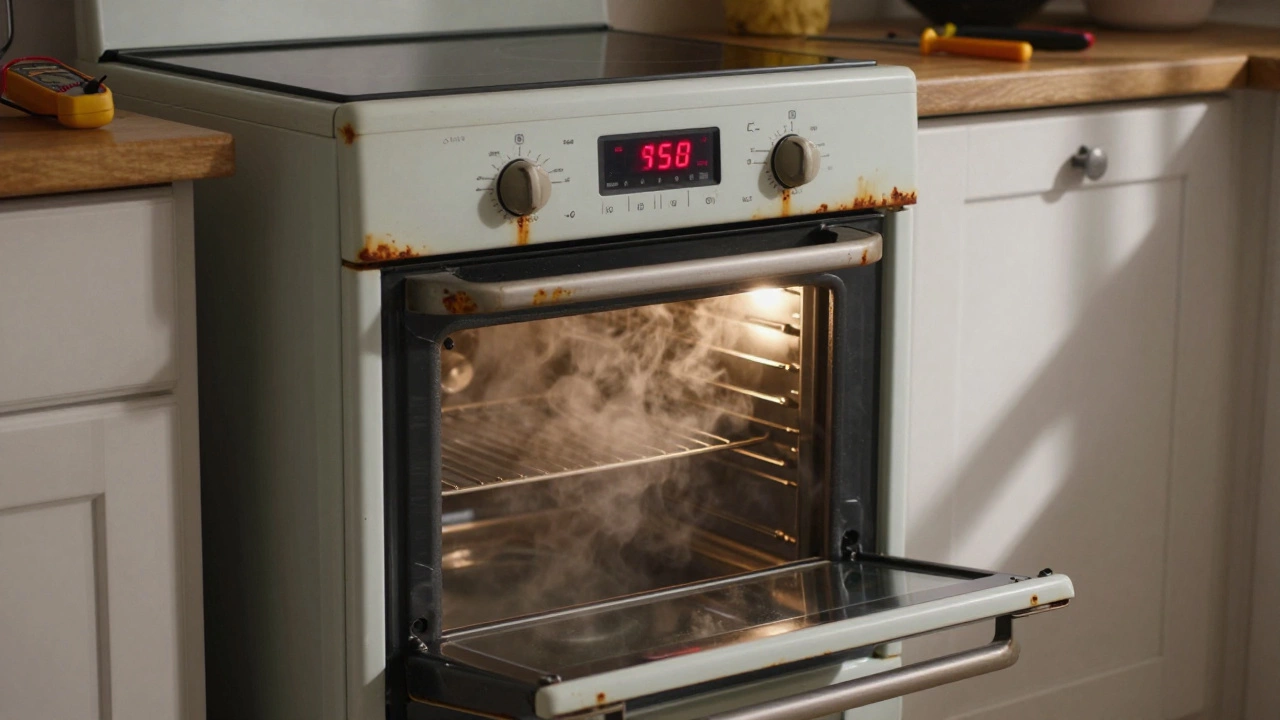
First things first, let's look at the symptoms. The element, that metal coil at the bottom of your oven, is what radiates heat. If it's not glowing red or is showing signs of damage like blisters or breaks, it's possible your element is fried.
Before jumping to conclusions, consider some other culprits. Maybe it’s the thermostat or some other component acting up. But if you're sure it's the element, it's time to confirm with a little testing.
- Signs of a Broken Oven Element
- Common Causes for Failure
- Testing the Element
- Safety Precautions
- Replacing the Oven Element
- When to Call a Professional
Signs of a Broken Oven Element
So you're suspecting your oven's on the fritz? Let’s check for a few key signs to confirm if indeed that oven element is the troublemaker. Keep an eye out for these red flags:
Physical Damage
First things first, have a look at the actual element. Any visible issues? A damaged element often has blisters or cracks. You should see a continuous, even glow when the oven's on. No glowing or uneven spots? Not a good sign.
Inconsistent Heating
If your food's cooking unevenly or takes forever to bake, the element might be the problem. A broken element can't distribute heat properly, leading to those undercooked or partially raw meals.
Strange Noises and Smells
Notice any unusual buzzing or humming when the oven's turned on? These sounds can indicate a faulty element struggling to work. And if there's a burnt smell, this could be the element itself going bad.
Tripped Circuit
Another classic sign is a tripped circuit breaker. If turning on your oven causes the breaker to trip, it might be due to a shorted-out element.
| Symptom | Possible Cause |
|---|---|
| No heat | Burnt-out element |
| Uneven cooking | Partially damaged element |
| Noise or smells | Short circuit |
| Tripped breaker | Electrical fault |
Don’t just guess. Observing these signs can lead you in the right direction and help you tackle your oven repair confidently. If you spot one or more of these symptoms, you’re likely dealing with a broken element, and it's time to dig deeper or call in the pros.
Common Causes for Failure
Oven elements can seem robust, but they do have a hard life. They brave the high heats of our roasting and baking endeavors, which means they're prone to wear and tear over time. Here's why they might break down:
Overheating and General Wear
One of the most common reasons for an oven element to give up is plain old wear and tear. As you use your oven, the element gradually loses its ability to withstand heat. Over time, it can burn out or even physically break.
Electric Malfunctions
Sometimes it's not about the element itself but the electricity that flows through it. Issues like power surges can damage the element. You might notice this if your home recently had electrical hiccups.
Improper Cleaning
We all want a clean oven, but using harsh chemicals or scrubbing too hard can damage your oven's heating element. Next time you clean, be gentle and avoid anything overly abrasive.
Defective Thermostat
A faulty thermostat might cause the oven to heat unevenly. This doesn't directly break the element, but prolonged erratic temperatures definitely don't do it any favors.
Moisture and Liquid Spills
Spills happen, but repeated exposure to moisture can lead to corrosion. If any liquids consistently find their way onto the element, it can corrode over time, causing it to fail.
Here's a quick glance at the causes:
| Cause | Description |
|---|---|
| Wear and Tear | Gradual degradation due to frequent use. |
| Electric Issues | Power surges affecting the element. |
| Cleaning Damage | Harsh chemicals or methods break the element. |
| Thermostat Problems | Inconsistent temperatures causing undue stress. |
| Moisture | Corrosion from liquid spills and moisture. |
Identifying these causes not only helps you determine if your oven repair is necessary, but it also gives you a heads up on how to avoid future headaches. Keep an eye on these areas and you might just save yourself from a cold supper.
Testing the Element
So, you suspect the oven element is acting up, and now it's time to put that theory to the test. You don’t need any fancy tools for this – a simple multimeter will do the trick. If you’ve never used one before, no worries. It’s simpler than it sounds!
Step-by-Step Testing Guide
- Power Off: Before you dive in, ensure your oven is unplugged. Safety first! You don’t want any unexpected zaps.
- Access the Element: Remove the back panel of the oven to expose the heating element connections. Typically, you’ll find a couple of screws holding it in place.
- Disconnect Wires: Carefully detach the wires connected to the element. This step is crucial for accurate testing.
- Grab Your Multimeter: Set it to the ohms setting. You're looking for continuity here, so you want a reading, not radio silence.
- Test for Continuity: Place one probe on each terminal of the element. A good element usually has a reading between 10-100 ohms. If your meter doesn’t budge or shows infinite, bingo! Your element needs a replacement.
Sometimes, despite a failure reading, it’s worth checking for visible damage. Look for any blistering or obvious breaks along the element.
What to Do After Testing
If you’ve determined the broken oven element is the issue, it’s time to decide your next steps. Replacing it yourself is usually feasible. However, if the test results were inconclusive, it might be time to consider other factors or seek professional help.
Remember, keeping a close eye on your oven maintenance can save you from dinnertime disasters. A little attention now might prevent bigger issues down the road.

Safety Precautions
Dealing with a faulty oven element might seem like a simple fix but safety first, folks! Before you get your tools out, it's crucial to ensure you're not putting yourself or your oven at risk.
Turn Off the Power
Start by turning off your oven at the mains. It might seem obvious, but you’d be surprised how many accidents happen because people forget this simple step. It's not just about switching off the oven; you need to cut the power supply to avoid any electrical shock.
Wait for the Oven to Cool Down
Pretty straightforward, right? But if you've just finished cooking or running diagnostics, give it ample time to cool down, so you're not working in a hazard zone. Remember, an oven can retain heat long after it's been turned off.
Use Protective Gear
Wear heat-resistant gloves to protect your hands from any residual heat or sharp edges. Safety goggles aren't overkill, especially if you’re a DIY enthusiast tackling the job yourself.
Tools Should Be Insulated
When checking out the broken oven element, make sure your tools have insulated handles. This keeps you protected from accidental electric shorts—just in case the power wasn't fully turned off.
Clear the Work Area
Ensure the area around the oven is free of any flammable materials. This includes towels, oven mitts, or any cleaning products—better to be safe than sorry.
Double-Check Everything
Always double-check that the power is off and your working conditions are safe. Have a plan in place in case things go sideways, like a fire extinguisher nearby for emergencies.
Following these safety precautions can help ensure that your oven repair experience is as safe as possible. It's always a smart idea to err on the side of caution—especially when electricity and heat are involved.
Replacing the Oven Element
Figuring out your oven element's gone bust is frustrating, but fixing it yourself can save you a chunk of change. Assuming you've determined your element's had its day, let's get into the nitty-gritty of swapping it out.
Tools You'll Need
Before playing electrician, gather your tools. You'll need a screwdriver, a pair of pliers, and replacement oven elements. Don’t have a replacement yet? Check the make and model of your oven—every oven repair place will need that info to get you the right part.
Step-by-Step Replacement
- Safety First: Unplug your oven from the wall socket. If it’s hardwired, shut off the breaker to prevent any nasty surprises.
- Remove the Old Element: Pop open the oven door and unscrew the mounting screws that hold the element in place. Carefully pull the element towards you to expose the wires. Gently disconnect them using pliers; they might be a bit tight. Remember, take your time.
- Install the New Element: Attach the wires to your new element. Make sure they’re snug and in the same configuration as before. Line up the mounting bracket holes, and reinsert and tighten the screws.
- Power Up and Test: Once everything's secure, hook your oven back up to the power. Turn it on and watch for that satisfying red glow indicating your replacement job was a success.
Replacing Tips
If things seem a tad daunting, don't fret. A simple phone snap of how the old element was installed can work wonders if you get mixed up. Keep your space tidy so you don’t scramble around looking for bits and bobs.
Feeling unsure? There's no shame in calling in a pro, especially if your oven is fancy with modern tech.
Replacing the oven element might not seem like a piece of cake, but follow these steps and you’ll be back to baking in no time. Remember, a little patience goes a long way in appliance troubleshooting.
When to Call a Professional
Alright, so you've tried figuring it out yourself and things aren't looking so hot—or literally, too hot. Knowing when to call in the pros can save you a ton of hassle and possibly money down the road.
Red Flags You Can’t Ignore
If your oven’s experiencing electrical shorts or if there's a burning smell that won’t quit, don’t gamble with safety. These are signs that a deeper electrical issue could be at play. Fixing electrical appliances without proper knowledge can be dangerous.
Lack of Time or Comfort
Even if you have the oven repair guide at hand, the process can be time-consuming and requires tools you might not have. Time is precious, and it might not be worth the stress of DIY if you're juggling a busy schedule.
Professional Advice from the Experts
John Matthews from Bristol Home Repair states, "There’s no shame in calling an expert if you're unsure. A licensed repairman can spot issues that aren't even on your radar and ensure everything's up to code."
Also, did you know faulty ovens are among the top five causes of household fires according to the National Fire Protection Association? That’s a pretty solid reason not to wait too long before seeking professional help.
Important Considerations
- Appliance Warranty: If your oven is still under warranty, tampering with it could void your coverage. Professionals can ensure any work done won’t affect your warranty terms.
- Cost vs. Benefit: Weigh the cost of professional service against the possibility of causing more damage. Getting a quote from a repair service can help you part with your cash more confidently.
Sometimes that peace of mind of having a professionally repaired oven is worth it. If you think it's time, don't hesitate to pick up the phone.


