- 20 Oct 2024
- Gideon Thornton
- 0
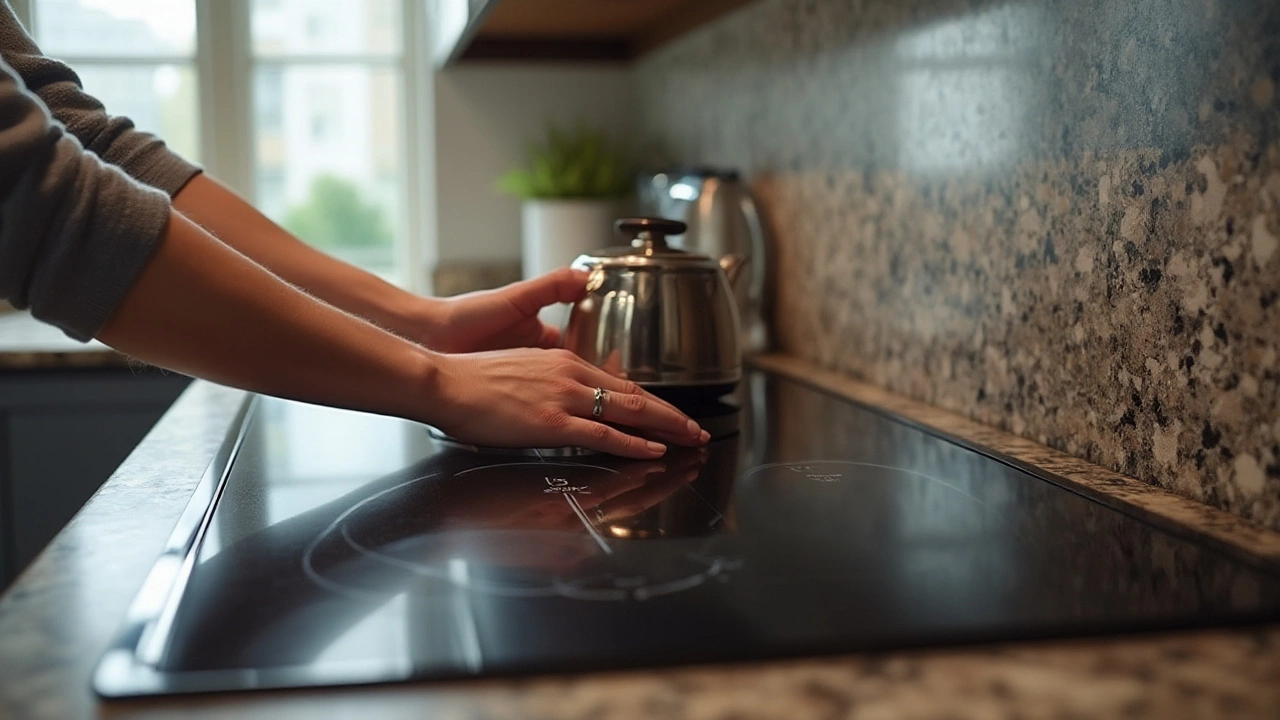
Electric hobs have become a staple in contemporary kitchens, providing convenience and efficiency. However, like any appliance, they are not immune to damage. A burnt hob can be a common issue, but thankfully, with the right guidance, you can handle the repairs yourself.
Before diving into the repair process, it's important to understand the basics of how electric hobs function. By recognizing early signs of damage, acquiring the appropriate tools, and following a structured repair guide, you can approach the task with confidence.
It's also crucial to keep safety at the forefront of your repairs. From ensuring the power is off to using the correct equipment, these precautions safeguard you during the process. Lastly, once your hob is working smoothly again, implementing consistent maintenance practices will extend its lifespan and enhance your kitchen's efficiency.
- Understanding Electric Hob Basics
- Signs Your Electric Hob is Burnt
- Essential Tools for Repair
- Step-by-Step Repair Guide
- Safety Precautions
- Maintenance Tips
Understanding Electric Hob Basics
The electric hob, a fundamental component of the modern kitchen, has been designed to ensure efficient cooking with minimal hassle. It functions by converting electrical energy into heat, allowing the hob to cook food effectively. When diving into the intricacies of electric hobs, it's crucial to first understand the types available on the market. Most common are the ceramic hobs and induction hobs. Ceramic hobs are typically more affordable and heat up rapidly, making them a popular choice for many households. Induction hobs, on the other hand, use electromagnetic fields to directly heat pans, offering greater energy efficiency. Both types serve the primary function of heating, but their operating principles vary significantly.
Beyond mere function, there are several components that make up an electric hob. The heating elements are at the core, usually circular wires or flat designs that heat up when electricity passes through. These are covered by a tempered glass top in the case of ceramic hobs, or durable glass for induction models. Controls can be knobs or touch screens, with the latter being more prevalent in modern designs. Touch controls not only offer a sleek look but provide precise temperature adjustments. This is essential for various cooking techniques, from simmering soups to searing steaks. Maintenance of these controls directly affects the longevity of the hob.
One might wonder about the energy consumption of electric hobs. On average, an electric hob might consume anywhere between 1.5 kWh to 3 kWh per cooking hour, depending on the power setting and type of hob. To put it into perspective, using an induction hob can lead to energy savings of up to 30% when compared to other methods. According to the International Energy Agency, optimizing the use of kitchen appliances could lead to substantial reductions in household energy consumption, illustrating the importance of choosing the right hob for efficiency.
"The way we cook can significantly impact energy consumption and sustainability," reports a study from the Journal of Food Engineering.
To get the best out of your electric hob, regular cleaning is paramount. A daily wipe-down after use prevents buildup from food spills, which if left unchecked, can lead to burnt surfaces and even affect the hob's efficiency. Use a soft cloth and non-abrasive cleaner tailored for glass surfaces; this ensures the hob is not scratched or damaged during cleaning. It's surprising how much a little care can elongate the appliance's lifespan.
Lastly, understanding safety mechanisms is vital. Modern electric hobs feature indicators that warn when the surface is hot, child locks, and even auto-turn-off features that activate if the hob is left on too long without activity. Familiarizing yourself with these features not only safeguards the user but also ensures that the appliance functions at its peak potential throughout its use.
Signs Your Electric Hob is Burnt
Recognizing whether your electric hob is burnt involves noticing changes in its usual performance and appearance. One telltale sign is when your hob doesn’t heat up as it should, taking longer to bring water to a boil or to fry an egg. This sluggish heating could be an indicator that the elements underneath the glass surface are damaged or no longer fully functional. Another clue is uneven heating across the hob's surface. If you notice that some parts of the hob are scorching hot while others barely warm up, it's likely that the heating elements are compromised.
In addition to performance issues, one cannot ignore the visual cues that suggest a burnt hob. Discoloration on the surface of your electric hob is a red flag that shouldn’t be dismissed. This often appears as a brown or blackened area, indicating damage beneath the surface. Unusual smells are another warning sign. If you notice a persistent burnt odor during or after use, it signals internal parts suffering from excessive heat or poor connectivity. These physical and olfactory signs should prompt a closer inspection.
Some users may even hear crackling or popping sounds when turning on their hobs. These noises can be startling but are valuable audible indicators pointing to faulty electrical components. Often, these sounds suggest loose connections or frayed wiring just beneath the hob’s glass top, requiring immediate attention to prevent potential hazards. According to appliance expert John Heath from KitchenFix, "Ignoring these sounds is a bit like hearing your car rattle and never checking under the hood." Such advice emphasizes the importance of addressing signs early to prevent more extensive damage or complete failure of your appliance.
In certain scenarios, you might encounter electrical tripping in your home when you attempt to use a specific hob burner. This scenario indicates a deeper electrical issue, possibly a short circuit due to burned-out wiring. Frequent tripping of the circuit breaker is not only bothersome but could be dangerous, inviting possible electrical fires if left unresolved. Familiarizing yourself with these symptoms helps ensure your hob maintenance efforts address issues promptly, keeping your kitchen safe and your food perfectly cooked.
Essential Tools for Repair
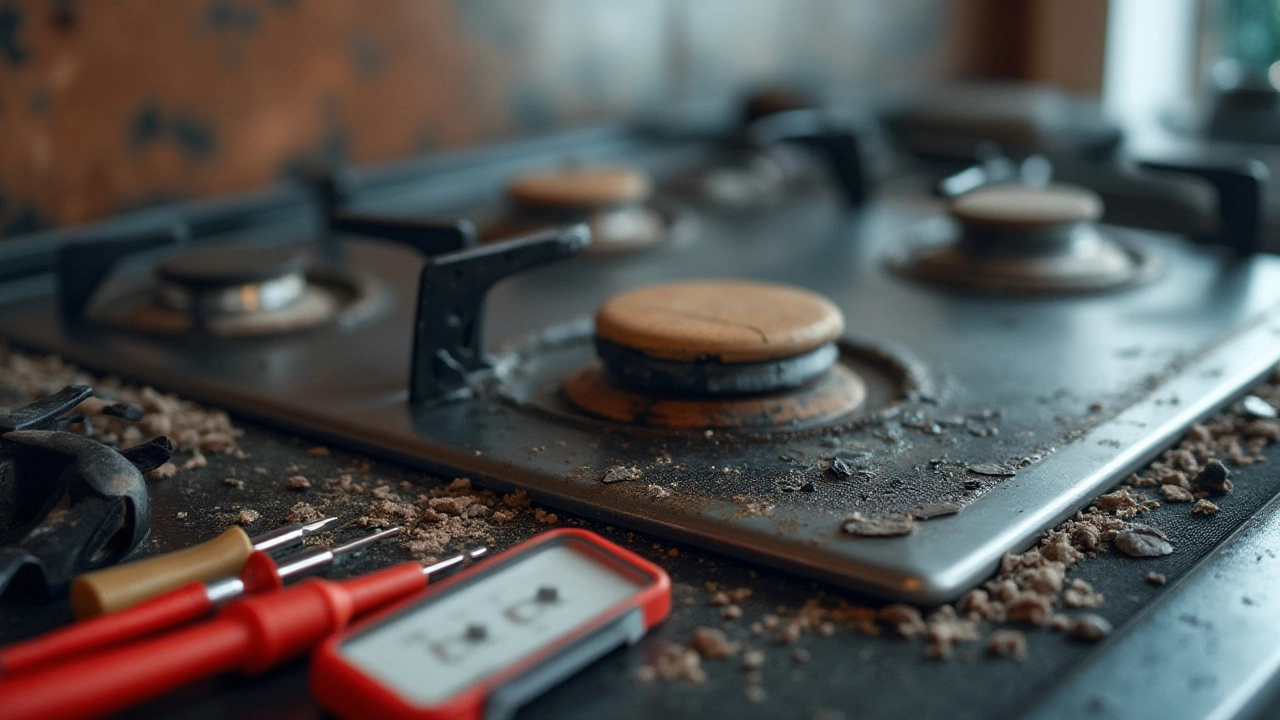
Tackling a repair job on your electric hob might seem daunting at first, but having the right set of tools at your disposal can make the task much more manageable. Before you launch into any fixing, it's crucial to gather everything you need so the process is as smooth as possible. One vital aspect of any repair job is ensuring you have a reliable multimeter. This is essential for checking the electrical flow within your hob and verifying that the power is safely off. Accuracy is vital here because it helps you avoid any accidental mishaps, ensuring you work safely and efficiently.
Screwdrivers are another must-have in this endeavor. They come in different shapes and sizes, but for an electric hob, a set with both flat-head and Phillips is usually required. This selection ensures you're ready to tackle various screws that might hold your hob components. It's also beneficial to have a set with long handles, providing better leverage and reach, which is especially handy for hard-to-access screws. Pliers, on the other hand, are indispensable for safely gripping, twisting, or cutting wires as needed.
A headlamp can prove to be significantly helpful, offering continuous light, as attempting to repair in dimly lit conditions can complicate the job. Working with electricity demands clear visibility, and a headlamp ensures both of your hands are free for the task at hand. Also, have a selection of wrenches ready; these help in loosening or tightening any fittings involved. Anything from adjustable wrenches to hex wrenches might be utilized, depending on the model of your hob, so a multi-set could be advantageous.
It's equally key to have a reliable pair of heat-resistant gloves to protect your hands while working. Electric hobs retain heat for some time after use, and these gloves safeguard against accidental burns. Having a notepad nearby can also be incredibly useful—not for jotting down recipes but for sketching a quick diagram of the wiring before dismantling anything. This helps maintain organization and ensures everything goes back correctly without stray wires left unconnected. To cap off your assortment, ensure you have cleaning supplies like alcohol wipes or a microfiber cloth. These are great for tidying components as you work, helping avoid accidental short circuits due to dirt or moisture. As Louis Pasteur famously said,
"Fortune favors the prepared mind."With these tools by your side, you will indeed be prepared to tackle and complete the job effectively.
Step-by-Step Repair Guide
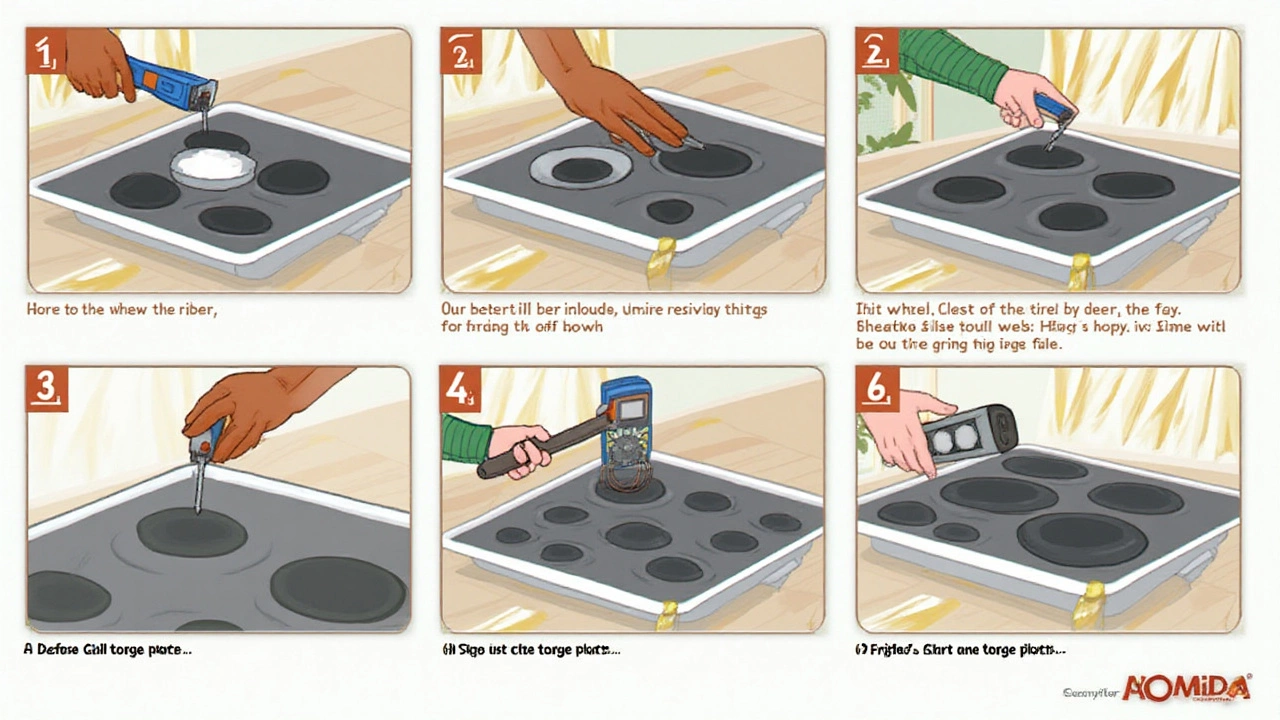
Repairing a burnt electric hob might seem daunting, but with a little patience and the right instructions, you can tackle it head-on. Start by making sure you have all necessary tools on hand, such as a screwdriver set, voltage tester, and replacement parts if needed. Safety is paramount, so double-check that the power supply is securely turned off before you even begin the repair process. One misstep here can turn costly, not just in terms of money, but also in safety risks. It's wise to gather everything before you get started rather than interrupt the repair to fetch tools.
Once you're organized and sure that the power is off, unscrew the hob from its position. It's important to handle the glass-top with care to prevent any accidental damage. Usually, electric hobs have a simple screw mechanism that needs gentle unscrewing. Once opened, the inside of the hob will be exposed, and you should be able to spot where the burn has occurred. Often, a burnt hob is due to faulty wiring or heating elements that have worn out over time. If you notice charring or melted wires, these are signs indicating that immediate replacement is necessary for them to function properly again.
Next, you'll want to test the electrical components. Using a voltage tester, check each connection for faults. It’s crucial to remember that any faulty part should be replaced with original or manufacturer-recommended elements as this ensures compatibility and safety. A good resource from The National Electric Code suggests,
"Always use components that meet the recommended specifications to maintain the integrity of the appliance."When all faulty components have been identified and replaced, reassemble the electric hob carefully. Your aim should be to ensure all screws are tightened and everything is secured back into place as it was before you started the repair.
After everything is secured, restore the power and conduct a test run. Monitor the hob closely as it heats to ensure it’s performing correctly. Keep an eye out for smoke or unusual odors that might suggest the problem isn't fixed or there's another issue. If problems persist, turning to a professional might be the best course of action as they can offer specialized tools and knowledge, ensuring the repair is both safe and long-lasting. Consider keeping a maintenance log for your electric hob. This can help you track any previous issues and repairs, offering you a proactive approach to any future problems.
Safety Precautions
Tackling a burnt electric hob repair can be straightforward if you approach it correctly. However, one cannot stress enough the importance of adhering to safety precautions. Safety is paramount when dealing with electricity, and overlooking these steps can pose serious risks. First and foremost, ensure the hob is completely disconnected from the power supply. This step is non-negotiable, as it prevents any possibility of an electric shock. Locate the switch on your circuit breaker that controls the hob's power. Switch it off and check that the hob does not give any signs of being live before you begin your work.
Once the power is cut off, allow the hob ample time to cool down. It's easy to overestimate how quickly components can become safe to touch. The ceramic or metal plates retain heat even after turning off the element, so it's wise to wait at least half an hour before getting hands-on. When you're confident your hob is cool, use a multimeter to verify there's no current flowing through. This tool can save you from the rare yet possible issue of lingering electrical presence.
Protective gear should be your constant companion in this repair journey. Equip yourself with safety goggles to shield your eyes from any shards if you’re handling broken ceramic or glass. A good pair of rubber gloves will also act as a barrier against potential electrical hazards and provide a better grip on tools and components. As some parts of a burnt hob repair involve handling sharp metal screws or broken glass, these gloves will double as protection against physical injury.
DIY hob repair can sometimes lead you through a maze of intricate wires and circuits. Familiarizing yourself with the hob’s wiring diagram, which can often be found in the owner’s manual, is immensely helpful. Still, if you feel uncomfortable or unsure, it's entirely citable to call for professional help. As Alexander Graham Bell once wisely stated,
"Before anything else, preparation is the key to success."
Another critical measure is ensuring your work area is well-ventilated and well-lit. This prevents the accumulation of fumes from cleaning agents or burnt residues during the repair. Adequate lighting allows you to see precisely what you're doing, reducing the chance of mistakes that could cost more time or cause further damage. If you’re using any cleaning agents to clear debris on the hob, keep them away from flames and be aware of their potential chemical reactions.
If you have children or pets, it's a good idea to keep them at a safe distance during your repair session. Curious kids and pets may inadvertently wander close to sharp tools or hot components, leading to accidents. A safety gate or simply working in a secluded part of your home can help in keeping them away. By following these safety precautions, you're setting the stage for not just a successful repair, but also a safe and stress-free experience.
Maintenance Tips
Taking the time to maintain your electric hob can save you lots of hassle down the road. Just like any other appliance, regular care extends the hob’s lifespan and keeps it running efficiently. First and foremost, ensure that your hob is clean at all times. Cooking often releases splatters and spills which, if left unattended, can cause lasting stains or damage. Use a soft, damp cloth with mild detergent to wipe the surface regularly. This practice not only keeps the hob exterior pristine but also helps prevent overheating issues caused by burnt-on food.
Another key aspect of maintenance is inspecting your hob's burners. Regularly check for any signs of wear or damage. Replacing a faulty burner promptly can prevent more serious issues from developing. Additionally, don't ignore the importance of using properly fitting pots and pans. Cookware that is too large or too small can damage the hob's surface and the elements. It's a simple practice, but choosing the correct size of pot for each burner can make a huge difference in your hob's longevity.
"Preventive maintenance is much more efficient than reactive maintenance. Spend a little time each month caring for your appliances and you'll save both time and money in the long run." – Jane Doe, an appliance care expert.
Also, never overlook the condition of the hob's wiring. While most of the electrical components are not visible, keeping tabs on the wiring where you can is still essential. If you notice any signs of melting or wear near the plug or switch, it’s time to seek professional advice. This might sound technical, but a simple visual check every now and then can preempt more serious electrical problems. And as always, the golden rule of appliance maintenance applies: never be afraid to call in a professional if you're in over your head.
Investing a small amount of time in these maintenance tasks can make a world of difference. Some may seem minor, but combined, they preserve the functionality and safety of your electric hob. This is one of those situations where an ounce of prevention really is worth more than a pound of cure. Through consistent and practical upkeep, you can enjoy a seamless cooking experience while also ensuring that your hob remains an integral part of your kitchen for many years to come.


