- 10 Sep 2026
- Gideon Thornton
- 0
Electric Oven Element Diagnostic Tool
Follow these steps to determine if your oven's heating element needs replacement. Always ensure the oven is unplugged before inspecting internal components.
Pull out the racks and look closely at the metal coils (top grill or bottom bake). What do you see?
Touch probes to the element terminals. What is the reading?
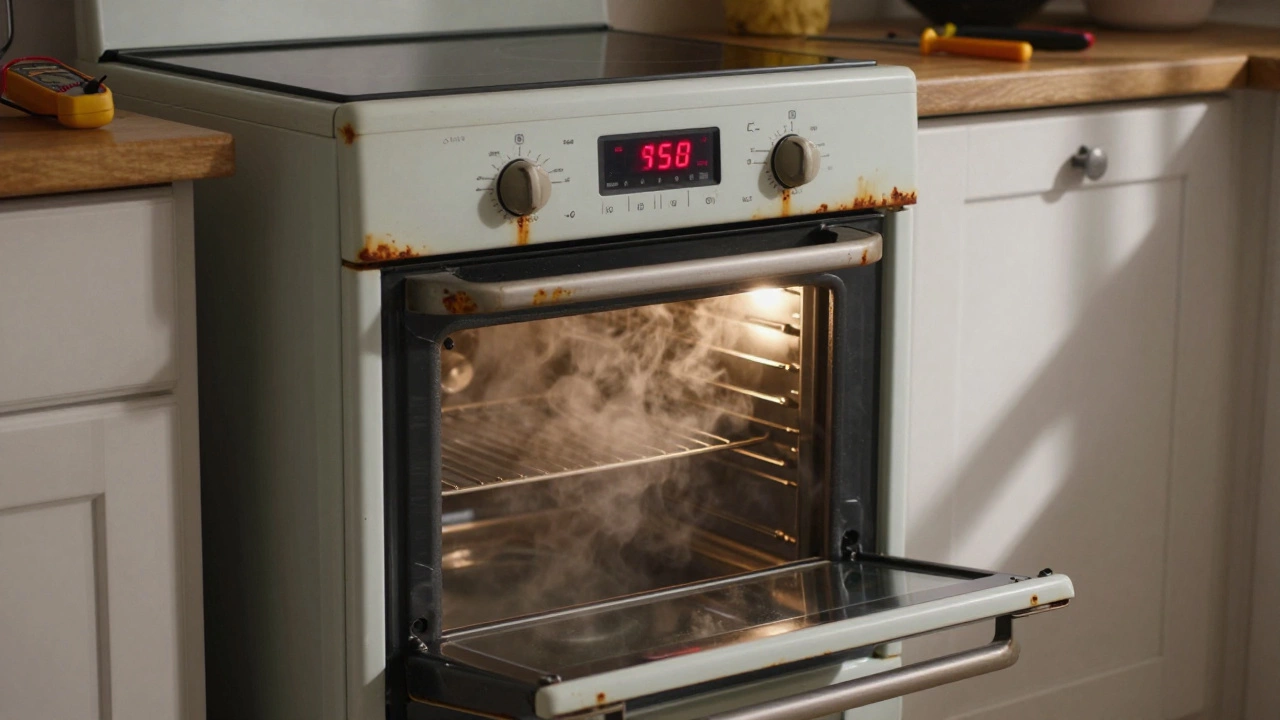
You put a lasagna in the oven, set it to 180°C, and wait. Twenty minutes later, you open the door, and the cheese is still cold. The light is on. The fan might even be spinning. But the heat? Gone. This is one of the most common frustrations in any kitchen, and more often than not, the culprit is a failed heating element. Before you call out an engineer for a £60 service charge or buy a brand-new range cooker, you can usually diagnose this yourself with nothing more than your eyes and a basic multimeter.
The Visual Inspection: What Does a Broken Element Look Like?
Your first step doesn’t require any tools. It just requires you to look closely at the metal coils inside your oven cavity. There are generally two types of elements in a standard electric oven: the top grill element (used for browning) and the bottom bake element (used for general cooking). Some ovens also have a rear circular element paired with a fan for convection cooking.
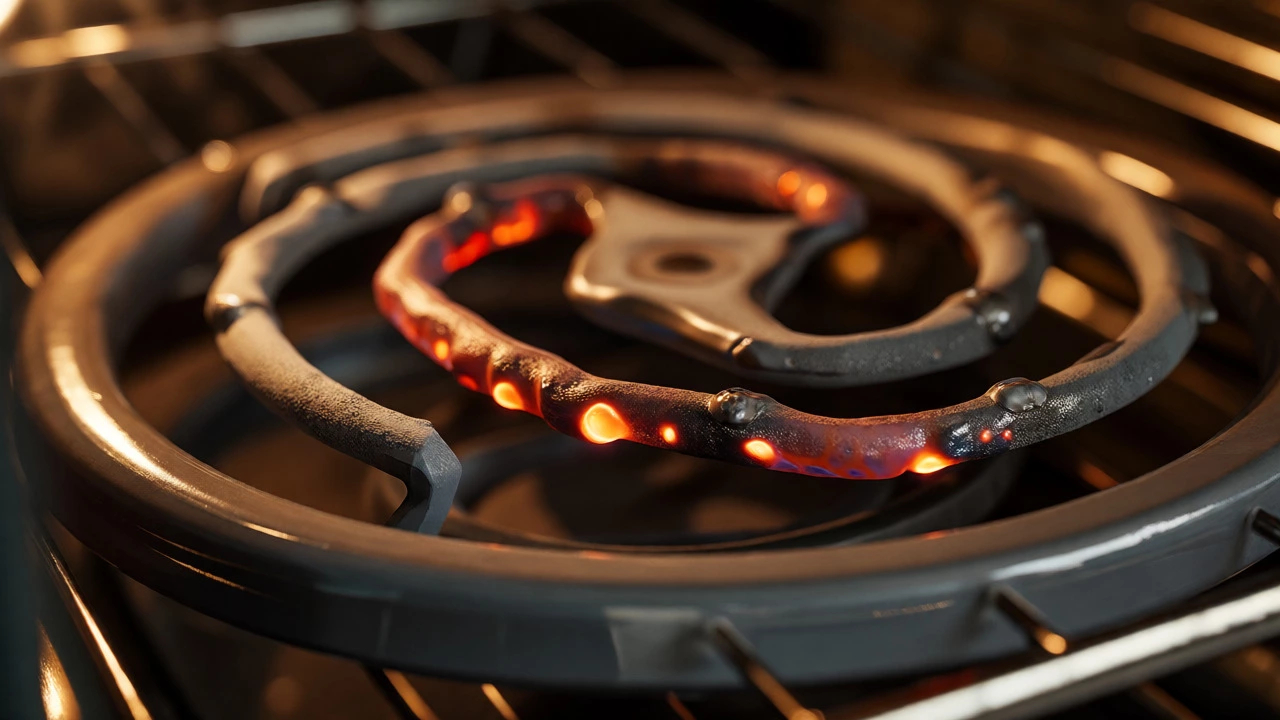
Pull the racks out and get a good look. A healthy element should be uniform in color-usually a dull grey or blackish coating. When it fails, it rarely breaks cleanly in half. Instead, look for these specific signs:
- Blisters or bubbles: The outer sheath of the element may swell up where the internal resistance wire has overheated.
- Discoloration: Bright orange or red spots indicate a hot spot where the insulation has broken down.
- Physical gaps: Sometimes the element snaps entirely, leaving a visible gap in the coil.
- Sagging: If the element hangs lower than usual or touches the oven wall, it’s likely warped from excessive heat cycles.
If you see a clear break or a massive blister, you don’t need a multimeter. The part is dead. Order a replacement immediately. However, if the element looks fine but the oven won’t heat, you need to dig deeper.
The Multimeter Test: Confirming Continuity
This is the definitive test. You need a multimeter, a cheap digital device available at any hardware store for around £10-£15. This tool measures electrical continuity-essentially checking if electricity can flow through the component.
Safety First: Never touch the terminals while the oven is plugged in. Unplug the oven from the wall socket or switch off the dedicated circuit breaker in your consumer unit. Wait five minutes for capacitors to discharge if you’re working on newer electronic models.
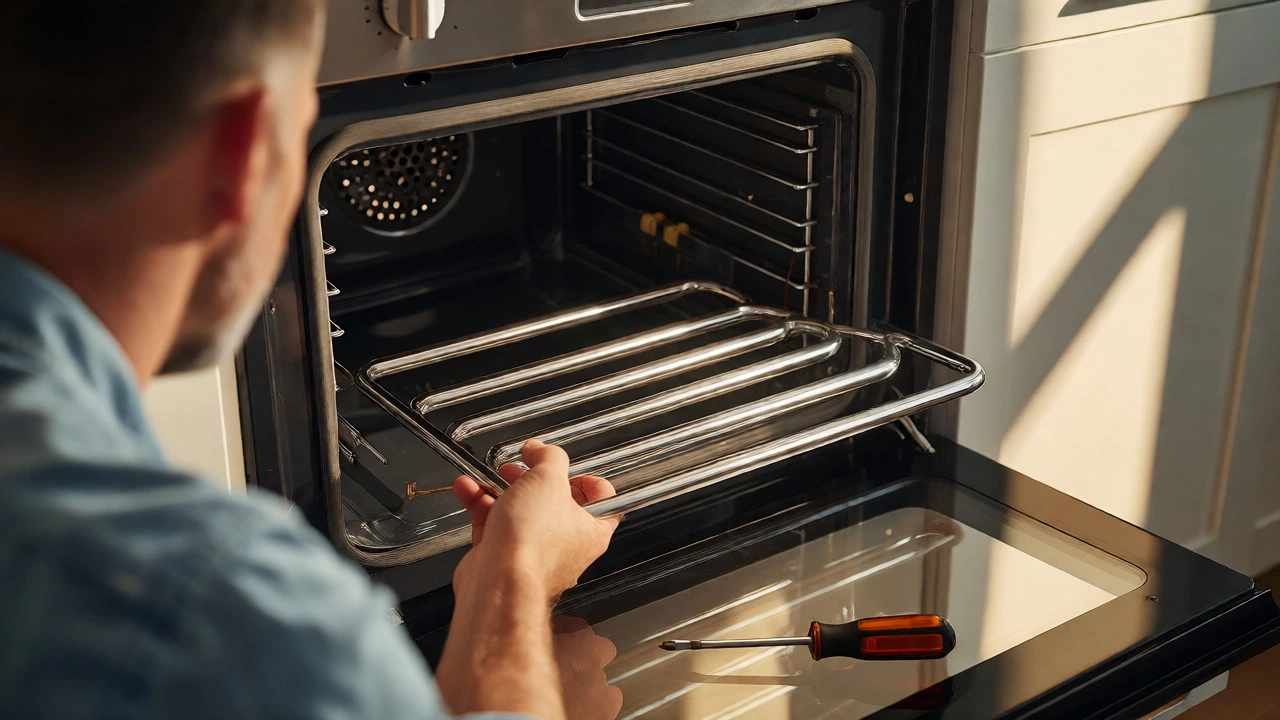
- Access the element: Most oven elements are held in place by screws at the back of the cavity. Remove the screw(s) and gently pull the element forward enough to access the wiring terminals at the rear. Do not fully disconnect the wires yet unless necessary; just expose the metal tabs.
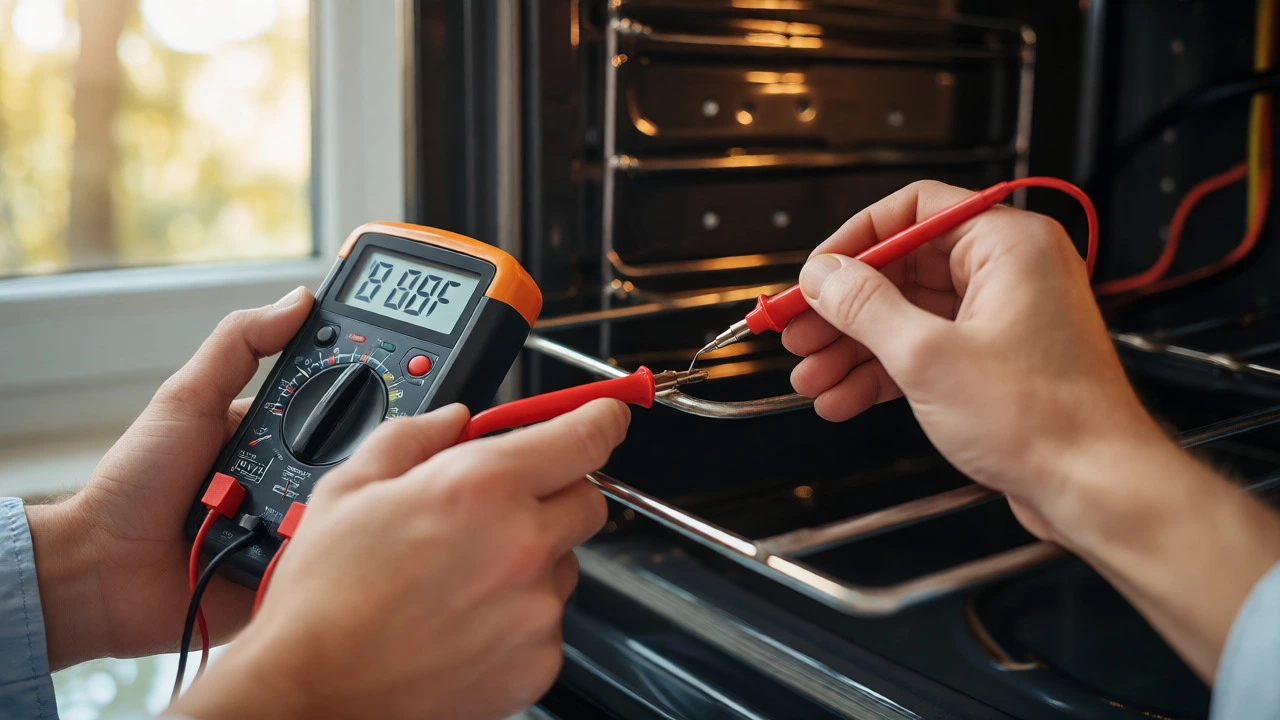
- Set your multimeter: Turn the dial to the Ohms (Ω) setting. If your meter has a "continuity" mode (often indicated by a sound wave symbol), use that instead-it will beep when there’s a complete circuit.
- Touch the probes: Place one probe on each terminal of the element. Make sure they are touching bare metal, not the enamel coating.
- Read the display:
- A reading between 10 and 100 Ohms: The element is good. The resistance is normal for a heating coil.
- A reading of "OL" or "1": This stands for "Open Loop." It means there is no connection. The wire inside is snapped. The element is bad.
- A reading near zero (0.1 - 1 Ohm): This indicates a short circuit. The element is likely bad and could trip your fuse box.
If you get an "OL" reading, replace the element. If you get a normal resistance reading, the problem lies elsewhere-likely the thermostat, selector switch, or thermal fuse.
Distinguishing Between Bake and Grill Elements
Many homeowners confuse which element has failed because modern ovens use both simultaneously during certain modes. Here’s how to tell them apart based on symptoms:
| Element Type | Location | Common Symptoms of Failure | Test Method |
|---|---|---|---|
| Bottom Bake Element | Under the floor of the oven | Oven heats slowly; food cooks unevenly from top-down; bottom of cakes stays raw. | Multimeter test as described above. |
| Top Grill Element | Ceiling of the oven | Grill function does nothing; toast remains pale; broiling fails. | Visual check for blisters + Multimeter test. |
| Rear Convection Element | Behind the fan at the back wall | Fan spins but air is cold; oven takes forever to preheat; fan-assisted modes fail. | Often requires removing the rear panel to access terminals. |
Note that some ovens use the top element to help with initial pre-heating before switching to the bottom element for baking. If your oven lights up but never reaches temperature, test both.
Other Culprits: When the Element Isn’t the Problem
If your multimeter says the element is fine, don’t panic. The heating system relies on several other components. If the element gets power but doesn’t glow, or if it glows but doesn’t get hot, consider these possibilities:
- The Thermostat: If the thermostat is stuck open, it won’t send power to the element even if the knob is turned to 200°C. You can test this by bypassing the thermostat temporarily with a jumper wire (consult a wiring diagram for your model).
- The Selector Switch: This is the dial you turn to choose "Bake," "Grill," or "Fan." Internal contacts wear out over time. If the switch is faulty, it might not complete the circuit to the element.
- The Thermal Fuse: Many ovens have a safety fuse that blows if the oven overheats due to a blocked vent or failed fan. Once blown, it cuts all power to the heating elements. These are cheap (£5-£10) but must be replaced, not reset.
- Main Control Board: In high-end digital ovens, a relay on the main PCB controls the power. If the relays click but no heat follows, the board itself might be fried.
Replacing the Element: A DIY Job?
Yes, absolutely. Replacing an oven element is one of the easiest appliance repairs you can do. It typically takes 15-20 minutes per element.
What you’ll need:
- A new replacement element (match the model number exactly-found on a sticker inside the oven door frame).
- A Phillips-head screwdriver.
- A flathead screwdriver (for prying off covers).
- Photograph the wiring before disconnecting anything!
Steps to replace:
- Disconnect power.
- Remove the screw holding the element bracket to the rear wall.
- Pull the element forward slightly.
- Disconnect the spade connectors from the terminals (pull straight back, don’t yank the wires).
- Install the new element by reversing the steps.
- Reconnect power and run a quick test: Set to 100°C for 5 minutes. If it gets warm, you’ve fixed it.
Pro Tip: While you have the oven open, clean the cavity. Grease buildup on the old element can cause premature failure. Wipe down the interior walls to ensure proper airflow.
Cost-Benefit Analysis: Repair vs. Replace
Should you fix it or bin it? Let’s look at the numbers.
- DIY Replacement: £20-£40 for the part. Free labor. Total cost: ~£30.
- Professional Repair: £80-£120 including call-out and parts.
- New Oven: £300-£800+ depending on features.
If your oven is less than 10 years old, replacing the element is almost always worth it. If the oven is older than 15 years, consider whether other components (like the door seals or control panel) might fail soon. However, since elements are cheap and easy to swap, it’s rarely worth buying a new oven solely because of a broken element.
Can I drive with a broken oven element?
Yes, but only if the broken element is the grill or bake element and you don’t need that specific function. For example, if the top grill is broken, you can still bake using the bottom element. Just avoid using the broken function to prevent potential sparks or tripping the circuit breaker.
Why did my new oven element burn out so quickly?
This is usually caused by poor ventilation or excessive grease buildup. If the oven’s cooling fan is blocked or the vents are clogged with fat, the element overheats beyond its design limits. Another cause is using a non-OEM (Original Equipment Manufacturer) part that isn’t rated for your oven’s voltage or wattage.
Does a broken element affect energy bills?
Not directly, since it draws no power if it’s open-circuited. However, if the element is partially failing (shorting intermittently), it may cause the oven to cycle inefficiently, leading to longer cooking times and slightly higher usage. More importantly, a shorted element can trip your RCD/breaker, causing inconvenience.
How long do oven elements last?
Typically 5 to 10 years, depending on usage frequency and maintenance. Heavy daily use, frequent self-cleaning cycles, and lack of cleaning contribute to earlier failure. High-quality OEM parts tend to last longer than budget alternatives.
Is it dangerous to touch a broken element?
If the oven is unplugged, no. If it’s plugged in, yes. Even if the element looks cold, the terminals can carry live voltage. Always verify power is off with a multimeter before touching any internal components.