- 17 Aug 2026
- Gideon Thornton
- 0
Stove Element Diagnostic Tool
Answer the following questions to diagnose your heating element. The tool will analyze physical symptoms, performance behavior, and electrical resistance to give you a verdict.
Step 1: Physical Inspection
Step 2: Performance Clues
Step 3: Multimeter Resistance Test
Ensure the stove is unplugged before testing. Select the type of element you are testing to set the expected range.
• Within Range: Healthy
• ±10% Off: Degrading
• OL / Infinity: Open Circuit (Dead)
• Near 0: Short Circuit
Diagnostic Verdict
There’s nothing quite like the frustration of setting your electric stove to 180°C and waiting twenty minutes for a faint warmth that never quite arrives. If you’re wondering whether the heating element is the culprit, you’re in the right place. A failing element doesn’t always announce itself with a dramatic spark or smoke; often, it just gets slower, hotter in spots, or stops working altogether. Knowing how to spot these signs early can save you from unnecessary repairs or wasted energy bills.
In this guide, we’ll walk through the physical signs, performance clues, and simple DIY tests you can run at home to determine if your element needs replacing. We’ll also cover safety precautions, common misconceptions, and when it’s time to call in a professional. By the end, you’ll have a clear checklist to diagnose the issue confidently-no guesswork required.
Quick Summary / Key Takeaways
- Visual inspection is step one: Look for discoloration, bubbling, or cracks on the element surface.
- Performance changes are telling: Slow heating, uneven browning, or tripping the circuit breaker often point to element failure.
- A multimeter test confirms it: If the element reads infinite resistance (open circuit), it’s dead.
- Safety first: Always unplug the stove before inspecting or testing.
- When in doubt, replace: Elements are inexpensive and easy to swap if you’re comfortable with basic tools.
What Does an Electric Stove Element Actually Do?
To understand why elements fail, it helps to know how they work. An electric stove element is a coiled wire made from nickel-chromium alloy that converts electrical energy into heat. When current flows through the coil, it resists the flow and generates heat-this is called resistive heating. The element is housed in a metal sheath or mounted directly under the cooktop or inside the oven cavity, depending on its type.
There are two main types you’ll encounter in UK homes: oven bake elements (located at the top or bottom of the oven) and cooktop burner elements (the flat or spiral coils you place pots on). Both serve the same purpose but differ in design and mounting. Bake elements typically operate at higher temperatures for longer periods, which means they wear out faster than cooktop elements in heavy-use households.
The lifespan of a typical residential element ranges from 5 to 10 years, depending on usage frequency, thermostat accuracy, and quality of the original component. If your stove is older than eight years and you’re noticing declining performance, element replacement is a likely fix rather than a whole-appliance overhaul.
Physical Signs That Your Element Is Failing
Your eyes are your first diagnostic tool. Before grabbing any tools, give the element a thorough visual check. Here’s what to look for:
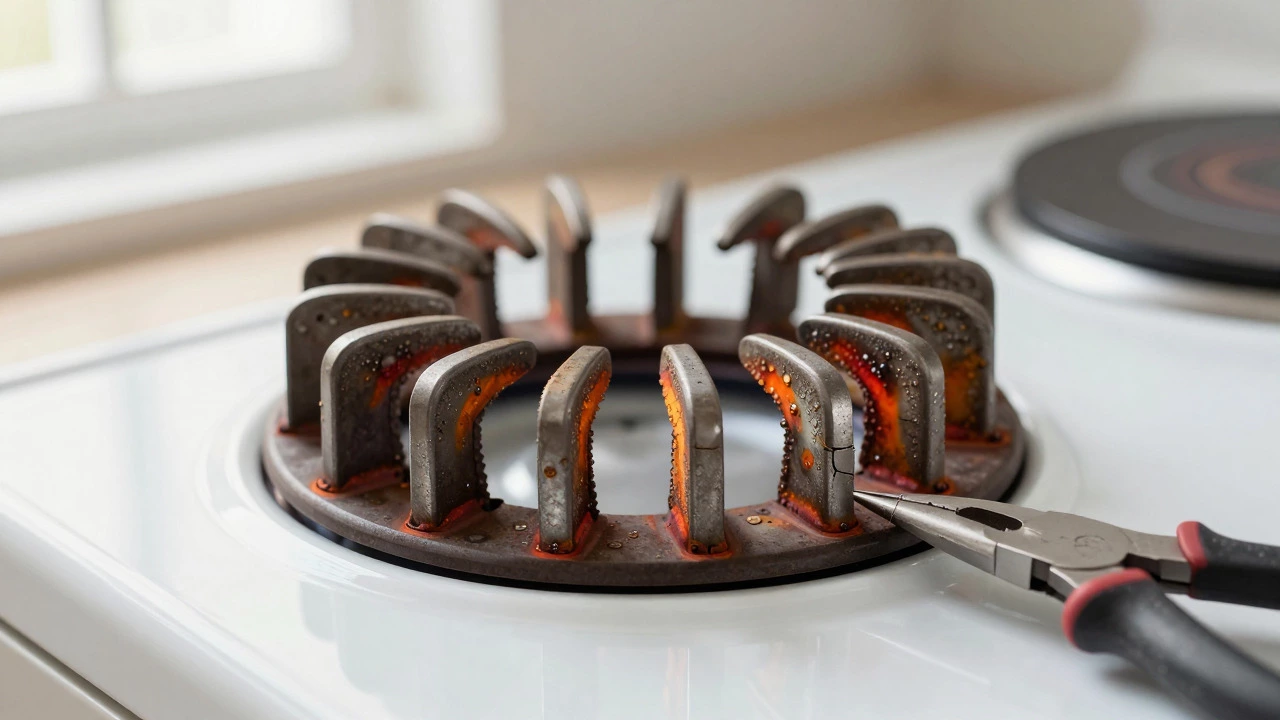
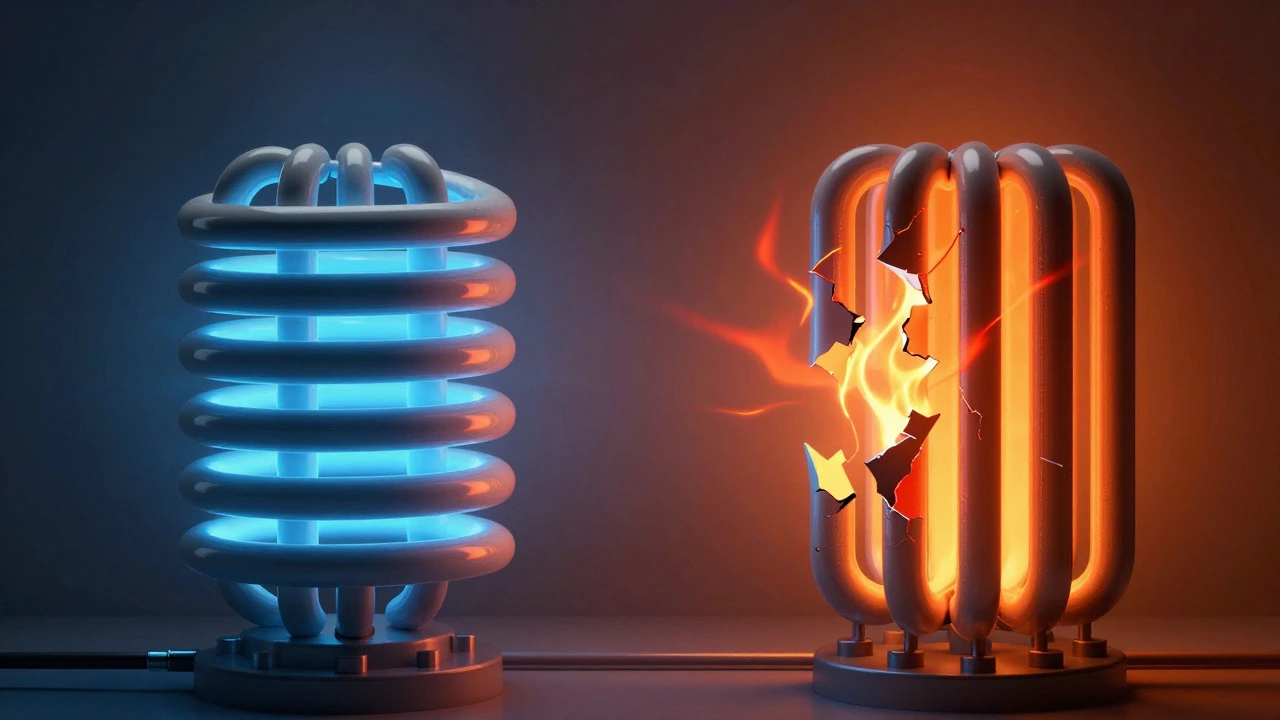
- Discoloration: A healthy element should be a consistent dark grey or black. If you see orange, red, or bluish tints, the metal has overheated and oxidized. This weakens the structure and shortens remaining life.
- Bubbling or blistering: Small bubbles on the surface indicate internal degradation. As the alloy breaks down, gases escape and form these bumps. They’re a clear sign the element is nearing the end.
- Cracks or splits: Even hairline fractures can cause arcing or complete failure. Check both sides of the coil carefully under good lighting.
- Corrosion or rust spots: While less common in dry environments, moisture intrusion can corrode the terminal connections. Greenish or brown patches near the ends suggest poor contact or water damage.
- Loose or bent terminals: If the wires connecting the element to the stove are frayed, loose, or bent, heat distribution becomes uneven. This isn’t always the element’s fault, but it mimics element failure symptoms.
For oven elements, remove the oven racks and pull back the rear panel if accessible. For cooktop elements, simply lift them off their supports. Use a flashlight to inspect hard-to-see areas. Take photos if you’re unsure-you can compare them later after cleaning or replacement.
Performance Clues That Point to Element Trouble
Not every problem shows up visually. Sometimes the element looks fine but performs poorly. Pay attention to how your stove behaves during normal use:
- Slow preheating: If your oven takes more than 15 minutes to reach 180°C (or noticeably longer than usual), the element may be losing efficiency. Compare this to your historical experience-most ovens should hit target temperature within 10-12 minutes.
- Uneven cooking: Food browning on one side but staying pale on the other suggests hot spots or a partially failed coil section. Rotate pans mid-cook and note if the pattern stays consistent.
- Tripping the circuit breaker: If the stove trips the breaker only when certain burners are used, it could be a shorted element drawing excess current. Listen for buzzing or humming sounds before the trip-that’s a classic sign of electrical stress.
- Burning smell without visible smoke: A faint acrid odor when heating up can mean insulation breakdown inside the element housing. It’s not always dangerous, but it’s worth investigating.
- Inconsistent temperature readings: If your oven thermometer shows significant swings (±15°C or more) while the display stays steady, the element might be cycling irregularly due to partial failure.
Keep a simple log for a few days: note which burners or oven zones are problematic, how long preheating takes, and any unusual noises or smells. Patterns will emerge quickly, helping you isolate the faulty component.
How to Test an Element With a Multimeter
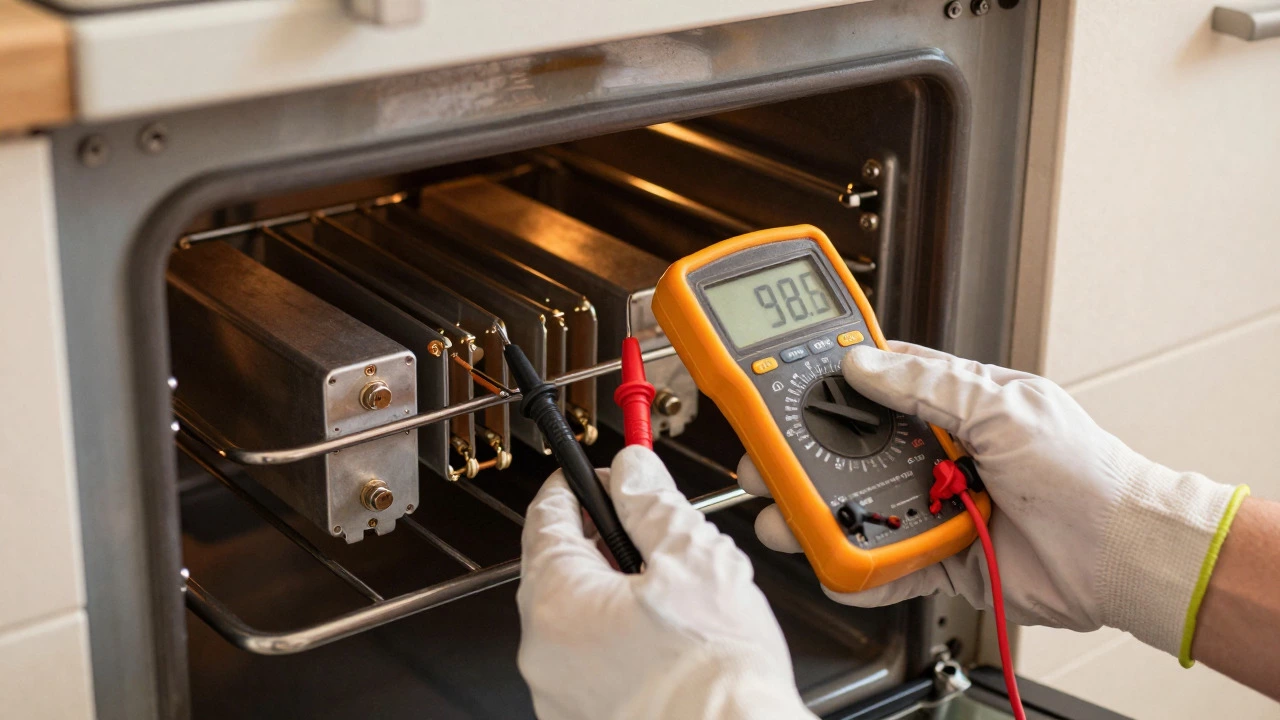
If visual and performance checks leave you uncertain, a multimeter gives you a definitive answer. You don’t need expensive equipment-a basic digital multimeter costing under £20 does the job. Here’s how to do it safely and accurately:
- Unplug the stove: Disconnect power at the wall socket or switch off the dedicated circuit breaker. Double-check with the multimeter set to AC voltage that no live current is present at the terminals.
- Access the element terminals: Remove the screws holding the element in place and disconnect the wiring connectors. Keep track of which wire goes where (take a photo if needed).
- Set the multimeter to resistance (ohms): Choose the lowest ohm range available. Most stove elements measure between 10 and 30 ohms, so the 200-ohm range works well.
- Touch probes to the two terminal posts: Read the value. A healthy element will show a stable reading within its expected range. If you see “OL” (overload) or infinity, the circuit is open-the element is dead.
- Check for shorts: If the reading is near zero ohms, there may be a short circuit. This is rarer but possible if the coil has collapsed onto itself.
Here’s a quick reference table for typical resistance values by element type:
| Element Type | Power Rating | Expected Resistance | Voltage (UK Standard) |
|---|---|---|---|
| Oven Bake Element | 2,400W | ~11-12 ohms | 230V |
| Oven Broil Element | 1,800W | ~15-16 ohms | 230V |
| Cooktop Burner (Small) | 1,000W | ~53 ohms | 230V |
| Cooktop Burner (Large) | 1,500W | ~35 ohms | 230V |
Note: These values are approximate. Actual resistance varies slightly by manufacturer and model. If your reading is within 10% of the expected range, the element is likely functional. If it’s significantly higher or lower, or shows no continuity, replace it.
Common Misconceptions About Failing Elements
Before you buy a new part, let’s clear up a few myths that lead to unnecessary replacements or missed diagnoses:
- “If it glows red, it’s working fine.” Not necessarily. A glowing element can still have weak sections that don’t distribute heat evenly. Visual glow doesn’t guarantee uniform performance.
- “The thermostat must be broken if the oven runs too hot.” Often true, but a partially failed element can also cause erratic heating because it cycles on and off unpredictably. Test the element first-it’s cheaper and easier to replace than a thermostat.
- “Old elements always need replacing.” Age alone doesn’t doom an element. If it passes the multimeter test and shows no physical damage, it can keep working reliably for years longer.
- “You can clean a burnt element to restore it.” Surface grime can be wiped away, but oxidation and structural damage are irreversible. Cleaning won’t fix a weakened coil.
Always rule out simpler issues first: dirty thermocouples, clogged vents, or faulty relay switches can mimic element problems. But if the element fails the resistance test, it’s done.
When to Call a Professional vs. DIY Replacement
Replacing a stove element is a straightforward task for anyone comfortable with basic hand tools. However, some situations warrant professional help:
- You’re unsure about electrical safety: Working with 230V circuits carries risk. If you haven’t handled mains electricity before, consider hiring an electrician or appliance technician.
- The element is integrated into a glass cooktop: Ceramic hobs require specialized tools and careful handling to avoid cracking the surface. These repairs are best left to pros.
- You suspect multiple components are failing: If the thermostat, relay, and element all seem off, a diagnostic service visit makes sense to avoid piecemeal fixes.
- Your warranty is still active: Check your manual. Unauthorized repairs can void coverage. Contact the manufacturer or authorized service center first.
For standard coil elements in freestanding stoves, DIY replacement takes 30-45 minutes. You’ll need a screwdriver, needle-nose pliers, and the correct replacement part. Match the voltage, wattage, and physical dimensions exactly. Cross-reference the part number from your old element or stove manual to ensure compatibility.
Safety Tips for Inspecting and Testing
Electricity and heat combine to create real hazards. Follow these precautions to stay safe:
- Always unplug before touching: Don’t rely on the stove’s power switch. Disconnect at the source.
- Let it cool completely: Wait at least 30 minutes after use before handling elements. Residual heat can cause burns even if the surface looks cool.
- Use insulated tools: Needle-nose pliers with rubber grips reduce shock risk if you accidentally touch a live terminal.
- Work in a dry environment: Moisture conducts electricity. Avoid testing near sinks or wet floors.
- Label wires before disconnecting: Photograph or tape labels to each connector so reassembly is error-free.
If you feel uncertain at any point, stop and consult a professional. The cost of a service call is far less than the cost of an electrical injury or fire.
Frequently Asked Questions
How long do electric stove elements last?
Most residential elements last 5 to 10 years. Heavy use, frequent high-temperature baking, and poor ventilation can shorten this lifespan. Light-use households may see elements last beyond 10 years if maintained properly.
Can I use a different wattage element as a replacement?
It’s not recommended. Using a higher-wattage element can overload the circuit and trip breakers. A lower-wattage element will heat slowly and may cause the thermostat to cycle excessively. Stick to the original specification for best results.
Why does my oven trip the breaker only sometimes?
Intermittent tripping often indicates a partial short in the element or a loose connection that heats up and expands, causing momentary overcurrent. Test the element’s resistance and inspect terminal connections for tightness and corrosion.
Do I need to replace both oven elements if one fails?
No. Each element operates independently. Replace only the faulty one unless the other shows signs of wear or age-related degradation. Keeping spares on hand is wise, but simultaneous replacement isn’t necessary.
What should I do if the multimeter shows no reading at all?
First, verify the multimeter works by testing a known resistor or the ohm function on a closed loop. Then check your probe placement-ensure they’re making solid contact with the terminal posts. If everything checks out and you still get “OL,” the element is open and needs replacement.
Is it safe to use a stove with a slightly damaged element?
Briefly, yes, if the damage is minor and the element still functions safely. Long-term, no. Cracked or bubbled elements can arc, catch fire, or release fumes. Plan replacement soon rather than delaying indefinitely.