- 2 Nov 2026
- Gideon Thornton
- 0
Oven Element Repair Cost Estimator & Decision Tool
Estimate your repair costs based on element type and service choice. Use the results to decide if you should attempt a DIY fix or call an engineer.
1. Select Your Situation
2. Estimated Costs
💡 Recommendation
You turn the dial, wait for the preheat chime, and... nothing. The air inside stays cold. If you’ve got an electric oven that refuses to heat up, there is a 90% chance your heating element has burned out. It is the most common failure point in electric cookers. The good news? It is rarely a catastrophic fault requiring a new machine. The bad news? Prices vary wildly depending on whether you do it yourself or call a pro, and which type of element you have. This guide breaks down exactly what you will pay in the UK as of late 2026, how to spot the right part, and when calling an engineer actually saves you money compared to buying a cheap replacement part that doesn't fit.
The Quick Summary: What You Will Pay
Before we get into the weeds, here are the realistic price brackets for replacing a standard oven heating element in the UK market today. These figures include VAT where applicable.
- DIY Parts Only: £15 - £45. This covers the cost of the element itself if you buy from a reputable spares site like eSpares or Partmaster.
- Professional Labour (Local Handyman): £40 - £70. Many local handymen charge a flat rate for this simple swap.
- Certified Appliance Engineer: £80 - £150+. This includes call-out fees, diagnostics, and potentially more expensive OEM (Original Equipment Manufacturer) parts.
- Total Average Cost (Pro Service): Expect to pay around £100-£120 for a standard built-in oven repair.
Why Costs Vary So Much
Not all elements are created equal. When you search for "oven element," you aren't looking at one single product. You are looking at several distinct types, each with different manufacturing complexities and price tags. Understanding which one you have prevents you from overpaying or buying the wrong part.
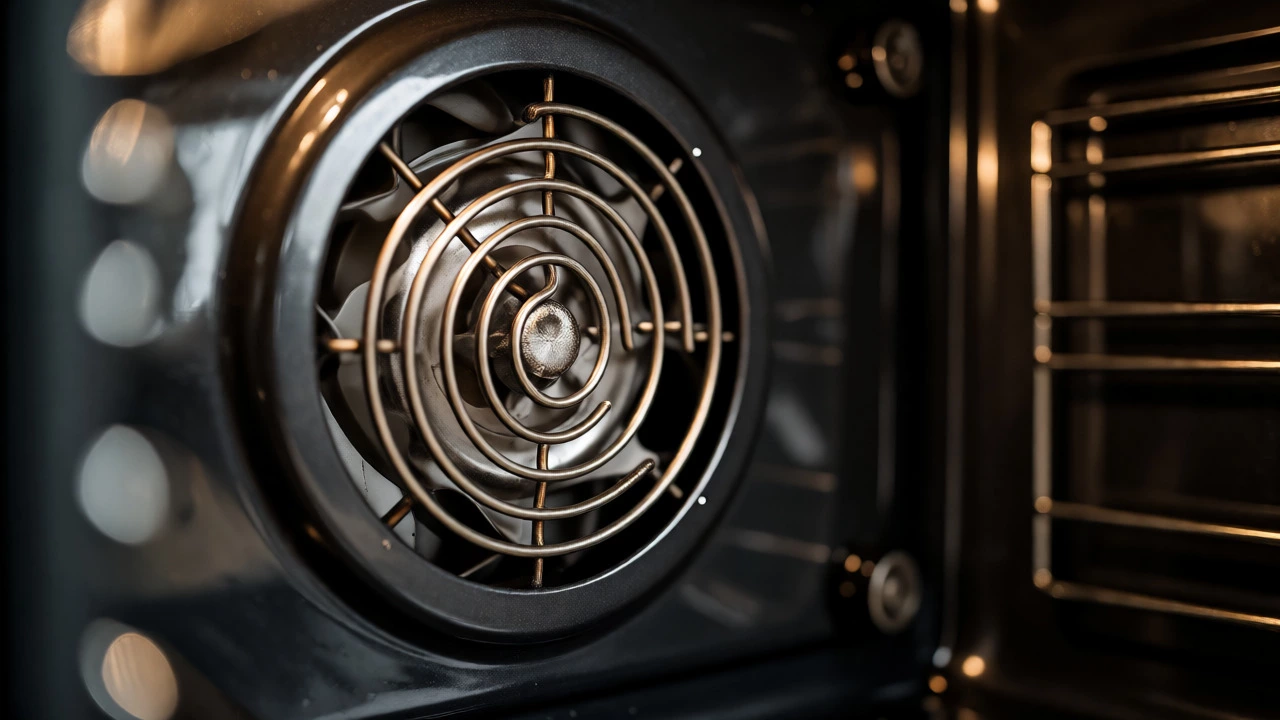
The biggest factor is the element type. A basic top grill element is simple wire wound around a ceramic core. It’s cheap. A circular fan element (the ring behind the back wall fan) is more complex because it integrates the fan motor mounting points and often requires specific torque settings during installation. Then there are hidden elements, found in some modern multifunction ovens, which require significant disassembly to access, driving up labour costs significantly.
| Element Type | Part Cost (DIY) | Labour Cost (Pro) | Total Estimated Cost | Difficulty Level |
|---|---|---|---|---|
| Top Grill / Broiler | £15 - £25 | £40 - £60 | £55 - £85 | Easy |
| Main Circular Fan | £20 - £40 | £50 - £80 | £70 - £120 | Moderate |
| Bottom Bake | £15 - £30 | £40 - £60 | £55 - £90 | Easy |
| Hidden / Concealed | £30 - £60 | £80 - £150 | £110 - £210 | Hard |
DIY vs. Professional: The Real Trade-Off
Should you just buy the part and swap it yourself? For most people, yes. Replacing a visible heating element is one of the few appliance repairs that genuinely does not require specialized tools beyond a screwdriver and a multimeter. However, there are scenarios where paying a professional is worth every penny.
If you own a high-end integrated oven from brands like Neff, Bosch, or Gaggenau, the warranty might be voided if non-certified technicians open the unit. Furthermore, accessing hidden elements often requires removing the entire inner cavity shell. One wrong move can crack the enamel lining or snap fragile plastic clips that aren't sold separately.
Conversely, if you have a freestanding cooker from Belling or Zanussi, the panel usually pops off with two screws. The element is held by two nuts. It takes ten minutes. Paying £100 for ten minutes of work feels painful when the part costs £20.
How to Identify Your Faulty Element
Don't guess. Elements fail in specific ways. Before ordering parts, confirm the diagnosis so you don't waste money on a new element when the problem is actually the thermostat or the main control board.
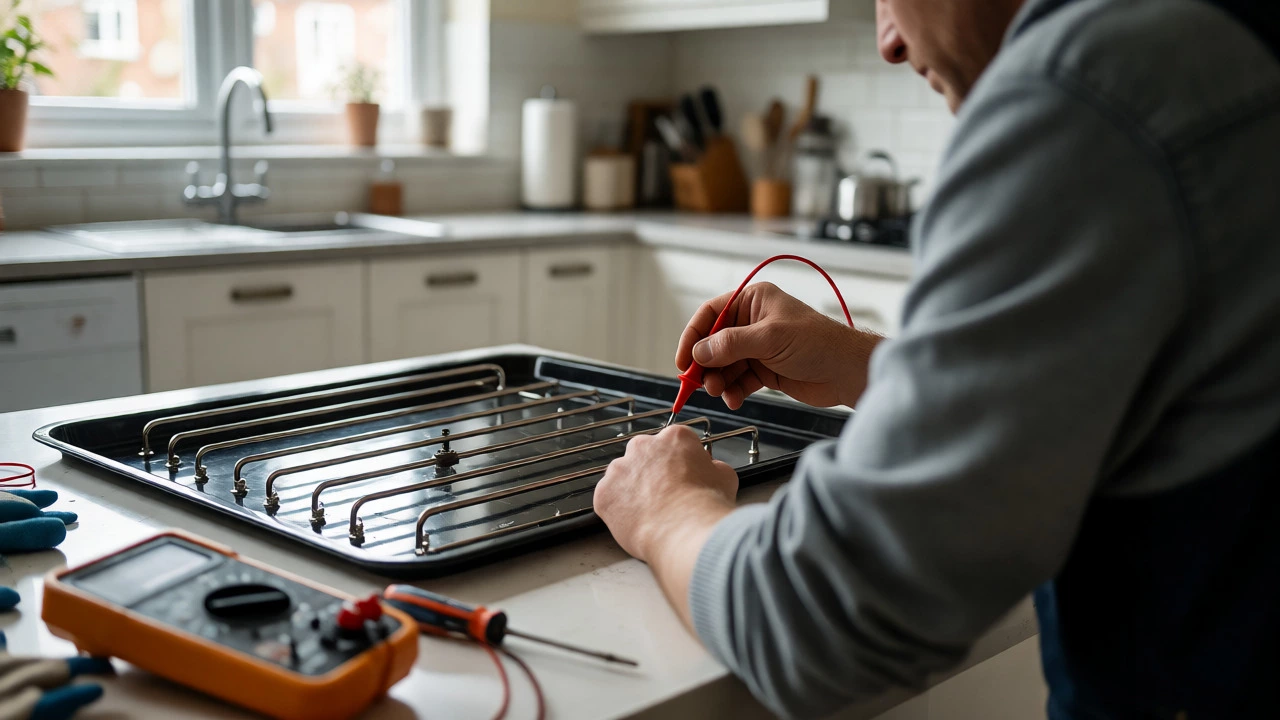
- Visual Inspection: Turn off the power at the mains. Pull the rack out. Look closely at the element coils. Do you see a blistered bubble, a break in the wire, or black scorch marks? If the metal looks broken or melted, it is dead.
- The Multimeter Test: This is the definitive check. Set your multimeter to resistance (Ohms). Disconnect the element terminals. Touch the probes to the terminals. A healthy element typically reads between 10 and 50 Ohms (depending on wattage). If it reads infinite resistance (OL), the circuit is broken. If it reads near zero, it is shorted out.
- Partial Heating: If the grill works but the main oven doesn't, your main element is likely fine, but your fan element or thermostat might be faulty. Conversely, if the light comes on but no heat occurs, check the thermal cut-off fuse first-it's cheaper than an element.
Finding the Right Part Number
Here is where most DIYers trip up. You cannot just go to a hardware store and ask for "an oven element." You need the exact model number of your appliance. This is usually found on a sticker inside the door frame or on the side of the oven cavity after pulling the unit out slightly.
Once you have the model number (e.g., Bosch HBN745GBUC), enter it into a spares website. They will show you the exploded diagrams. Match the shape of your old element to the diagram. Note the wattage (usually printed on the bracket, e.g., 2000W or 2500W). Using a lower wattage element will result in slow heating; higher wattage may blow fuses or damage wiring if not rated correctly.
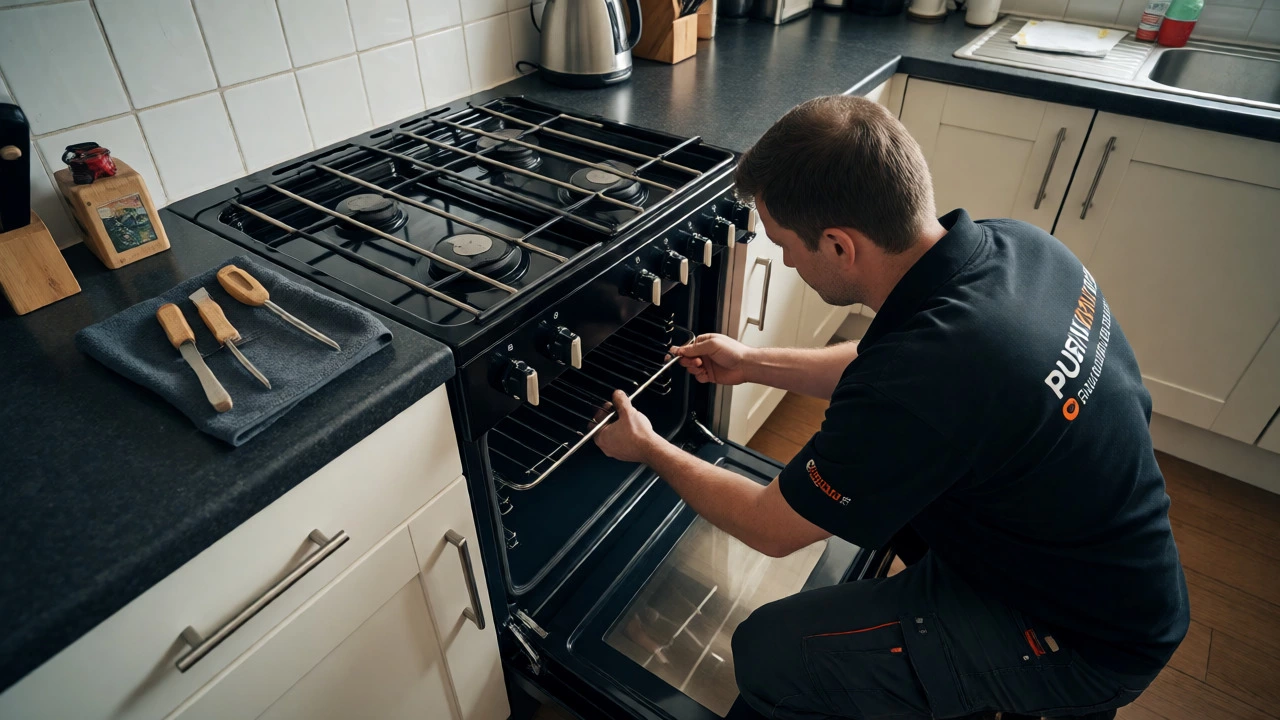
Step-by-Step Replacement Process
If you decide to tackle this yourself, follow these steps to ensure safety and correctness.
- Isolate Power: Switch off the circuit breaker for the oven. Do not rely on the oven switch alone. Use a voltage tester to confirm no current is flowing to the terminals.
- Access the Element: Remove oven racks. Unscrew the retaining screws holding the element brackets. In many models, you must push the element forward to release the rear terminals from the wall.
- Disconnect Terminals: Take a photo before disconnecting wires. Note which terminal goes where. Usually, they are color-coded or marked L/N/E. Undo the spade connectors or screws.
- Install New Element: Position the new element. Connect wires to the correct terminals. Ensure connections are tight-loose connections cause arcing and burn out the new element quickly.
- Reassemble: Push the element back into position. Secure the brackets. Replace racks.
- Test: Restore power. Run the oven on a low setting for 10 minutes. Monitor for smoke (normal for new elements initially) and check if it heats evenly.
When to Call a Professional
Call a certified engineer if: * The element keeps blowing repeatedly within months. This suggests a deeper issue, such as a faulty relay on the PCB or poor ventilation causing overheating. * You smell burning plastic along with electrical sparks. * The oven trips the RCD (Residual Current Device) immediately upon turning on. * Your oven is under warranty.
In Bristol and surrounding areas, independent appliance specialists often offer better rates than manufacturer-approved networks. Look for engineers registered with NICEIC or similar bodies who provide a written quote before starting work.
Can I drive with a broken oven element?
Yes, but only the affected function stops working. If the main element breaks, you can still use the grill or fan-assisted cooking if those circuits are separate. However, avoid using functions that rely on the broken element to prevent strain on other components.
How long does an oven heating element last?
Typically 5 to 10 years. Heavy usage, frequent cleaning with harsh chemicals, or cooking with foil touching the element can shorten this lifespan significantly.
Is it worth repairing an old oven?
If the repair cost is less than 30-40% of the price of a new oven, yes. For a £100 repair on a £400 oven, it makes sense. If you have a £1000 premium integrated oven, even a £200 repair is justified due to installation costs of a replacement.
What causes heating elements to fail?
Thermal cycling (expansion and contraction) eventually fatigues the metal. Physical damage from bumping the element while loading trays is also common. Corrosion from moisture entering the terminal block is another frequent killer.
Do I need a specialist to change the element?
No, not for standard exposed elements. Any competent handyman can do it. For concealed elements or complex integrated units, a specialist appliance engineer is recommended to avoid damaging internal casings.