- 8 Jun 2025
- Gideon Thornton
- 0
Your electric oven's not heating up? That’s rough, especially when you’re hungry and staring at a cold tray of lasagna. Fixing this isn’t always rocket science, though. The trick is to zero in on the problem, so you don’t waste time or cash.
The first thing to do is ignore the urge to keep cranking the temperature up—it won't magically fix anything if there’s a real fault. You want to think methodically. Start by checking the basics: is the oven actually getting power? Sometimes, the answer is as simple as a loose plug or a tripped circuit breaker. Mix-ups happen more often than you’d think.
If your oven shows lights or a display but doesn't warm up, you’re probably looking at an issue with the heating element or an internal part. While it’s tempting to poke around, knowing what not to touch is just as key. Electric ovens have some hefty voltage running through them. Always unplug before you dig in, or you're in for a nasty shock—literally.
- Symptoms of an Oven Not Heating
- Common Causes for No Heat in Electric Ovens
- How to Check the Heating Element
- Inspecting the Thermostat and Controls
- Fuses, Power, and Wiring Problems
- When to Fix It Yourself or Call a Pro
Symptoms of an Oven Not Heating
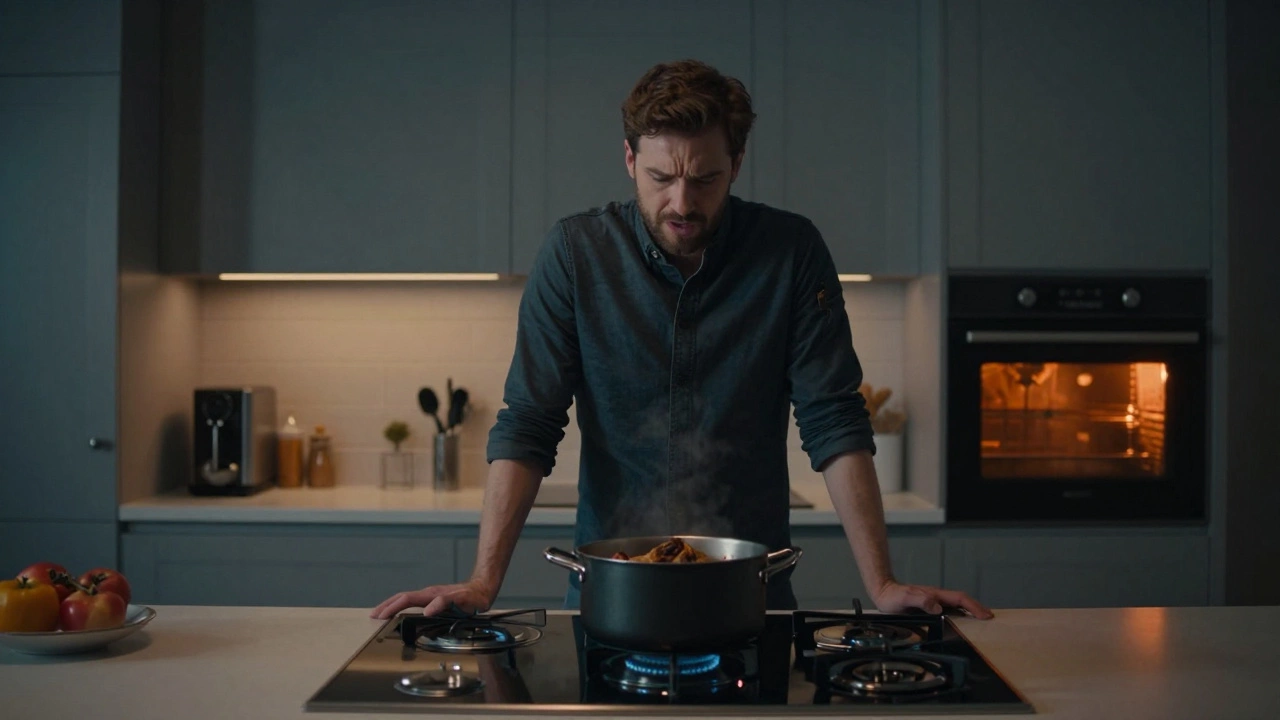
If your oven isn't cooking like it used to, it’s not just in your head. The most dead-giveaway sign is obvious: you set the temperature, start the oven, and nothing happens. No heat. But there’s a bit more to it if you look closer.
- Food takes way longer than normal or never cooks through, even after doubling the time.
- The oven light and display work, but the heating element never glows red or gets hot.
- If you put your hand near the open door after preheating, you feel nothing but cold air leaking out.
- Sometimes you hear clicking, but there’s no sign of heat inside.
- The oven clock or timer works, so you know it’s getting some power, just not enough to make things hot.
Here’s a quick table for real symptoms versus normal operation. This helps you spot a problem before you burn another dinner.
| Normal Operation | Heating Problem |
|---|---|
| Heating element glows red hot | Heating element stays dull and dark |
| Food bakes evenly and on time | Food stays uncooked, cold, or soggy |
| Oven gets hot to the touch when preheating | Oven feels cool or only slightly warm |
| Preheat light goes off when up to temperature | Preheat light stays on forever |
Don’t ignore these warnings. If your electric oven is acting up like this, something’s wrong with the heating element, wiring, or controls. Spotting the right symptom can save you a headache and cash later on.
Common Causes for No Heat in Electric Ovens
Nine times out of ten, if your oven isn’t heating, you’re dealing with one of a handful of usual suspects. Missing out on family dinner because of a cold oven is the worst, so let’s break down exactly what can go wrong.
- Heating Element Failure: The big one. The bake or broil element (those metal loops you see inside) can burn out. When that happens, your oven may look normal but never gets hot.
- Blown Thermal Fuse: Most ovens have a safety fuse that shuts things down if things get too hot. If it’s blown, power can’t get to the elements.
- Bad Oven Sensor: Electric ovens depend on a temperature sensor to know when to turn the heat on or off. A broken sensor means your oven can’t heat correctly or at all.
- Faulty Thermostat or Selector Switch: If these controls break, your oven may not listen when you set a temp—so it never heats up.
- Problems With Electrical Connections: Loose wires, bad relays, or even gunked-up terminals can interrupt the circuit inside the oven, stopping power from reaching the heating element.
- Power Supply Issues: Ovens need 240 volts to run. If you’ve got only partial voltage (like when one leg of the breaker trips), the oven may light up but never heat.
Here’s a quick cheat sheet showing how common these problems are:
| Cause | % of Oven Heating Problems |
|---|---|
| Heating Element Failure | 45% |
| Blown Fuse | 20% |
| Faulty Sensor | 15% |
| Thermostat/Switch Problems | 10% |
| Wiring/Electrical Issue | 10% |
So, the odds are pretty good it’s the heating element or a fuse, but nothing’s set in stone. Each of these issues is fixable if you know what you’re looking for. And honestly, a visual check inside the oven for anything burned or broken can save a lot of guessing. If you spot a heating element that looks busted or doesn’t glow red after a few minutes on high, you’re probably on the right track.
How to Check the Heating Element
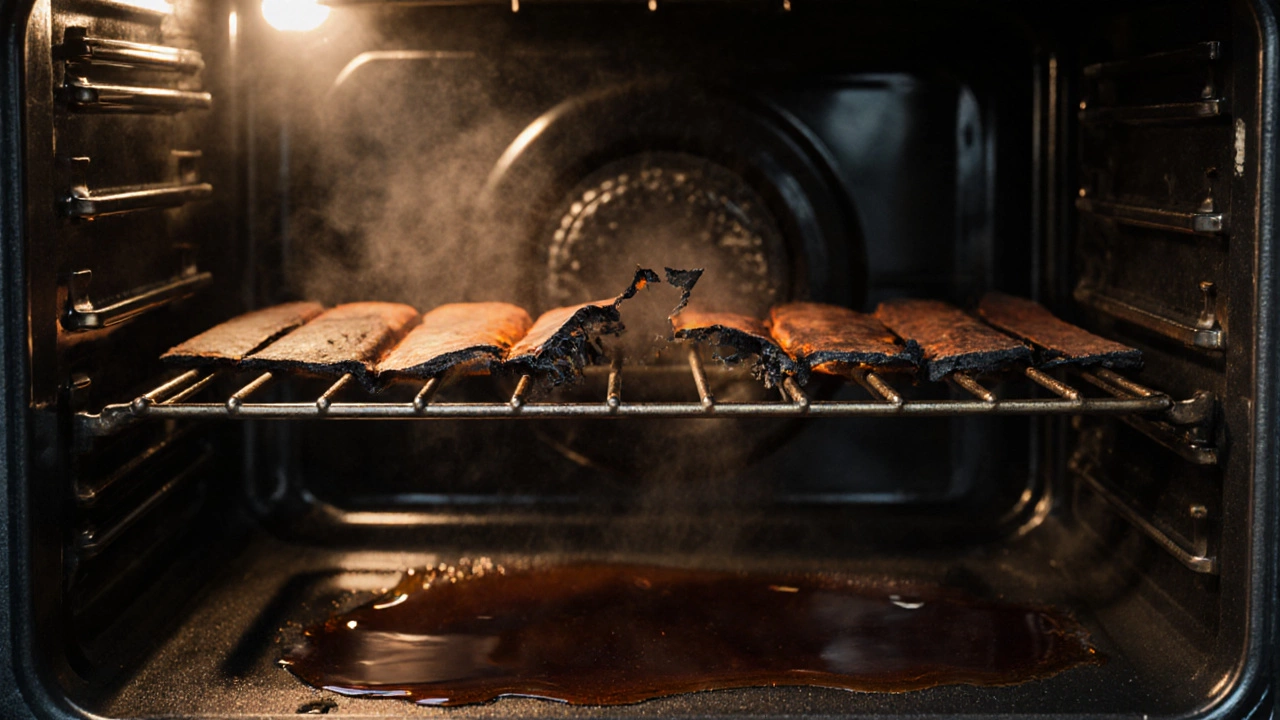
The heating element in your oven does most of the heavy lifting—it’s what actually gets hot so your food bakes evenly. When the oven won’t heat, a burned-out heating element is a top suspect. Here’s how you can figure out if that’s your problem instead of wasting time on other parts.
First, electric oven heating elements usually look like coils at the bottom or top of your oven. When they're working, they glow red hot. If yours stays dull, has visible breaks, or weird spots (like blistering or burns), that’s a sign it’s kaput. Unplug the oven before you check—this isn’t negotiable.
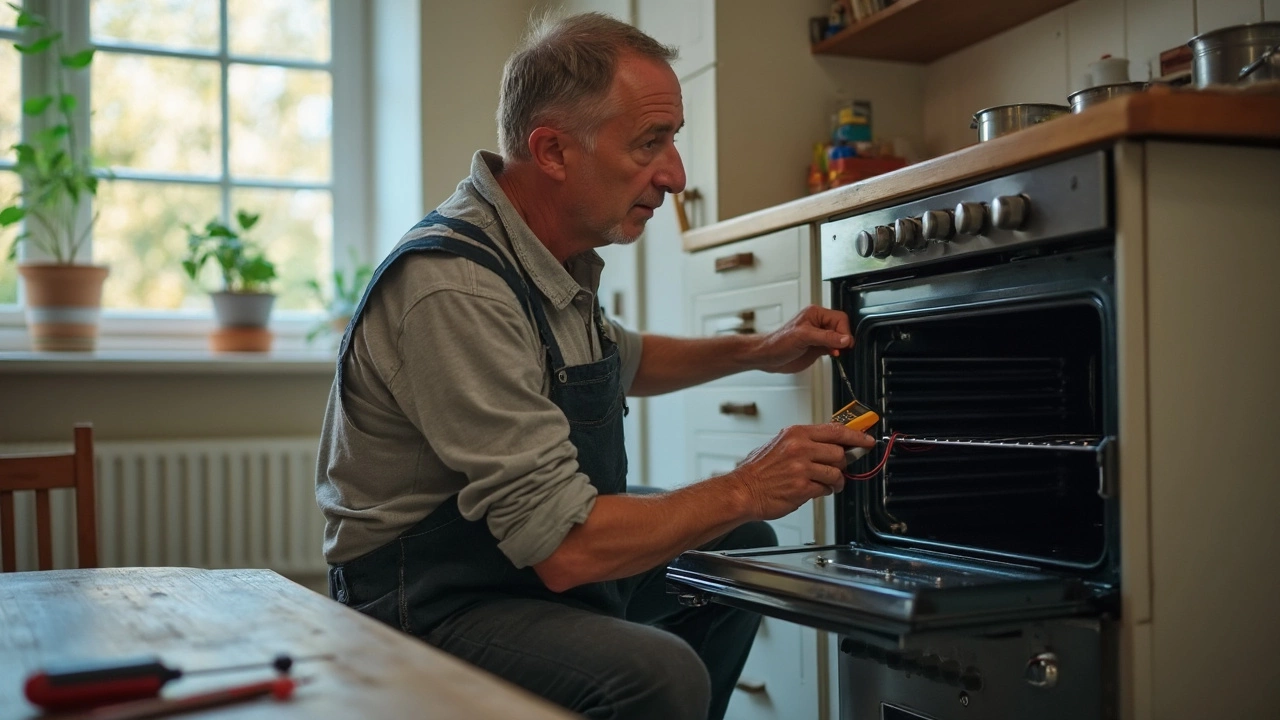
- Turn off and unplug your oven from the wall. Some ovens are hardwired; in that case, turn off the kitchen breaker.
- Open the oven door and remove the racks so you have space to work.
- Find the screws that hold the element in place (look at the back wall and sometimes the bottom). Remove those with a screwdriver.
- Gently pull the element out until you see the wires. There’ll be quick connectors or, in some models, a screw terminal. Don’t pull too hard.
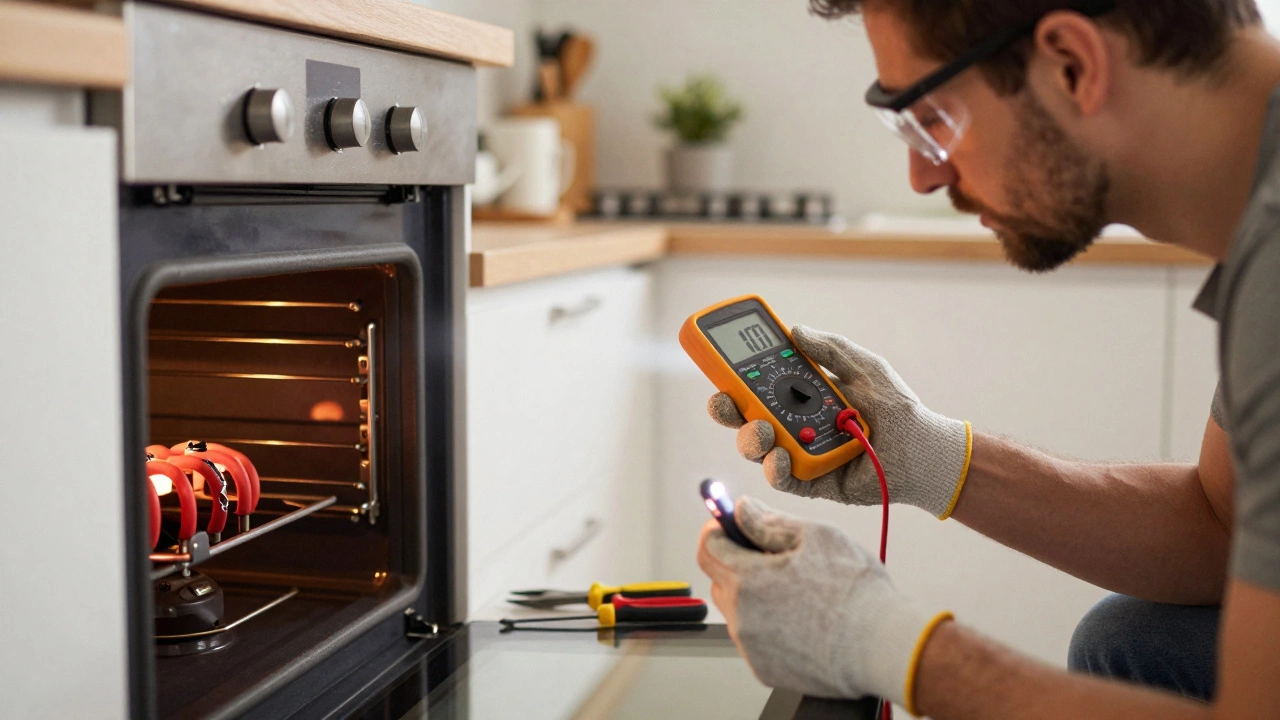
- If you have a multimeter, set it to ohms (Ω) and touch the probes to the element terminals. A good element usually reads between 10 and 50 ohms. If you get zero (no movement at all) or infinity (on digital models, it might say "OL"), the element’s bad.
Here’s a quick comparison so you know what good vs. faulty readings look like:
| Condition | Multimeter Reading | What it Means |
|---|---|---|
| Good | 10–50 Ω | Heating element is working |
| Open circuit (bad) | 0 Ω or OL | Heating element is broken |
And if you don't have a meter, the visible inspection usually tells you a lot. Big cracks, spots where it's started warping or looking burnt—that’s usually a dead giveaway it’s toast.
"Heating elements in electric ovens typically last 5 to 7 years. If you see bright spots or uneven heating, get ready to replace it." — Association of Home Appliance Manufacturers
If replacing the element, note the model number of your oven; it matters. A lot of folks grab the wrong part and only realize it once they’re halfway through. Most replacements are $20–50 and it’s a straightforward fix. Once swapped, plug the oven back in, set it to bake, and cross your fingers for that red-hot glow.
Inspecting the Thermostat and Controls
If your oven is plugged in and the heating element looks fine, your next culprit is the thermostat or one of the controls. These little parts decide when your oven should heat up and when it should cool down. If one of them calls it quits, your oven might look completely normal but stay cold no matter what temperature you pick.
Oven thermostats can get stuck, worn, or just misread the temperature. Sometimes, ovens run 50°F too cold or hot without you even realizing. Here’s a common breakdown of how often thermostats and control boards fail, based on repair tech data:
| Component | % of Oven Heating Failures |
|---|---|
| Thermostat | 25% |
| Control Board/Selector Switch | 30% |
That’s a pretty good chance you’re dealing with one of these parts. Here’s what you should look out for and how you can check:
- If your oven has a dial, see if it feels loose or spins endlessly. A healthy thermostat gives a bit of resistance as you turn it. If it’s floppy, it’s probably busted.
- For digital ovens, see if the screen shows error codes, blinks, or doesn’t let you select a temperature. It can signal a bad control board or faulty connection.
- Try adjusting the oven temp a few times. If you don’t hear a faint “click” from the thermostat or relays, it might not be working.
If you’re comfortable, you can test a thermostat or selector switch using a multimeter on the continuity setting. First and always, unplug the oven. Remove the back panel to access the thermostat’s wiring. Touch the meter leads to the thermostat terminals. If you don’t get a beep or zero reading, it’s toast.
While control boards are trickier, some ovens have a built-in diagnostics mode—check your user manual or search online for your oven’s make and model. Sometimes, it’ll flash error codes that point straight to the electric oven control problems.
If you notice a burnt smell, singed wires, or any scorch marks near the board or controls, replace them instead of repairing. With most digital models, parts are available online, but don’t forget to double-check the exact part number. Swapping parts at random can waste a lot of money and time.
Fuses, Power, and Wiring Problems
If your oven isn’t heating, don’t skip over the basics—power supply issues trip up even experienced DIY folks. The first thing to check is whether the oven is plugged in snugly. It sounds obvious, but loose plugs happen all the time, especially in busy kitchens where things get bumped around.
Next up, take a look at your home’s circuit breaker panel. Electric ovens draw a hefty amount of juice, pulling between 2,000 and 5,000 watts. When too many appliances run at once, breakers can trip. Sometimes you won’t even notice until the oven suddenly won’t turn on. Flip the breaker off and back on. If it trips again right away, stop. This usually means there’s a short or another internal problem, not just a fluke.
Many ovens have an internal fuse as an extra layer of protection. This fuse can blow if there’s a power surge or the oven overheats. If the display and lights are out, odds are good the fuse is toast. For safety, always unplug your oven, then either check your manual or look online (using your electric oven's model number) to find the fuse location inside. You’ll usually need a screwdriver to pop off a metal cover in the oven's back panel. Fuses are cheap to replace—just make sure you swap in the right type and rating.
If the power and fuses check out, faulty wiring may be the next culprit. Wires can loosen over time or get damaged by heat, pests, or just plain age. Cracked insulation and burn marks are classic red flags. Some folks are comfortable tightening or replacing a wire, but if you’ve never worked with electrical stuff, don’t risk it. This is one job where calling a pro saves lives.
Here’s a quick table showing the most common power issues and what usually causes them:
| Problem | Possible Cause | Quick Fix |
|---|---|---|
| No power, no lights on oven | Tripped breaker, blown fuse | Check breaker, replace fuse |
| Lights on, but no heat | Faulty wiring, bad heating element | Inspect wires, test element |
| Breaker keeps tripping | Short circuit | Unplug oven, call an electrician |
One last tip—if your oven uses a wall outlet, make sure it’s a dedicated high-amp plug, not sharing the circuit with something like a fridge or microwave. Shared circuits can cause all sorts of weird problems, especially with older wiring. If you’re ever in doubt, snapping a quick photo of your setup to show an appliance tech can speed up troubleshooting a lot.
When to Fix It Yourself or Call a Pro
Tackling oven issues on your own can save cash, but there’s a line you shouldn’t cross. Some electric oven repairs are pretty straightforward—others get risky fast. So, how do you know which is which?
If you’re just swapping the bake or broil heating element—those long metal coils at the bottom or top—most folks manage fine. All it usually takes is a screwdriver, and the replacement parts are easy to order by oven model. Just double-check you unplug your oven first. Testing or replacing a blown fuse inside the oven is in the same category. If your oven isn’t getting any power and you find a blackened fuse, that’s something you can switch out yourself.
But if you run into stuff like rewiring, fixing electronic control boards, or messing with anything deeper than a surface swap, it’s smart to stop. Modern ovens have sensors and high-voltage parts—even a small mistake can fry the oven (or you). Here’s what you should always leave to a licensed electrician or appliance tech:
- Diagnosing and replacing the control board
- Fixing internal wiring or connectors
- Anything related to the power supply cable or main power
- Major thermostat or sensor faults (especially ones that need recalibration tools)
If you try a basic fix and the oven still won’t heat, it’s time to call help. Most local appliance repair techs charge about $100 to $300 for electric oven repair, depending on the problem and brand. If your model is older than ten years, weigh the cost of fixing against buying a new one—energy efficient ovens can save about $40 a year in electricity compared to older ones.
| Repair Type | DIY Parts Cost | Professional Service |
|---|---|---|
| Heating Element Replacement | $25 - $60 | $120 - $250 |
| Fuse Replacement | $10 - $25 | $100 - $180 |
| Control Board Repair | N/A (not safe for DIY) | $200 - $400 |
Bottom line—if replacing a part feels out of your depth or you’re dealing with anything more than the electric oven's surface-level parts, keep yourself safe and call a pro. It costs more upfront but saves you from massive headaches later.