- 13 Sep 2026
- Gideon Thornton
- 0
Oven Element DIY Savings Calculator
Enter your estimated costs below to see exactly how much you could save by doing the job yourself.
Professional Repair Estimate
DIY Repair Estimate
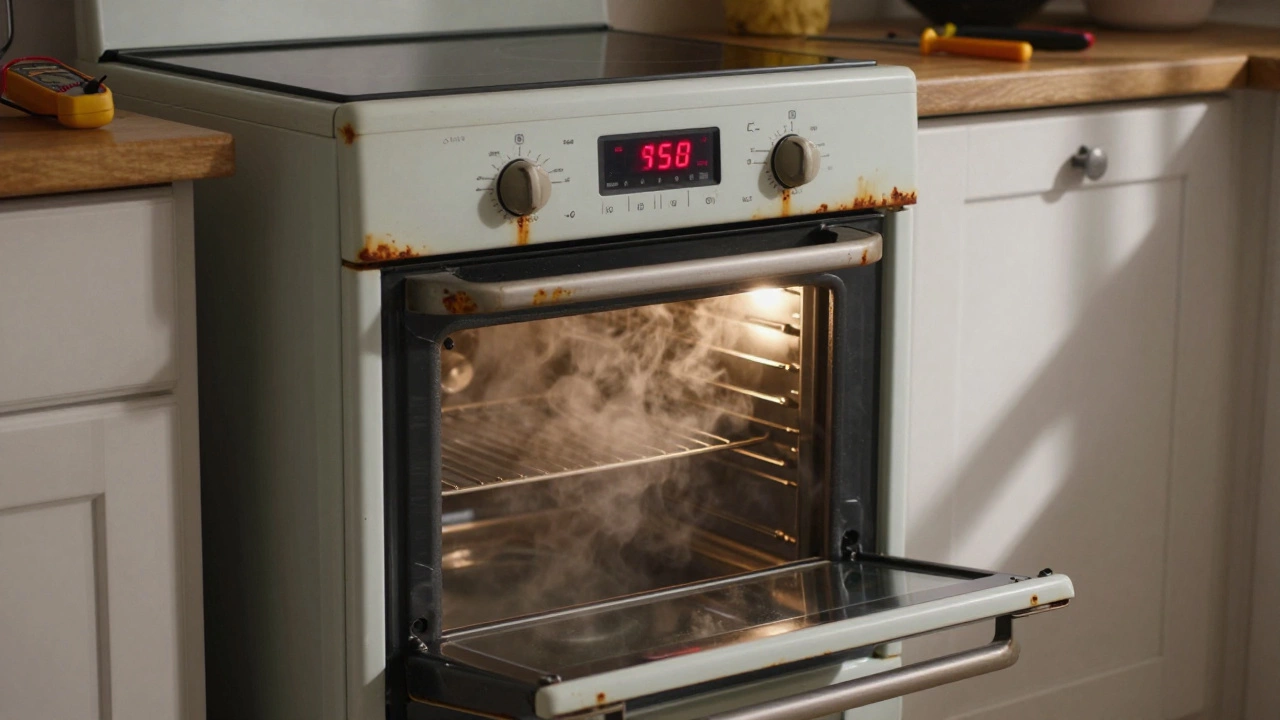
Your Sunday roast is half-cooked, the oven light is on, but the heat is dead. It’s a familiar panic for anyone who has ever relied on their kitchen to function. Before you call out a technician and watch £100-£150 disappear from your bank account, pause. In most cases, electric oven elements are one of the few components in modern appliances that homeowners can safely replace themselves. The part costs between £20 and £60, takes about 30 minutes to swap, and requires nothing more than a screwdriver and a multimeter.
But "can" doesn't mean "should" if you don't know what you're doing. This guide breaks down exactly how to diagnose the issue, which tools you need, and the specific steps to get your oven back up to temperature without hiring a pro.
The Quick Summary: Key Takeaways
- Diagnosis first: Don't buy parts until you confirm the element is broken using a multimeter or visual inspection.
- Safety is non-negotiable: Always isolate the power at the fuse box or consumer unit, not just the oven switch.
- Cost savings: DIY replacement saves roughly 70% compared to professional labor fees.
- Compatibility matters: Match the wattage and physical dimensions exactly; generic replacements often fail prematurely.
How to Know If Your Oven Element Is Actually Broken
Not every cold oven is a dead element. Sometimes it’s a faulty thermostat, a blown thermal fuse, or even a tripped circuit breaker. Before you start unscrewing panels, you need to rule out the simple stuff.
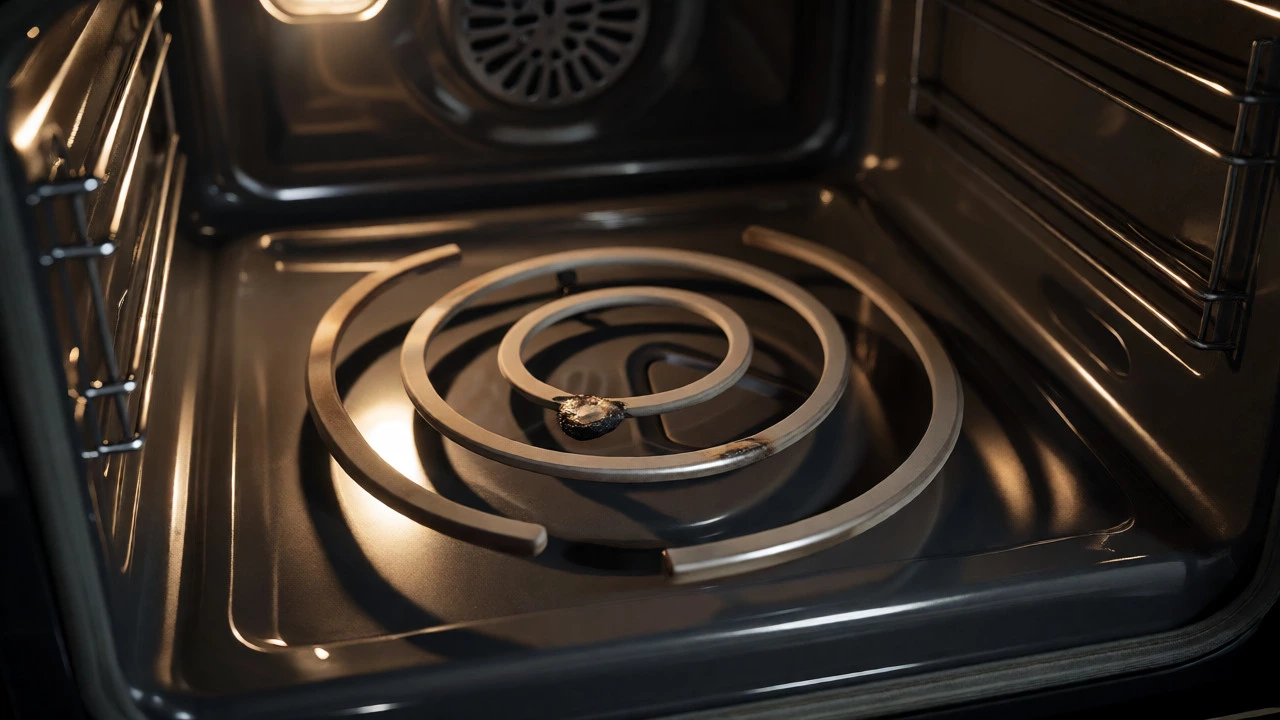
Start with a visual check. Most heating elements are exposed coils inside the oven cavity. Turn off the oven and let it cool completely. Look at the coil. Do you see a blistered spot, a gap in the metal, or a section that looks significantly darker or melted? If the coil is physically broken or burnt through, you have your culprit. No testing required.
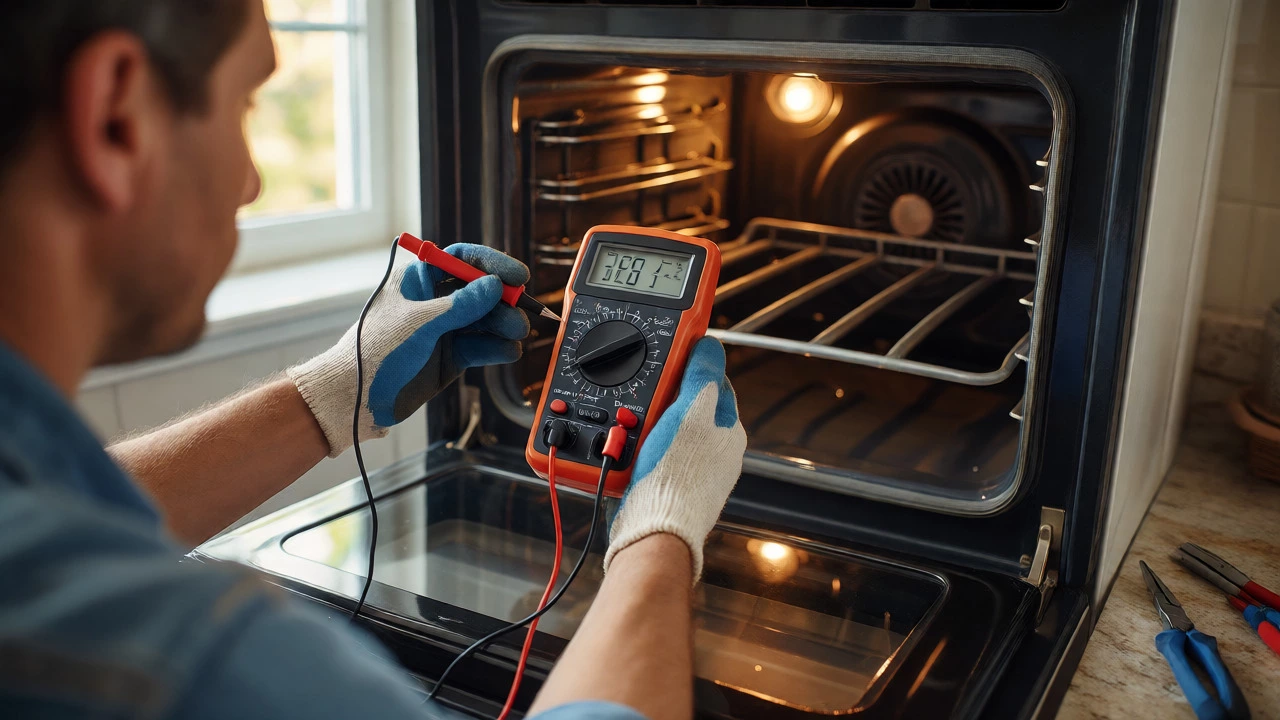
If the coil looks intact, you need to test for electrical continuity. You will need a multimeter a device used to measure voltage, current, and resistance. Set it to the Ohms (Ω) setting. Touch the probes to the terminals of the element. A good element typically shows a resistance between 20 and 50 Ohms, depending on its wattage. If the multimeter reads "OL" (Open Loop) or infinity, the circuit is broken internally, and the element needs replacing. If it reads close to zero, the element might be shorting out, though this is rarer.
| Symptom | Likely Cause | DIY Difficulty |
|---|---|---|
| Oven heats but unevenly | Fan motor failure (if fan-assisted) | Moderate |
| Oven does not heat at all | Heating element or Thermostat | Easy to Moderate |
| Element glows red then stops | Thermal fuse or Timer fault | Moderate |
| Tripping the RCD/Breaker | Element earth leakage | Easy |
Gathering the Right Tools and Parts
You cannot replace an element with just hope and a wrench. Precision matters here because ovens operate at high temperatures and voltages. Here is your shopping list before you start:
- Multimeter: Essential for confirming the old part is dead and the new one works.
- Phillips-head screwdriver: Most oven panels use standard cross-head screws.
- Needle-nose pliers: Useful for disconnecting spade connectors if they are tight.
- Insulated gloves: Even after cooling, residual heat can linger in ceramic blocks.
- The Replacement Element: This is the critical variable.
When buying the replacement, do not guess. Every oven has a rating plate, usually located around the door frame or behind the bottom drawer. Write down the model number and serial number. Search these numbers online along with the word "element." For example, if you have a Bosch HBA5341GB built-in single oven, search specifically for "Bosch HBA5341GB bake element."
Check three specs before ordering:
- Wattage: Must match the original exactly (e.g., 2000W). Using a lower wattage element means longer preheat times; higher wattage can overload the wiring.
- Voltage: Standard UK domestic ovens run on 230V.
- Dimensions: Compare the length, width, and terminal spacing of the new part against the old one. If the holes don’t align, it won’t fit.
Step-by-Step: Replacing the Bake Element
The bake element is usually at the bottom of the oven cavity. It is the easiest one to access and the most common to fail. Follow these steps carefully.
1. Isolate the Power
This is where people get hurt. Turning off the oven knob does not cut the live electricity. Go to your consumer unit (fuse box) and switch off the circuit labeled "Oven," "Cooker," or "Kitchen Ring Main." If you aren’t sure which breaker it is, turn off the main isolator. Use your multimeter to verify there is no voltage reaching the oven socket.
2. Access the Element
Remove the oven racks so you have clear space. Locate the two screws holding the bake element bracket to the rear wall of the oven. These are usually accessible from inside the cavity. Unscrew them. You might need to pull the oven slightly forward from its housing if the screws are recessed, but many modern built-ins allow access without pulling the whole unit out.
3. Disconnect the Wires
Pull the element gently toward you. You will see two wires connected to the terminals via spade connectors. Do not yank the wires. Wiggle the connectors side-to-side while pulling them off. If they are stuck, use needle-nose pliers to grip the connector body, not the wire itself. Take a photo of the wiring configuration before disconnecting-just in case.
4. Install the New Element
Slide the new element into place. Connect the wires to the corresponding terminals. Ensure the spade connectors are pushed on firmly; a loose connection creates arcing, which burns the terminal and fails the heater again. Secure the element with the screws you removed earlier. Do not overtighten, as the brackets are often thin metal.
5. Test It
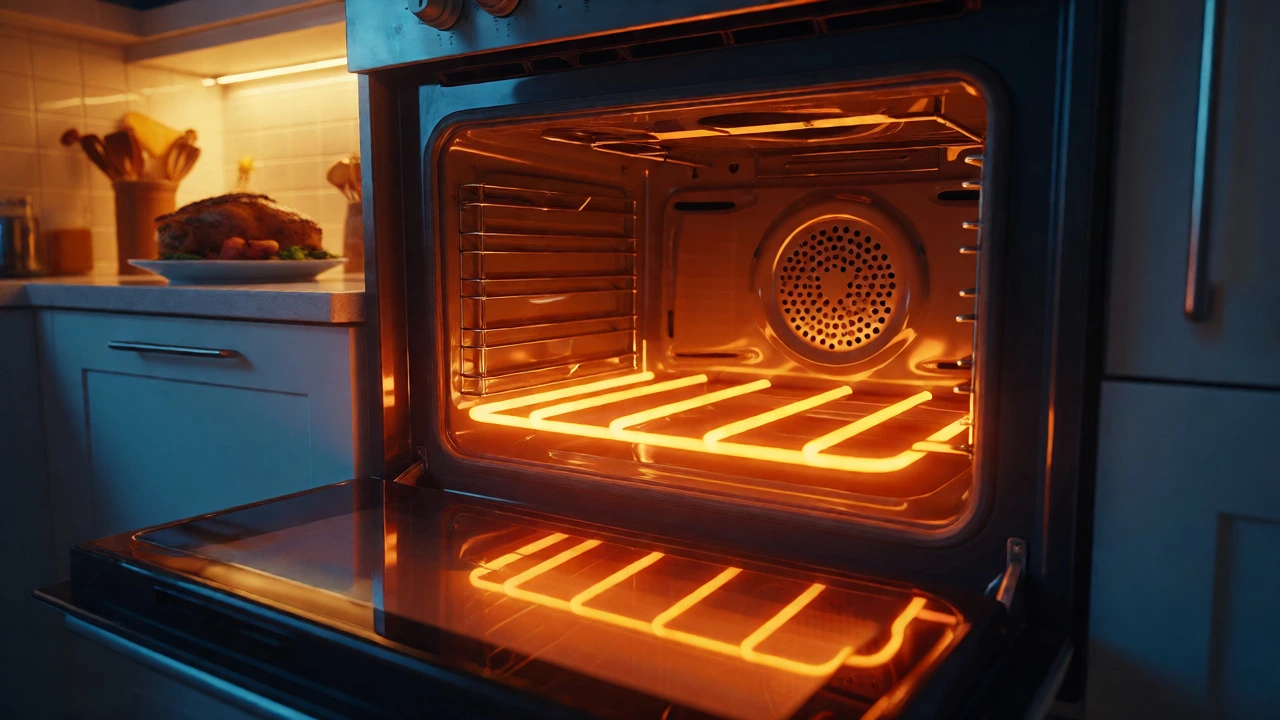
Restore power at the fuse box. Set the oven to 180°C (350°F) with the bake setting. Wait 5-10 minutes. Open the door slightly (carefully) and look at the element. It should glow bright orange. If it glows evenly, you’ve fixed it. Close the door and let it reach temperature. Use an oven thermometer to verify accuracy, as the old element might have skewed the thermostat calibration.
Replacing the Grill and Fan Elements
The process for other elements is similar but varies slightly in access.
The Grill Element: Located at the top of the cavity. Often, you need to remove the grill pan and rack first. Some grills have a protective shield over the element. Remove this shield by unclipping it or unscrewing it. The mounting screws are usually at the front corners. The wiring access is identical to the bake element.
The Fan Element: This is trickier. The circular element surrounds the fan motor at the back center. To access it, you usually have to remove the back panel of the oven cavity. This involves removing several screws around the perimeter of the rear wall. Once the panel is off, you’ll see the element attached to the fan assembly. Be careful not to damage the fan blades. The element is often held by spring clips rather than screws. Unclip them, disconnect the wires, and swap the part. Reassembly is fiddly because you have to align the panel correctly before tightening the screws.
When to Call a Professional
While DIY is great, some situations require a qualified engineer. You should stop and call a pro if:
- The oven trips the RCD immediately upon powering up: This indicates an earth leakage fault. While often caused by a wet or cracked element, it can also mean damaged internal insulation or wiring issues that require specialized testing equipment.
- The control board is faulty: If the element tests fine but receives no power when switched on, the issue lies in the PCB (Printed Circuit Board) or relay. Replacing these boards is expensive and complex.
- Gas Ovens: This guide applies to electric ovens. Gas ignition systems involve different safety protocols. Never attempt to repair gas valves or igniters yourself unless you are Gas Safe registered.
- Integrated Appliances: If your oven is fully integrated into cabinetry, accessing the rear terminals might require removing the entire appliance from the cabinet. If you lack the strength or tools to move a heavy built-in oven, hire help.
Cost Breakdown: DIY vs. Pro
Let’s look at the numbers. In the UK market as of 2026, prices fluctuate, but the trends remain consistent.
| Item | DIY Cost | Professional Cost |
|---|---|---|
| Replacement Element | £25 - £55 | Included in service fee |
| Call-out Fee | £0 | £40 - £60 |
| Labor Charge | £0 (Your time) | £50 - £80 per hour |
| Total Estimated Cost | £25 - £55 | £90 - £140+ |
The math is straightforward. Unless the part itself costs over £100 (rare for standard elements), doing it yourself saves significant money. Plus, you gain the satisfaction of fixing a major household appliance.
Troubleshooting After Replacement
You replaced the element, but the oven still isn’t working right? Check these common pitfalls:
- Oven heats too slowly: Did you install the correct wattage? A 1500W element in a slot designed for 2000W will struggle. Also, check if the door seal is intact; a leaky seal lets heat escape.
- New element burned out quickly: This suggests a thermostat issue causing the element to stay on continuously, overheating it. Or, the element was installed touching the oven wall, causing hotspots.
- Noisy operation: If the new element rattles, it may not be secured tightly enough. Vibration causes noise and eventual breakage.
Frequently Asked Questions
How long do oven elements last?
With normal domestic use, heating elements typically last between 5 and 10 years. Factors like frequent self-cleaning cycles (which generate extreme heat) or poor ventilation can shorten this lifespan. Commercial ovens may need replacement every 2-3 years due to heavier usage.
Can I use any universal oven element?
No. While some manufacturers share parts, "universal" elements often differ in wattage, size, or terminal placement. Using an incorrect part can lead to poor performance, fitting issues, or electrical hazards. Always match the specifications of the original component.
Is it dangerous to replace an oven element myself?
It is safe if you follow proper isolation procedures. The main risk is electric shock from live wires. Always cut power at the fuse box and verify with a multimeter before touching any terminals. Wear insulated gloves to protect against sharp edges and residual heat.
Why did my new element trip the breaker?
This usually indicates an earth fault. The new element might be defective, or moisture could have entered the terminal block during cleaning. Another possibility is that the element casing is touching the oven chassis, creating a short circuit. Check that the element is centered and not contacting the walls.
Do I need to calibrate the oven after changing the element?
Generally, no. The thermostat controls the temperature, not the element itself. However, if your oven runs consistently hotter or cooler than the dial setting, you may need to adjust the thermostat offset. This is separate from the element replacement but worth checking with an oven thermometer.