- 20 Aug 2026
- Gideon Thornton
- 0
Water Heater Flush Planner & Checklist
Answer three quick questions to generate your personalized flushing plan. Tap each step as you complete it to track progress.
Your Step-by-Step Checklist
0 / 0 done🔧 Tools & Safety Gear You Need
Is your hot water running slower than it used to? Or maybe the tank is making that annoying rumbling noise when you turn on the shower. Before you panic and call a plumber for an emergency repair, there is a simple fix you can likely handle in your own garage: flushing the water heater is a process of draining accumulated mineral sediment from the bottom of the storage tank to restore efficiency and extend lifespan. It’s not rocket science, but it does require a bit of caution and the right tools.
You don’t need to be a certified technician to do this. However, you do need to know whether you are dealing with a gas or electric unit, as the steps differ slightly. Getting it wrong can lead to scalding water or minor leaks, so let’s walk through exactly how to do it safely and effectively.
Why You Should Flush Your Water Heater
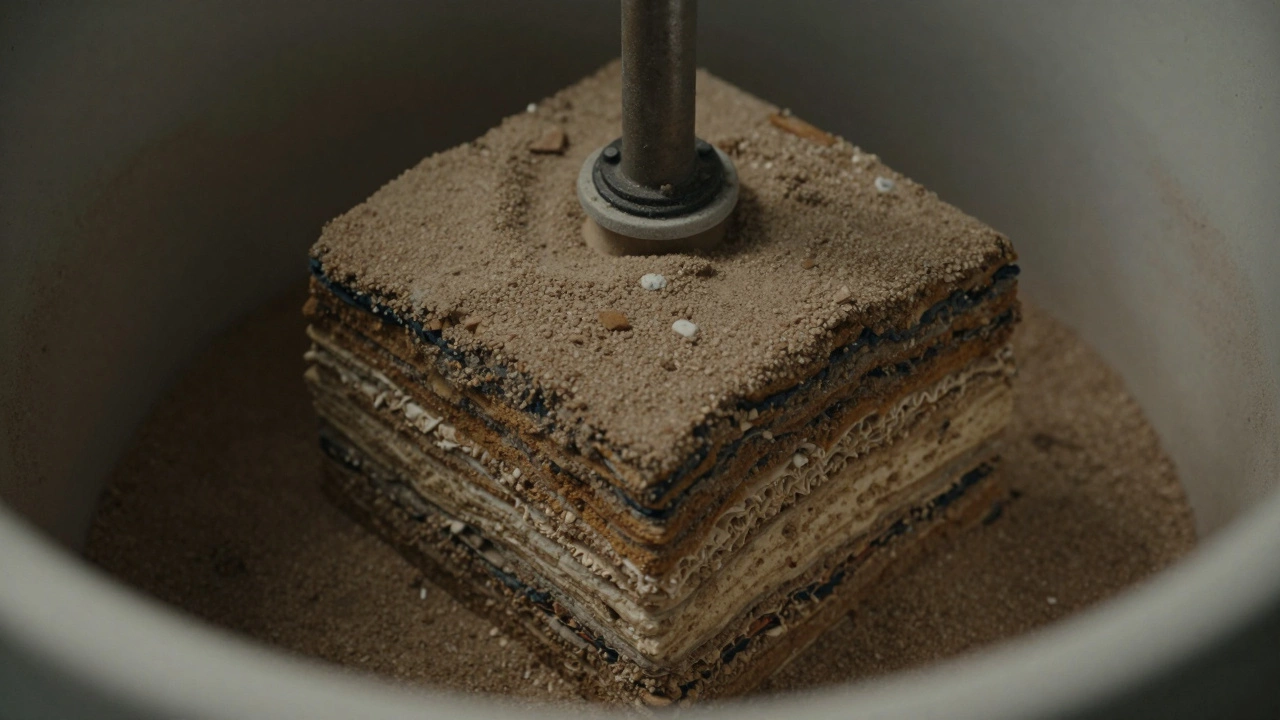
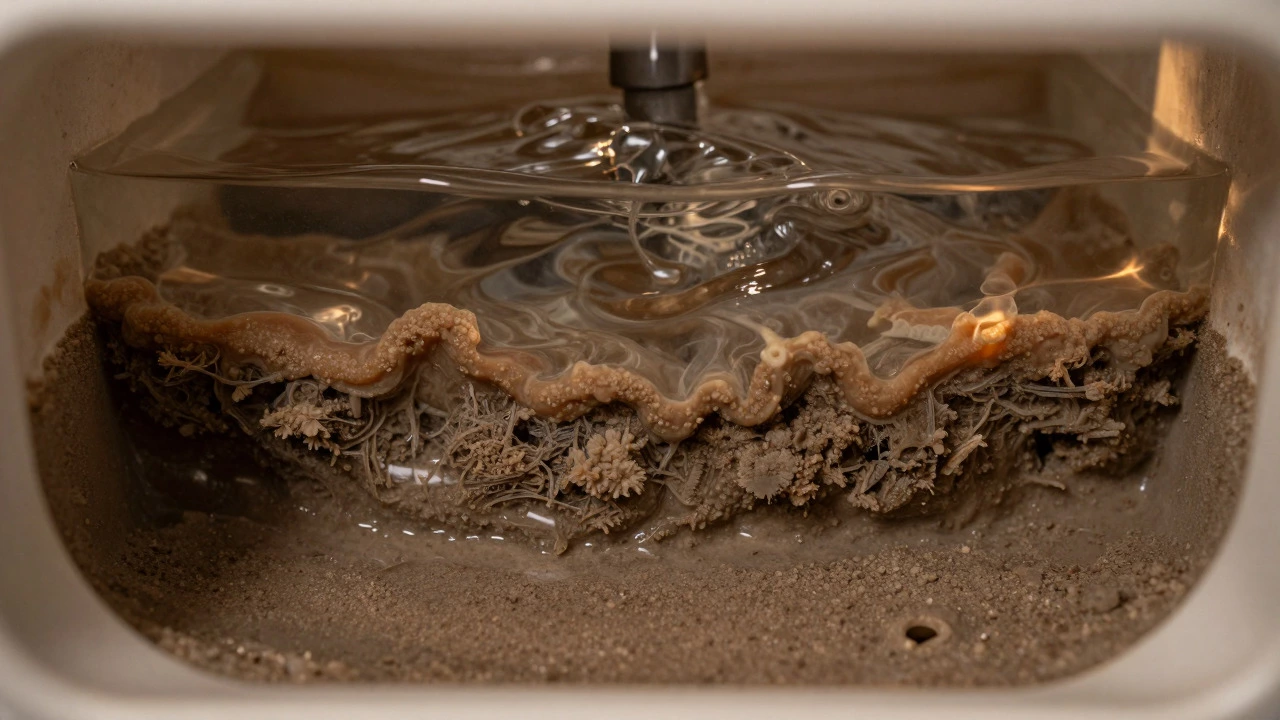
Every day, your water heater stores hundreds of litres of water. In areas like Bristol, where water hardness varies, minerals like calcium and magnesium settle at the bottom of the tank over time. This buildup is called sediment is mineral deposits that accumulate at the base of water heater tanks, reducing heating efficiency and causing noise.
When this layer gets thick, two bad things happen. First, the burner (in gas models) has to work harder to heat the water through the insulating layer of sludge, which wastes energy. Second, the sediment can cause corrosion, eventually leading to a leak at the bottom of the tank. If you hear gurgling or popping sounds, that’s the water boiling off the sediment. Flushing removes this debris, keeping your unit quiet and efficient.
Tools and Safety Gear You Need
Before you start, gather these items. You don’t need expensive professional gear, just the basics:
- A standard garden hose (at least 10 feet long)
- An adjustable wrench or spanner
- A bucket (for any overflow during setup)
- Gloves and safety glasses (hot water is no joke)
- A drain pan (optional, but helpful for catching drips)
Safety first: Make sure the area around the water heater is clear. If you have pets or small children, keep them away from the hose path. Hot water can stay dangerous even after it cools down slightly, so always check the temperature before touching pipes.
Flushing a Gas Water Heater
If your home runs on natural gas, follow these steps carefully. The key difference here is that you must turn off the gas supply to prevent the pilot light from going out or igniting while you’re working.
- Turn off the power/gas: Locate the gas valve on the side of the tank. Turn it clockwise until it stops. For electric units, flip the breaker switch in your fuse box to 'Off'.
- Cool the water: Run cold water taps throughout the house for about 30 minutes. This lowers the temperature inside the tank, reducing the risk of scalds.
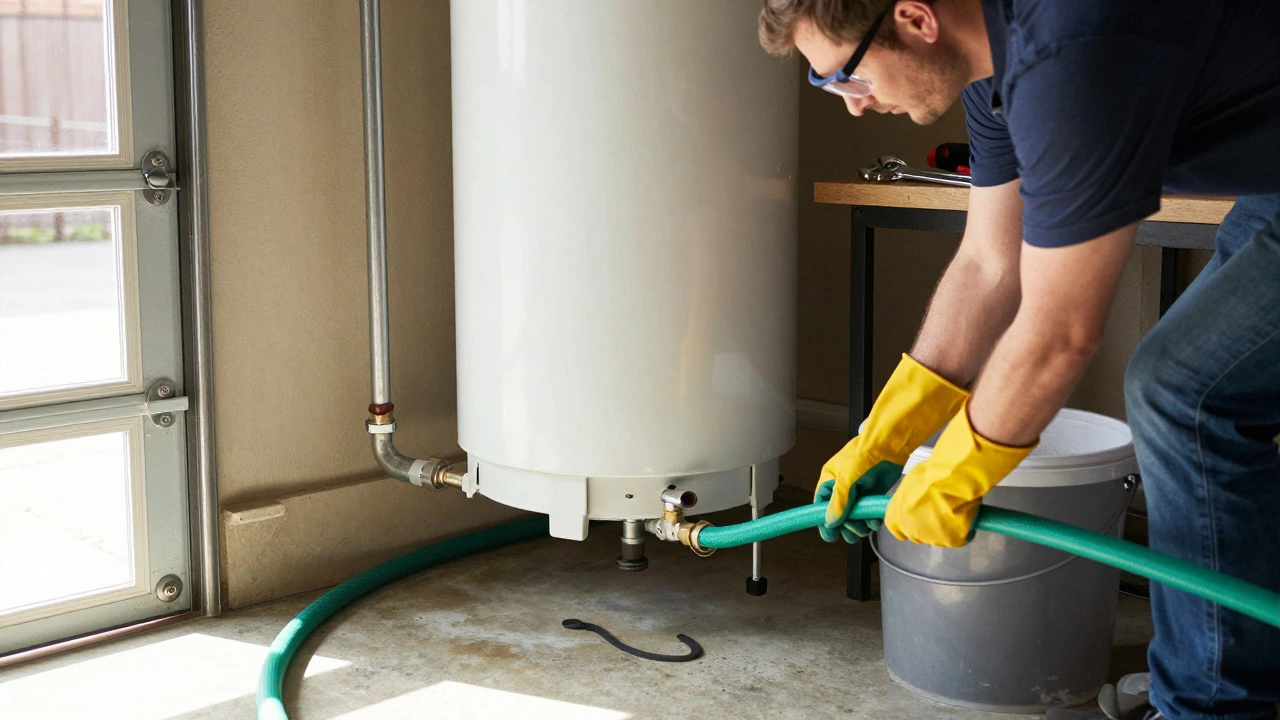
- Connect the hose: Find the drain valve at the very bottom of the tank. Attach your garden hose to this valve. Route the other end of the hose into a floor drain or outside (not into a toilet, unless it’s a dedicated utility sink).
- Open the pressure relief valve: There is a small lever or plug near the top of the tank labeled "T&P" or "Pressure Relief." Pull the tab gently to open it. This allows air into the tank so the water can flow out freely. Without this, you’ll get a vacuum effect and barely any water will come out.
- Open the drain valve: Use your wrench to open the drain valve at the bottom. Water will start flowing out. Let it run until the water coming out is clear. Brown or rust-colored water means more sediment is leaving; keep going until it runs clean.
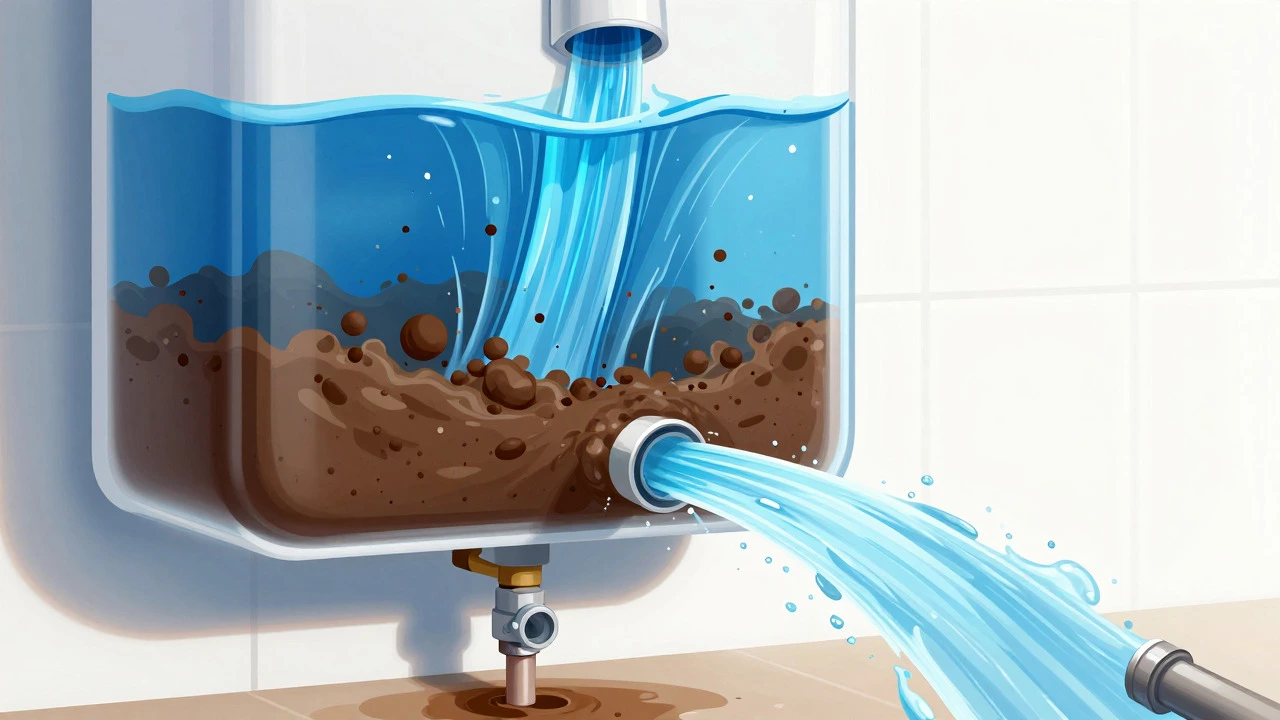
- Rinse the tank (Optional but Recommended): Close the drain valve. Open the cold water inlet valve (usually at the top of the tank). Let the tank fill up partially, then open the drain valve again briefly to swirl the remaining sediment out. Repeat this 2-3 times for a deeper clean.
Flushing an Electric Water Heater
Electric water heaters are similar, but you don’t have to worry about gas lines. The main focus is ensuring the electricity is completely cut off.
- Switch off the breaker: Go to your electrical panel and flip the specific breaker for the water heater to 'Off'. Verify it’s off by trying to turn on a hot tap-it should only give cold water.
- Cool the tank: Run cold water from the nearest tap for 30 minutes.
- Attach the hose: Connect the hose to the drain valve at the bottom of the tank, just like with the gas model.
- Open the T&P valve: Lift the pressure relief valve tab to break the vacuum.
- Drain the tank: Open the drain valve and let the water flow out. Since electric tanks often have two heating elements, sediment can build up around both. Ensure the water runs clear.
- Refill and Rinse: Close the drain, open the cold water inlet, and repeat the swirl-and-drain method if you want a thorough clean.
Common Mistakes to Avoid
Even experienced homeowners make these errors. Watch out for them:
- Forgetting the T&P valve: If you don’t open this, the water will sputter and stop. It’s the most common reason people think they “failed” at flushing.
- Using too much pressure: Don’t crank the drain valve open all at once if the pipe looks old. Open it slowly to avoid stressing the connection.
- Ignoring the anode rod: While you’re in there, consider checking the sacrificial anode rod. If it’s heavily corroded, replacing it can save your tank from rusting. This is a separate job but worth noting.
- Not closing the valve properly: When you’re done, make sure the drain valve is fully closed before turning the water back on. Otherwise, you’ll flood your basement or garage.
How Often Should You Do This?
There is no one-size-fits-all answer, but a good rule of thumb is every 12 months. If you live in a hard water area, you might want to do it every 6 months. Check the water color when you drain it. If it’s dark brown, you’re overdue. If it’s clear quickly, you’re probably fine waiting another year.
| Step | Gas Water Heater | Electric Water Heater |
|---|---|---|
| Power Source Off | Turn gas valve clockwise | Flip circuit breaker to 'Off' |
| Cool Down Time | 30 mins cold water | 30 mins cold water |
| T&P Valve | Must open to allow airflow | Must open to allow airflow |
| Risk Factor | Pilot light ignition | Electrical shock (if not off) |
| Complexity | Moderate | Low |
When to Call a Professional
While flushing is a great DIY task, some signs mean you need help. If the tank leaks when you open the drain valve, stop immediately and call a plumber. If the water smells like rotten eggs, it might be bacteria in the tank, which requires a different treatment (like adding chlorine tablets). Also, if your water heater is older than 10 years and hasn’t been flushed in a long time, the internal components might be fragile. A professional can assess if it’s better to replace the unit rather than risk a burst tank.
Frequently Asked Questions
Do I need to empty the entire tank to flush it?
No, you don’t need to empty it completely. You just need enough water to come out until it runs clear. Usually, draining half to three-quarters of the tank is sufficient to remove the bulk of the sediment.
What if my water heater doesn’t have a drain valve?
Most modern water heaters have one. If yours is very old, you might need to install a new drain valve or use a specialized tool to access the bottom port. In this case, calling a plumber is safer.
Can I flush my water heater while it’s still hot?
Technically yes, but it’s risky. Scalding injuries are common. Always cool the tank by running cold water for 30 minutes before starting. It makes the process much safer and easier to manage.
How long does it take to flush a water heater?
Plan for 1 to 2 hours. This includes cooling down, draining, rinsing, and refilling. The actual draining takes 20-30 minutes depending on your water pressure and how clogged it is.
Will flushing improve my water pressure?
It can help if low pressure was caused by sediment blocking the outlet or heating elements. However, if the issue is a faulty pump or pipe blockage elsewhere, flushing won’t solve it.